Events. It seems like you either love scrapping them or tend to avoid them like the plague!
There are lots of tips and inspiration for scrapping events, like birthdays. But when it comes down to it, a lot of the challenge for me is the photos. I am fortunate to have a number of people in our family taking and sharing photos at family events. Which can also make it a challenge to collate and select the best and most meaningful ones for my layouts.
I use Photoshop Elements Organizer to manage my photos, and when I have an event with dozens of photos to sift through I love the simplicity it brings to the process. Today, I'll walk you through the process I used to collect all my photos into one, easy to handle, place.
Home Base
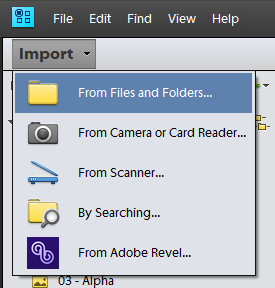
The first step is to round up all your photos. Here's an outline of how you can manage photos from all the various devices.
You can use the import feature to import your photos from where ever they are currently located on your computer or to download them from a Camera or Card Reader.
Organizer can watch folders for new photos (or scrapbooking supplies!) and automatically import them. So I use that feature to my advantage and set up one home base folder and have all my photos stored there.
Point and Shoot Photos
I use an Eye-fi memory card to automatically upload my photos to my computer, and file them in monthly folders. Thanks to watched folders, Organizer imports them the next time I opened it up. I don't even have to think about it and I never run out of space on my memory card. What a relief!
Phone Photos
You can use the Camera Upload feature to sync photos to Dropbox and any computer linked to your Dropbox account. Again, I rely on the watched folders to pull in my Dropbox Camera Uploads.
DSLR Photos
I don't own a DSLR, but a couple of relatives do and are happy to share the photos with me. For Edward's birthday, my brother shared a folder of photos with me via Microsoft One Drive and I just added them to my watched folder locations on my computer and Organizer imported them the next time I opened it up.
Events
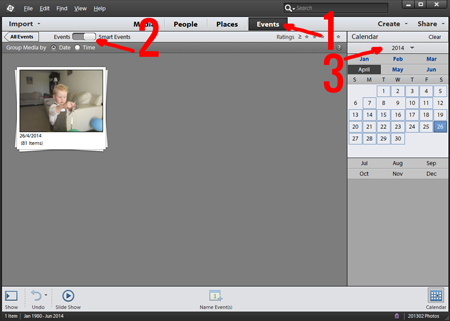
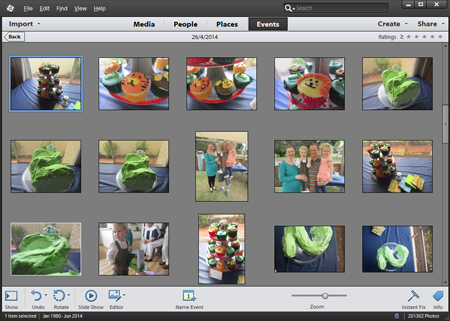
Now the fun begins! With all my photos automatically pulled into Photoshop Elements Organizer, I can easily view just the photos from the birthday party by:
- Clicking on the Events tab in Photoshop Elements Organizer
- Switching to Smart Events
- Selecting the year, month and date of the event
I'll then add details to the stack of photos there, by clicking Name Events.
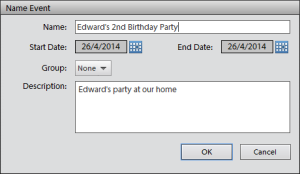
To see all the photos from all the different cameras snapping photos on that day, just double-click on the event stack.
Support your Scrapping
Where you go from here is up to you. My process with a party page is to grab one photo I love of the birthday boy (or girl!) and then include a sampling of photos of the guests and party decor.
Find the Money Shot
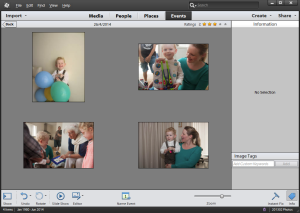
When you browse throughout your photos you can easily mark your best photos with a star rating. Just type 1-5 on the keyboard when you have that photo selected. Easy! To find all your five-star photos, just click on the stars at the top of the Organizer window. It will instantly filter your photos.

I don't star rate every photo, I'll add just add star-rating to my favorites. You can type 0 to remove a star rating from your photo.
I came up with these few shots as my best.
Bits and pieces
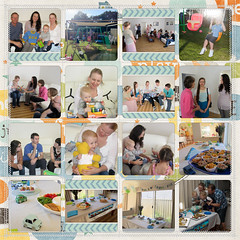
I like to include photos of the guests and decor in a collage style page. I tend to put the story along with my 'money shot' and have a matching opposing page.
Scrap!
For birthdays, templates make the final scrapping easy.
Here's my plan of action:
- View all my starred photos in the event (under Events, double-click on the event and then click the 1-star rating)
- Find a template with the right number of photo spots (here's how!)
- Drop in the photos (here's how to keep everything in the right resolution)
- Add papers and embellish with a kit or two.
You could easily make your own design, to work with the photos you want to include.
Here's how some of my birthday pages turned out:
Scrapping a Birthday at Home
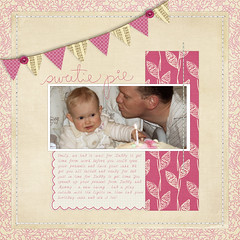
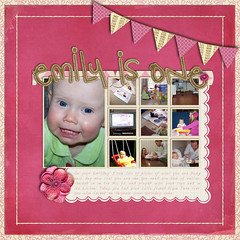
I used Erin Ink's kit and templates to scrap these pages about our little girl.
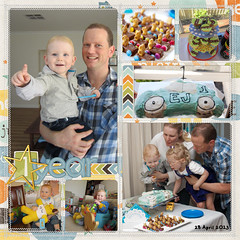
Scrapping a Party
I used Flergs About a Boy Kit to scrap these pages, they coordinate with Edward's first-year album.
Birthdays are for Grown Ups too!
There's no reason not to scrap your own birthday.
For this pair of pages, I emphasized a main photo on each page.
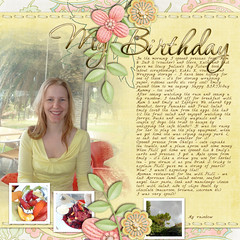
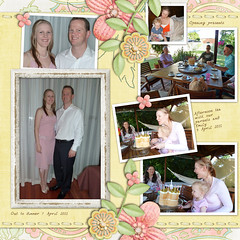
Credits: Dreaming of Spring by Flergs, Template by Jen Lindsay
I used just the 'money shot' for my 27th birthday and paired it with Karen Lewis Designz template and kit.
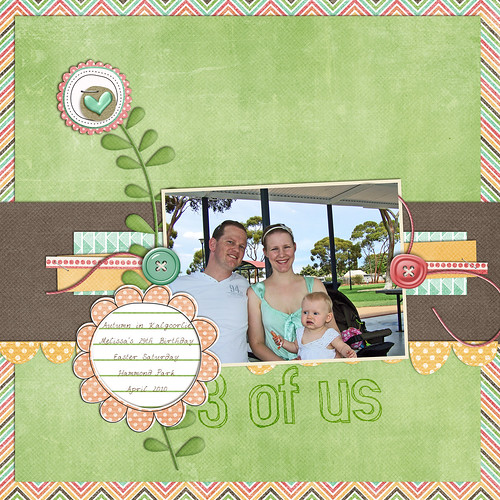
Though the pages vary in terms of journaling and number of photos you can see the same framework beneath them all.
What is your go-to method for scrapping event pages?

I am an Amazon affiliate so may receive a commission if you make a purchase.
Leave a Reply