Have you ever wanted to create your own photo collage? Maybe you are wanting to create some simple collage pages for your Week in the Life album?
Photoshop Elements has a number of built in collage features in the create menu.
Create your Own Collage
If you want to create a
Create the Collage
- Create a File>New>Blank file and set width & height in the inch size of your paper, resolution 300px/in.
- Save the file as a PSD so that you can use it again in future.
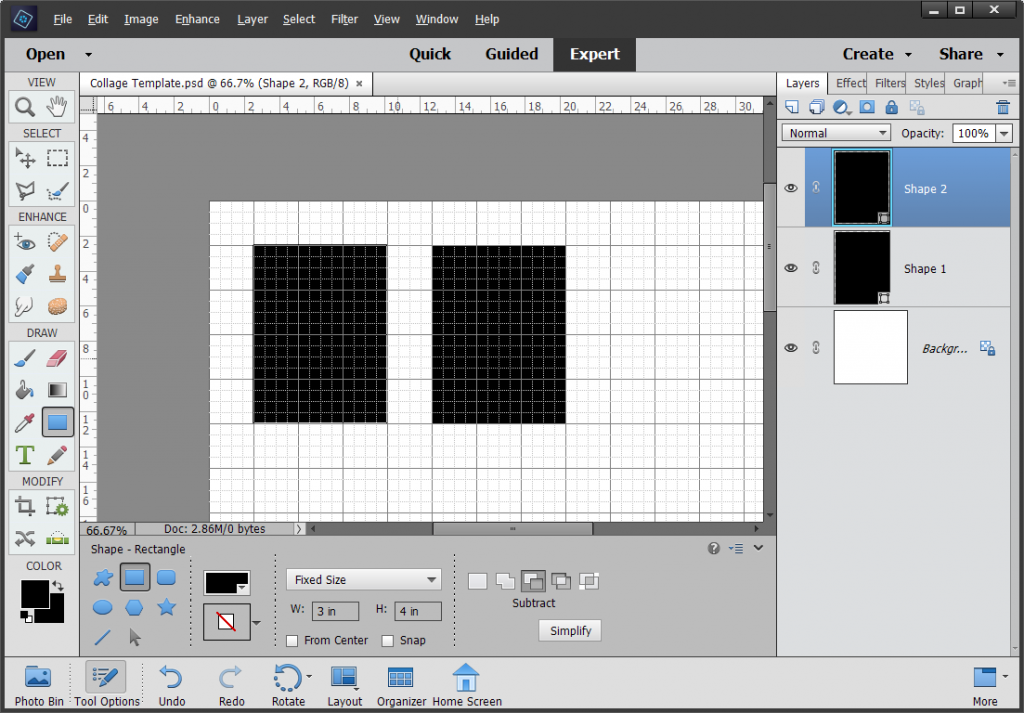
- Turn on the Rulers, Grid and Snap to Grid via the View menu. You can configure the grid via Edit>Preferences>Guides to help get the collage set up precisely.
- Select the Shape tool (shortcut U) to create a rectangle of your desired size. In the tool options bar select Fixed size, and put in 3x4", for example.
- Create the first box by clicking with the Shape tool. Move the box to where you want it to go.
- Repeat for the additional boxes.
- Turn off the grid via the View Menu.
- When you have a finished your collage design, save it.

Add the photos
- Save the file as a new name so you can reuse the original collage again.
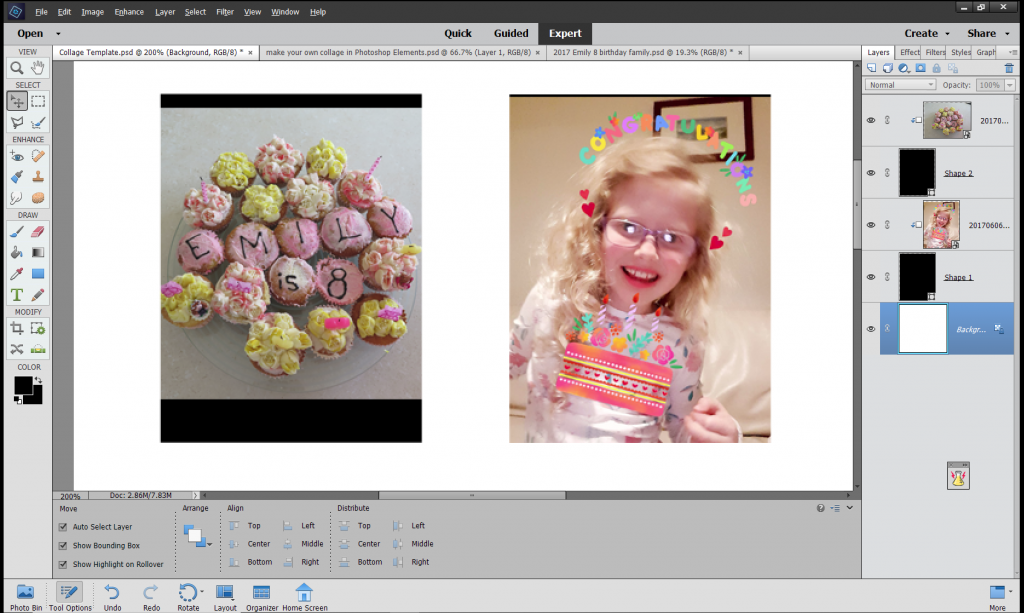
- Select the first box that you wish to fill (with a picture).
- Open the first picture, and drag that onto the thumbnail of the collage file in the Photo Bin.
- Your image will be larger than the box, but you can drag it around to position the person that you wish to display. Resize the image with the corner handles and move it to adjust it.
- Clip the photo to the shape by going to Layer>Create Clipping Mask (Shortcut: PC Crtl+Alt+G Mac Cmd+Opt+G)
- Repeat for the remaining pictures.
- Embellish with scrapbook supplies, or just leave as is!
- Print at home or save as a jpeg file for uploading or printing with a local photo service.

Happy collaging!

See my favourite things in the Digi Scrap HQ Store at Amazon.
I am an Amazon affiliate so may receive a commission if you make a purchase.


Leave a Reply