You can create instagram style effects in Photoshop Elements 12. Creative photos are so much simpler in PSE12. No layers and no fuss!
GETTING THE INSTAGRAM SQUARE STYLE
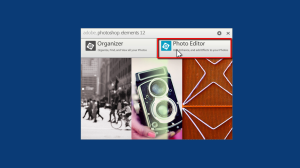
Go to Photoshop Elements 12 - Photo Editor
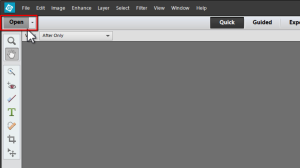
Click on the Open button at the topmost left of the workspace.
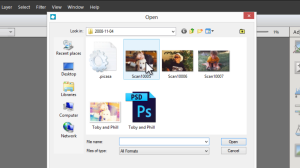
Choose a file to work on.
Grab the Crop Tool
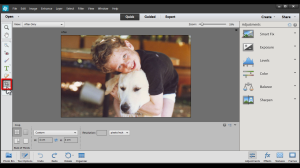
Set Crop Tool settings Width to 4 inches and Length to 4 inches
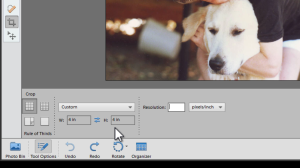
Click and drag the square on the photo.
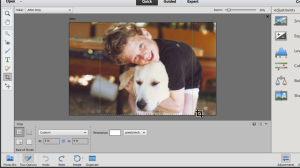
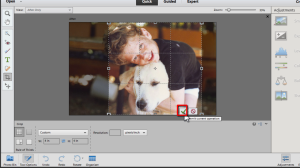
Click on the green checkmark to confirm the area to crop.
ADDING INSTAGRAM EFFECTS, TEXTURE AND FRAMES
Click on the FX Button on right bottom area of workspace.
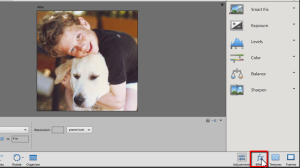
Pick a desired photo effect.
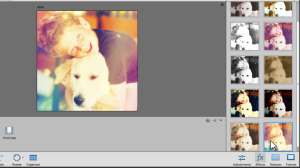
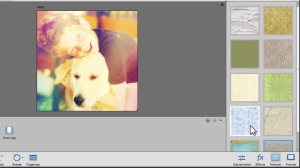
To add texture, click on Texture button beside FX button.
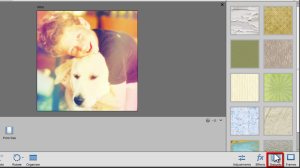
Pick a Texture.
To add a frame, click on Frames button beside Texture button.
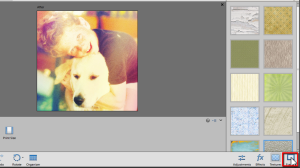
Pick a desired frame.
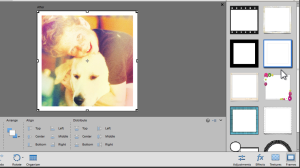
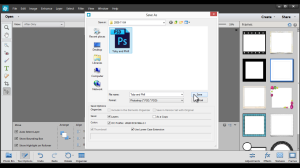
When done, save work as a PSD File to allow future edits.
EDITING THE PHOTO MORE IN EXPERT MODE
Expert Mode allows for advanced editing of the photo.
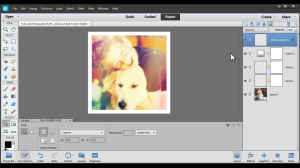
Layers are on the right side of the workspace and can be adjusted when desired.
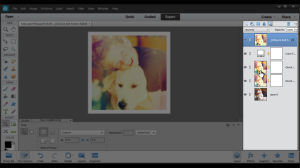
SAVING AND PRINTING YOUR INSTAGRAM STYLE PHOTO WITH OPTIMAL RESULTS
Go to Save As.
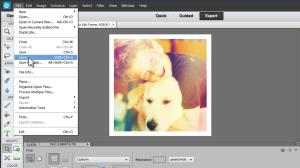
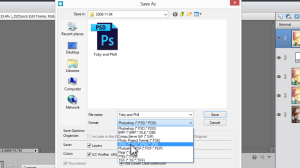
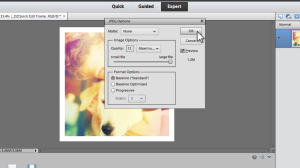
Set to Format to JPG
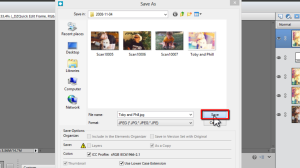
Click Save.
Set to highest resolution for best printing results,
but if only for digital use, this is not necessary.
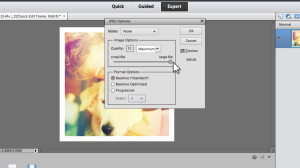
Click OK.
Enjoy this cool new feature!

I am an Amazon affiliate so may receive a commission if you make a purchase.
Great tutorial and an excellent refresher course for me since I had forgotten a few steps. Thanks!
Thanks Kerig! I’m glad you found it helpful 🙂