Credits: Becky Higgins Project Life Baby For Her
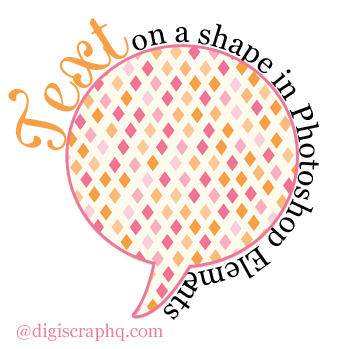
Photoshop Elements provides a variety of tools you can use to spruce up the text on your scrapbook page. Learn how to use Text on a Shape!
We've previously looked at:

Today, we'll look at another feature of Photoshop Elements, text on a shape.
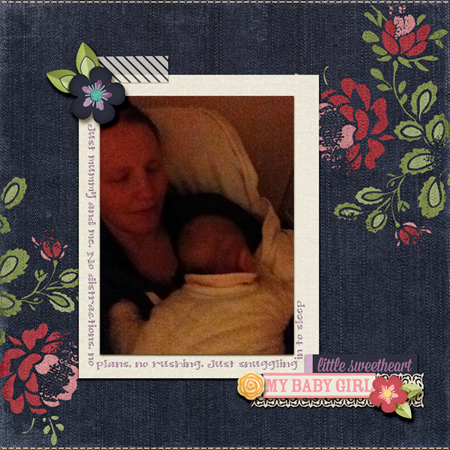
Text on a shape is perfect for creating journaling around the edge of a photo or page, as well as putting text along the outline of a shape.
Step by Step
- Select the Type tool (Shortcut key: T)

- Select the shape you want your text to be from the tool options:

- Draw your shape.
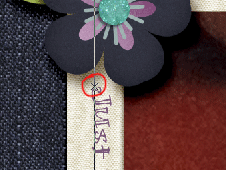
- Mouse over the shape until your cursor changes to this icon:

- Click once where you want your text to begin.
- Type your text, it will automatically follow the outline of the shape.
- Press Enter or click the green checkmark/tick
 to apply the changes.
Text on the Inside
As you create your text on a shape, by default it will go around the outside of your shape.
To make the text run on the inside of your shape, or change the start point:
- Double click on your text to edit it.
- Hold down your Control key (Cmd key on a Mac) and drag the little X at the start of your line of text.
 Your mouse pointer will change to look like this:
  or this
  to show you which way the text will run.
What about Photoshop?
In Photoshop, just create any shape using the shape tool and add type by mousing over the shape until your cursor changes to this icon:![]()
But I need a different shape!
In Photoshop Elements, you are limited to only a handful of shapes you can use with text on a shape. In my next post, I'll be showing you how you can use text on a selection so that you can create text to follow the outline of anything on your page.
What's your favorite creative way to use text on a scrapbook page?

I am an Amazon affiliate so may receive a commission if you make a purchase.
Leave a Reply