If you've ever wanted to print your scrapbook pages, but it's seemed a bit daunting, I'm here to help!
I've recorded all new tutorials for you demonstrating the process for my four favorite printing services. First up is Shutterfly.
So you've got all your pages finished, proofread and saved as a high quality image. What's next?
First, you need to upload your images.
Log in to Shutterfly (If you are new you can use my link for 50 free photos!)
Then click My Photos at the top of the screen.
You'll then be taken to your photo library where you can upload additional photos.
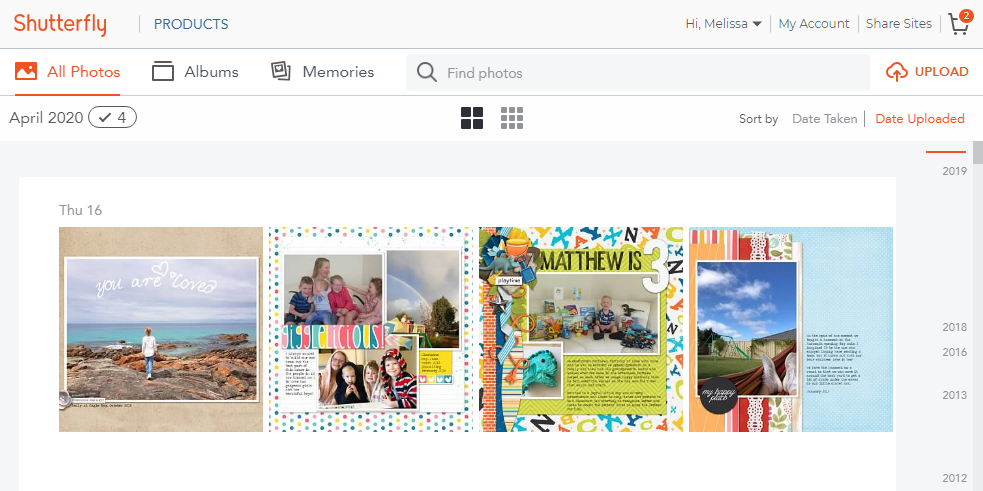
Then simply click the Upload button.
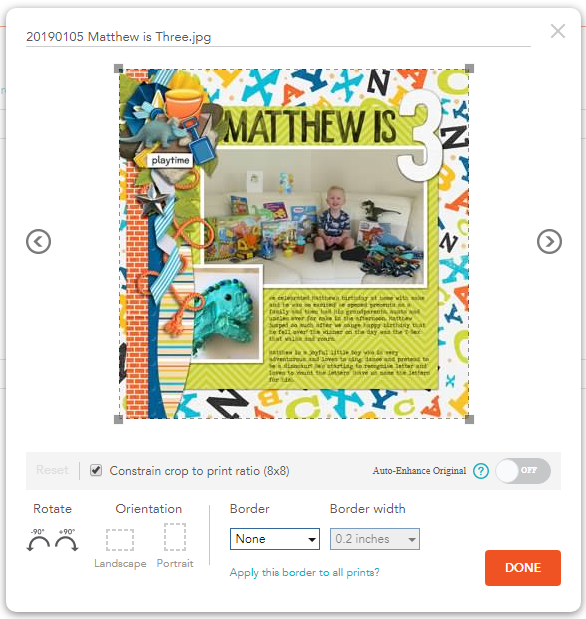
Whenever you upload your pages online, make sure that you choose to upload at high resolution and no auto color-correction if you are given that option. You'll want to turn off Auto-enhance original on each project you create at Shutterfly.
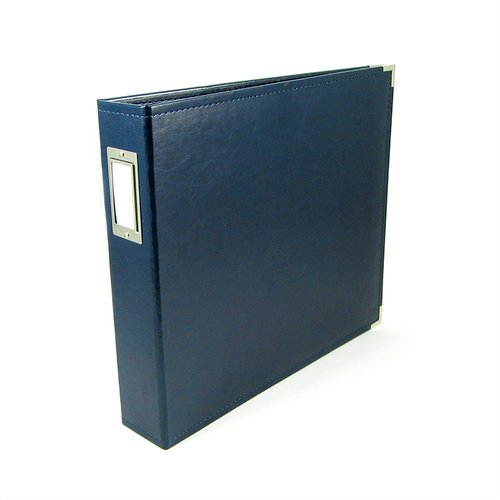
Then, you need to choose your format. At Shutterfly, you can print square photo prints to fill your D-ring albums or print a variety of photobooks.
Photo Prints
To print square photos, simply select your photos from within your photo library and select Order Prints.
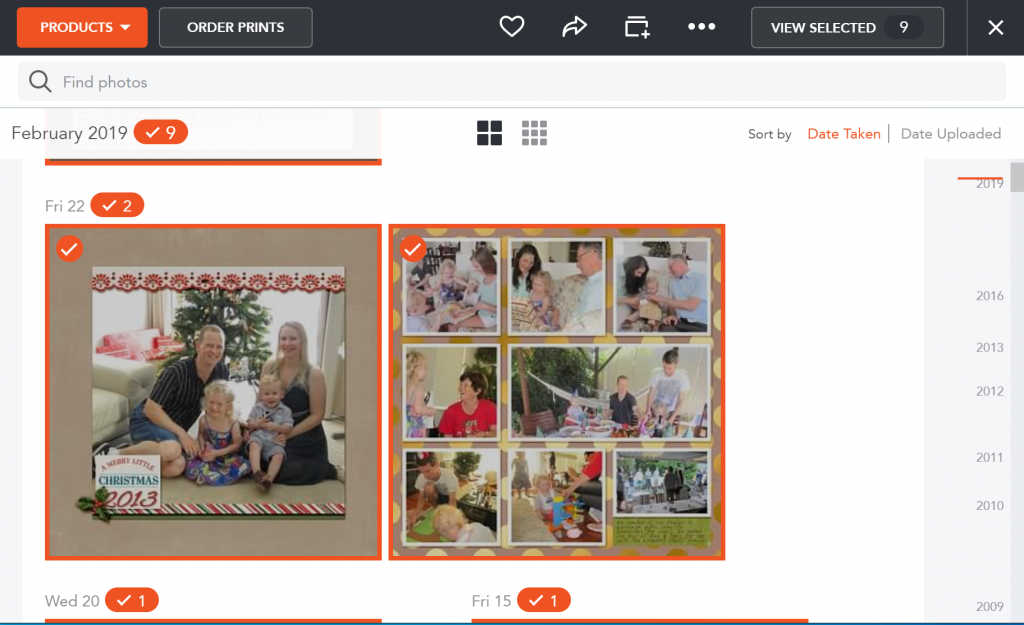
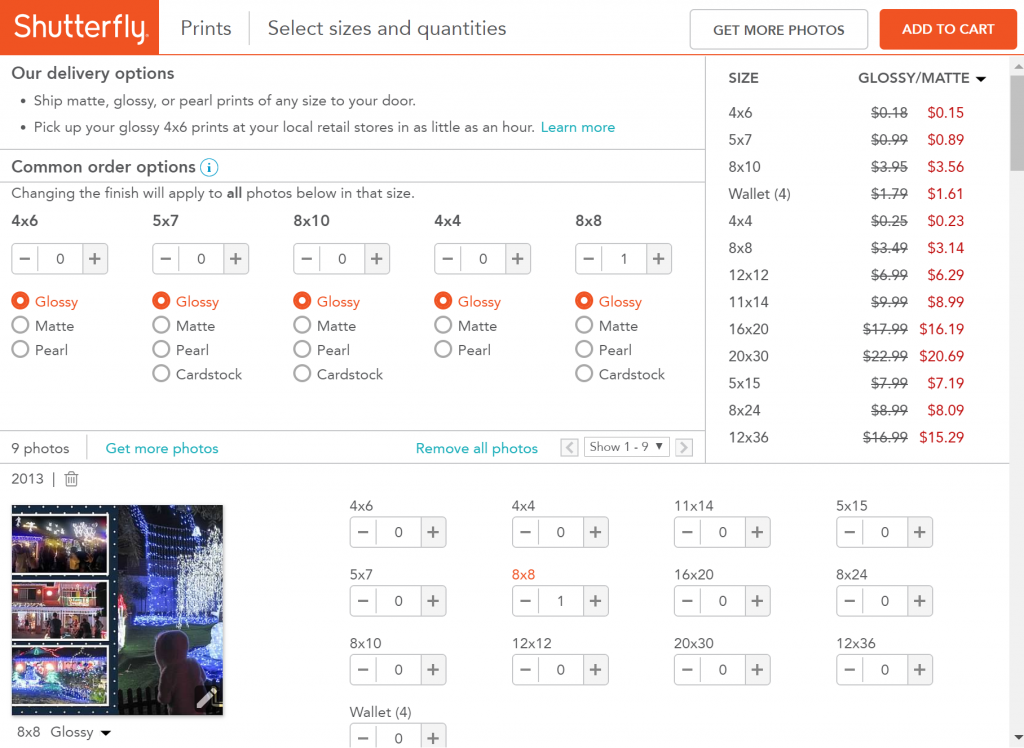
You have several options to choose from for square prints.
Be sure to turn off Auto enhance original on each photo print. Just click the pencil icon.
Photobooks
If you want to print your pages as a photobook you'll love the Digiscrap Photobook Style. This style has full bleed photo spots for the cover spine, title page, and inside pages. So all you need to do is upload your layouts and drag them on.
To find the Digiscrap Photo Book Style you can use this link. To find it at Shutterfly, select your photobook size, then click on the Theme options on the left. Select Scrapbook theme from the list, then the last one in the list on the right will be Digiscrap.
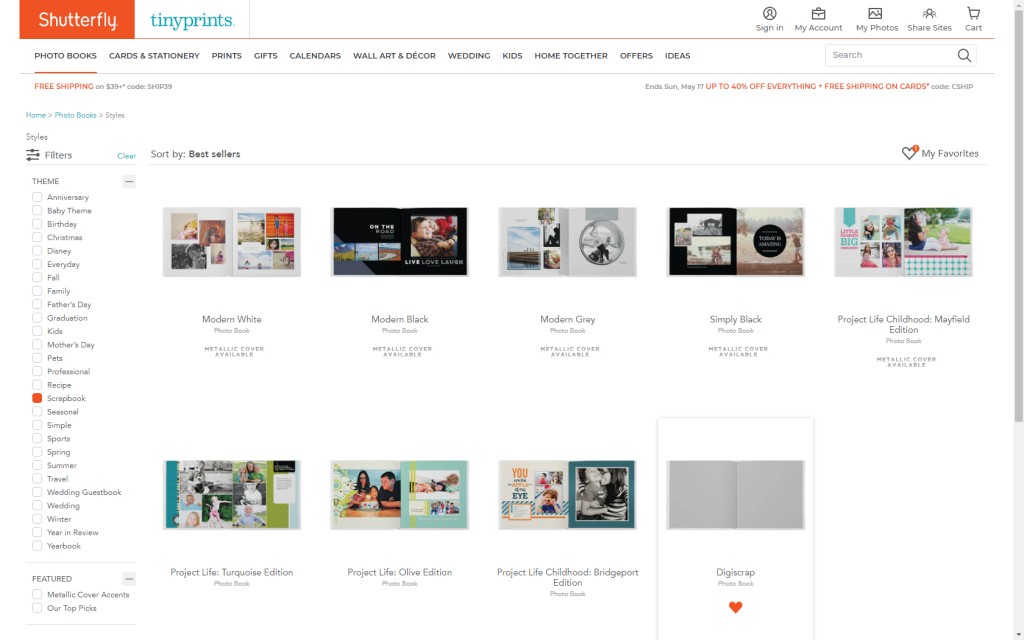
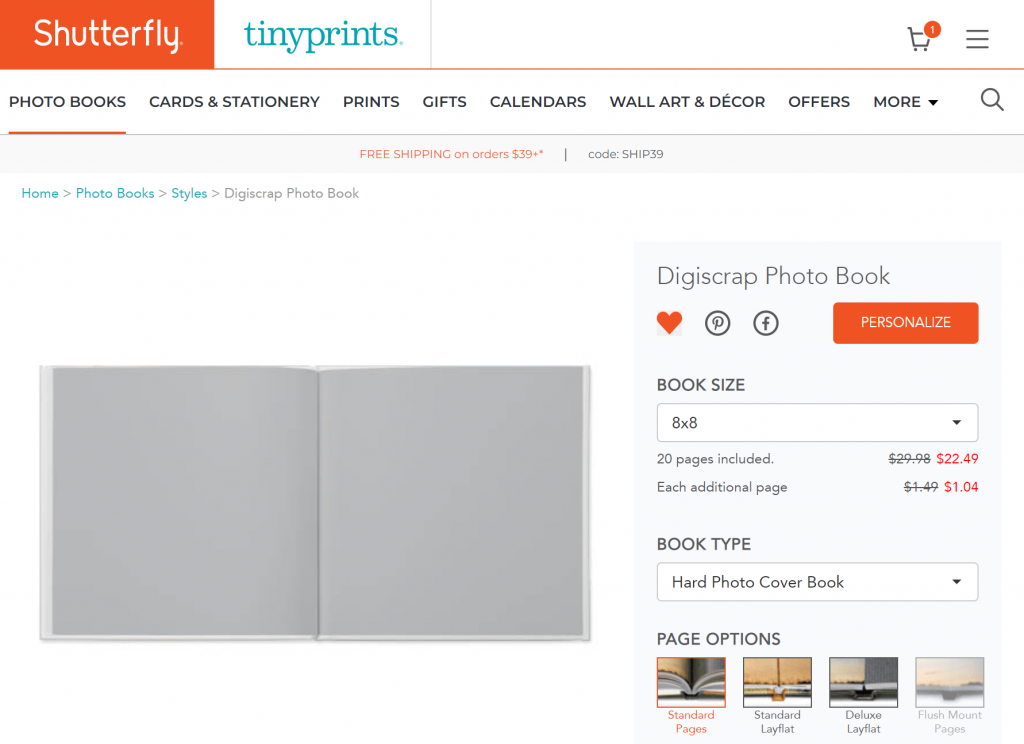
Click on Digi Scrap Style then click Personalize.
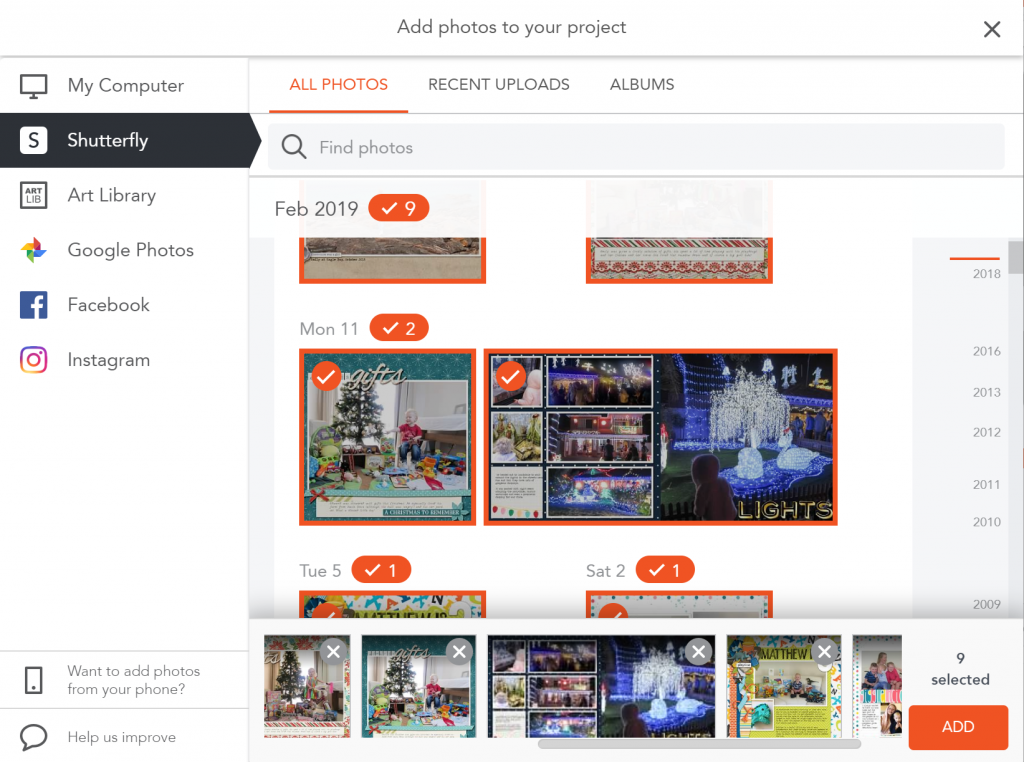
You'll be prompted to add photos, you can upload more, or select from your library at Shutterfly.
Then you can allow Shutterfly to autofill the book or drag the photos up onto the pages of your book.
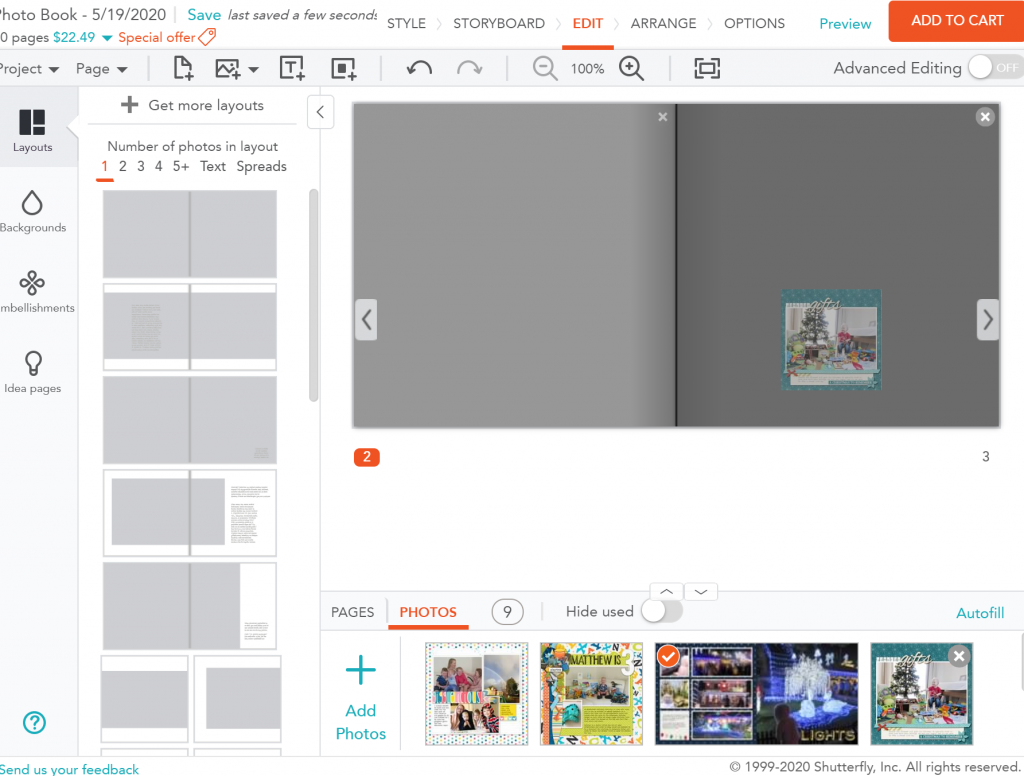
Don't forget to turn off auto-enhance original on the pages and the cover, it will help you be much happier with your results!
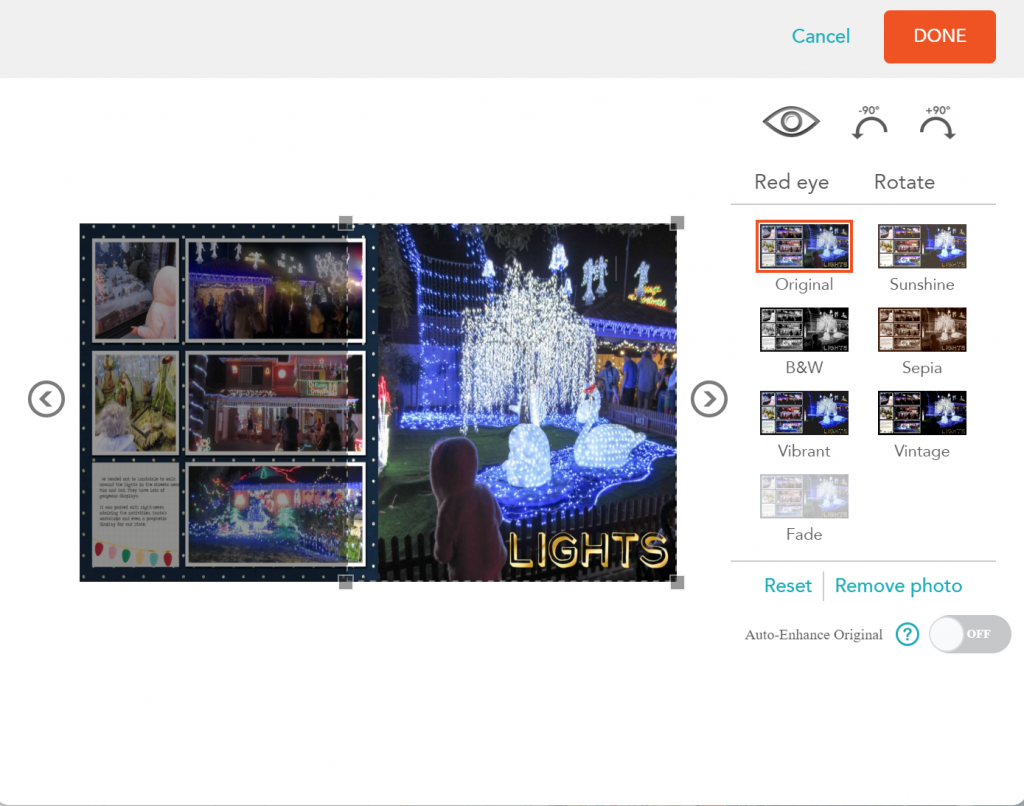
Review the layout and you are ready to order!
You can see my results with Shutterfly here (skip the first video in this playlist if you already watched my uploading tutorial above).
Happy printing!
PS Pin this for later
I am an Amazon affiliate so may receive a commission if you make a purchase.
This post contains affiliate links. This means that if you click through that link and purchase an item, I may receive a commission for referring the sale.
I only recommend classes and products that I know and trust. Thank you for using my link if you decide to purchase.
Melissa Shanhun is a participant in the Amazon Services LLC Associates Program, an affiliate advertising program designed to provide a means for me to earn fees by linking to Amazon.com and affiliated sites. As an Amazon Associate I earn from qualifying purchases.


Leave a Reply