Would you like to learn the simplest way to edit your photos? Today I'm sharing with you the step by step process I use to edit my happy snaps.
Read on for the details, but if you want the cheat sheet, I have a quick reference guide for you here.
Step by Step Guide to Editing Photos
You can follow along in Photoshop Elements, if you don't have PSE, you can download a free 7-day trial here.
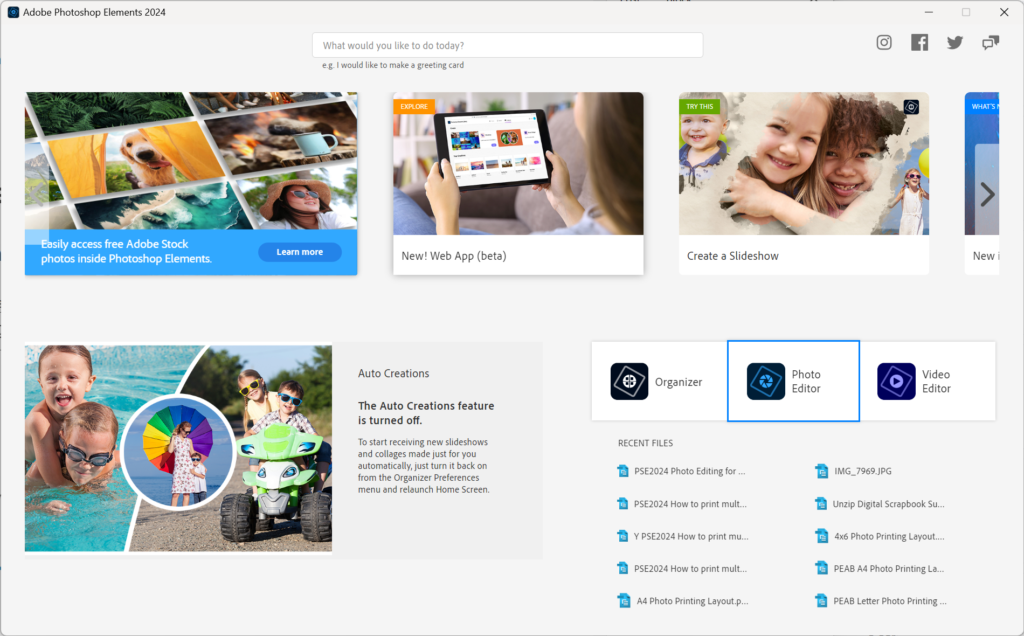
Open Photoshop Elements
- Double-click on the Photoshop Elements icon
- Click on the Photo Editor option on the Welcome Screen.
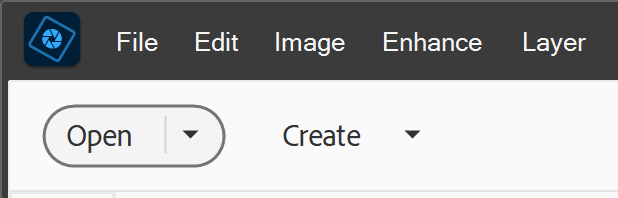
Open your Photo
- Click the Open button
- Browse to the photo you want to work on and click on it
- Click Open
- Check to see your are in quick edit mode
Save your Photo as a PSD
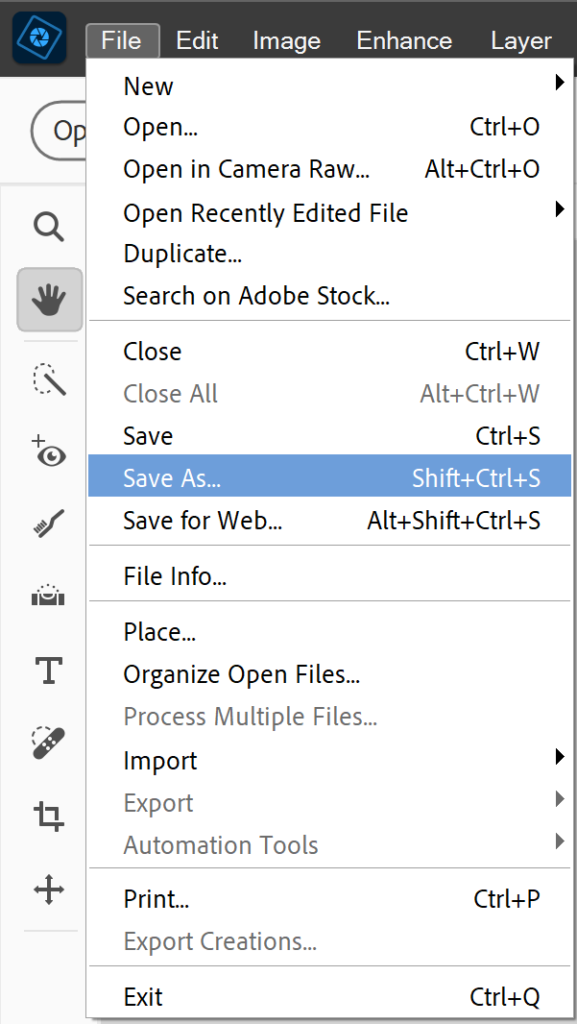
We want to be sure we protect the original photo and work on a copy.
- Click File – Save As…
- Change the File Format to Photoshop Document (.PSD)
- Click Save
View Before and After
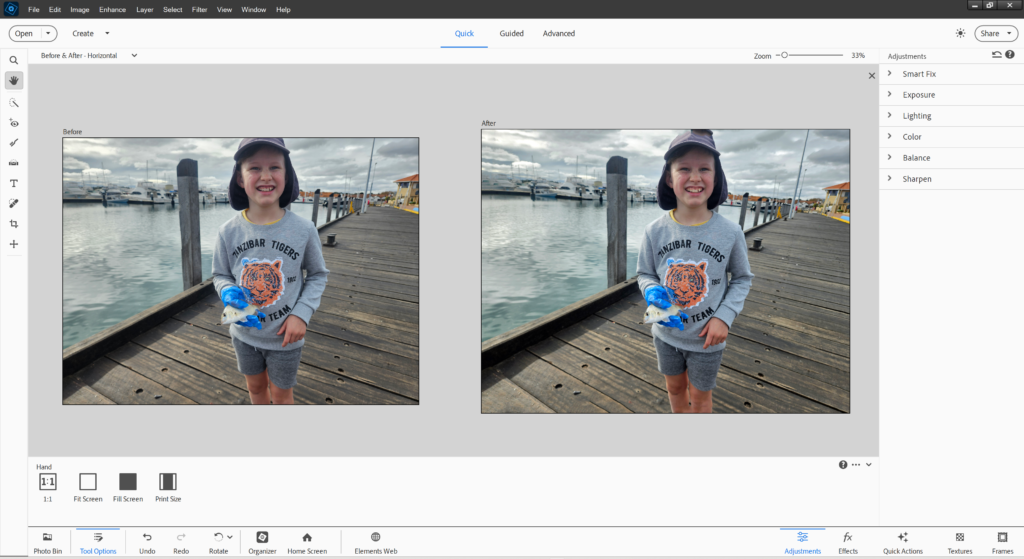
To preview the changes and compare to your original photo, Photoshop Elements includes a handy before and after view in the Quick Editor
- Click on View
- Select Before & After Horizontal or Before & After Vertical
Make Your Changes
- Edit the photo by clicking on the buttons in the Adjustments panel
- Try the Auto button to see how it looks.
- Mouse over the thumbnails to preview the effects and click one to apply the changes.
- Click and drag the slider to make fine adjustments
Undo Your Changes
If you get part way through editing your photo and you don't love how it is turning out. You can easily undo or reset your changes.
- Click the undo button at the bottom to Undo previous actions, one step at a time.
- Press the Reset button at the top of the Adjustments panel to reset your photo to how it looked when you opened it.
More about the Adjustments Panel
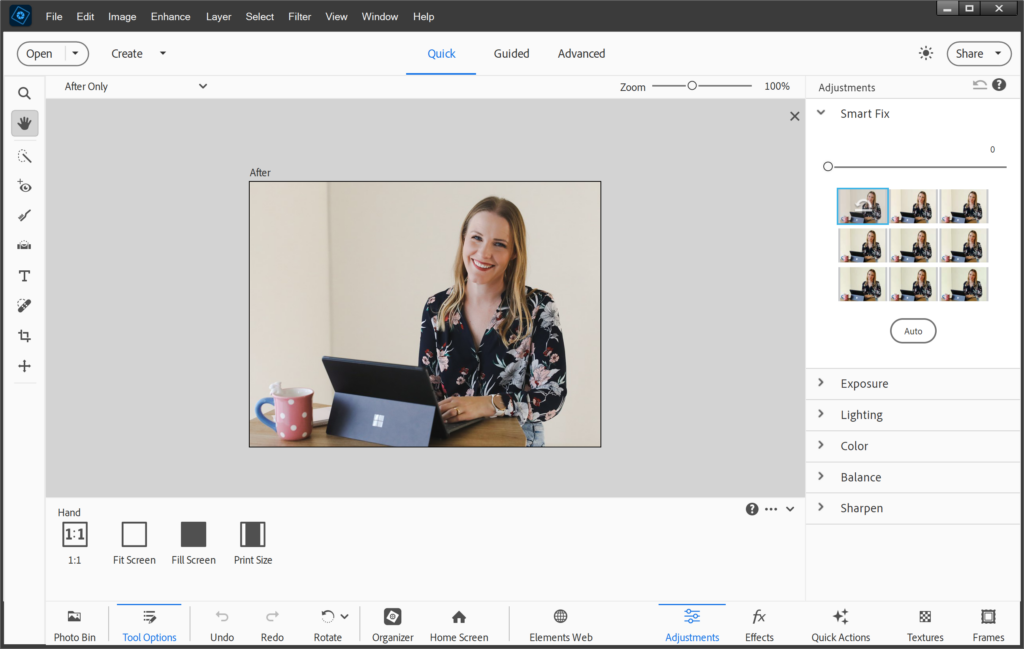
The Adjustments panel allows us to make all sorts of adjustments to our photos without needing to use layers or masks.
The Adjustments panel appears on the right by default.
If you can’t see it, be sure you click on the Adjustments button on the bottom right of the screen.
To learn more about the Effects and Frames panel click here.
Learn About the Adjustments
There are a number of different adjustments you can make in Photoshop Elements. I recommend you play around with each one to see the effects it creates, but I’ve included a quick explanation for each one below.
Smart Fix
Smart Fix is a combination of several adjustments; it corrects overall color balance and improves shadow and highlight detail.
Exposure
Exposure adjusts the brightness and darkness of your photograph.
Levels
Levels allows you to adjust the tone and color of one aspect of the photo at a time. You can lighten shadows, darken highlights and adjust the contrast of the overall image. The best way to learn how this works it to try it out!
For those of you wanting more detail Adobe explains it like this:
Auto Levels and Auto Contrast
The Auto Levels and Auto Contrast options work by individually mapping the lightest and darkest pixels in each color channel to monochrome. To apply the settings, click the Auto button beside any of these options.
Shadows
Drag the slider to lighten the darkest areas of your photo without affecting the highlights. Pure black areas are not affected.
Midtones
Adjusts the contrast within the middle tonal values (values that are about half way between pure white and pure black). It does not affect the extreme highlights and shadows.
Highlights
Drag the slider to darken the lightest areas of your photo without affecting the shadows. Pure white areas are not affected.
Color
There are three aspects to the Color adjustment
Saturation controls how bright/intense the colors are.
Hue recolors your whole image by shifting the colors along the colour spectrum (so yellow turns to green, blue to violet etc).
Vibrance adjusts the bright colors in your photo without affecting skin tones.
Balance
Helps you correct for colous that are off in your photo. This could be cause by bad lighting or incorrect white balance in your camera.
Temperature
Temperature make the colors warmer (red) or cooler (blue).
Tint
Tint adjusts the green to magenta color range of your photo. This is great for finer adjustments after you’ve corrected the temperature.
Sharpen
Adjusts the sharpness of your image, making it look crisp and well defined. Be sure to zoom in to 100% (actual size) to see the effect of your image before saving. It can sometimes be overdone.
Save Your Work
You will want to save your work regularly, there's nothing worse than losing all your hard work.
Click File > Save.
If you want to learn about the different options for saving your work in Photoshop Elements, here's two blog posts that explain it step by step.
- Save your file as a PSD so that you can come back and edit it later.
- Save your file as a JPEG for printing.
Need More Help Editing?
If you'd like help with each step of the photo editing process, I've got just the class for you! I launched my Photo Editing for Absolute Beginner's class and it will walk you through exactly what you need to get started photo editing.
If you need help with some advance editing, I've got you covered with my Advanced Photo editing class!
Happy editing!

I am an Amazon affiliate so may receive a commission if you make a purchase.
Leave a Reply