Hidden behind every command in Photoshop and Photoshop Elements is the magic of the mask modifier keys. Holding down alt, cmd, or ctrl keys unleashes powerful, time-saving shortcuts that every scrapbooker should know about.
I'll walk you through these extra features and end with a quick reference image for you to print or pin and refer to every time you scrap.
When you are working with layer masks you may want to pull the layer onto different layers, create a selection, or even just see the mask. You can do all this and more by simply holding down a key when you click that layer mask thumbnail in the layers panel.
Copy the Mask
A quick way to copy a layer mask is to hold down the Alt (Mac: Option) key and drag the layer mask thumbnail in the layers panel and drop it on the layer you wish to add that same mask to.
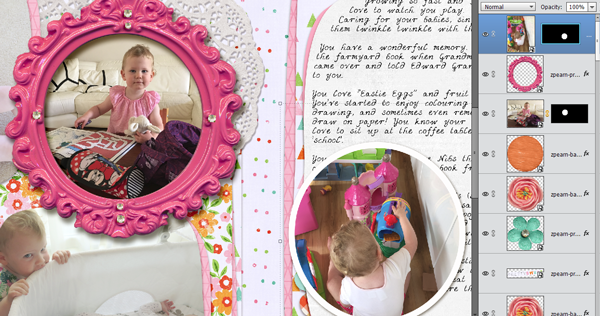
For example, you could use this tip to quickly crop paper or photos to the exact same size. Unlink the layer mask to move the mask and photo around until you get the perfect crop.
See the Mask
Hold down Alt+Shift (Mac: Option+Shift) and click on the layer mask thumbnail in the layers panel.
This will to show the Rubylith style red overlay so you can see the mask on your layout.
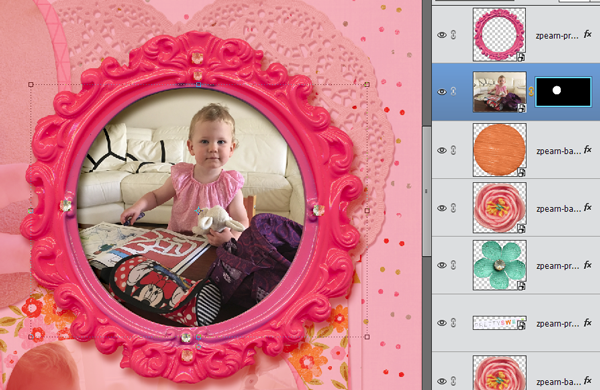
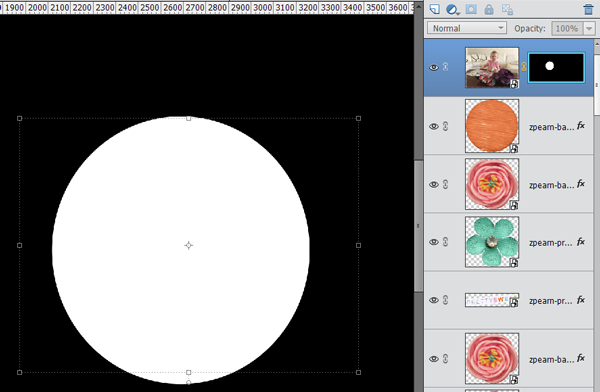
You can show the mask in black, white and shades of gray by holding down Alt (Mac: Option) and clicking on the layer mask thumbnail in the layers panel. This may be helpful if you are doing some photo correcting or extracting using masks, and need to work out why some straggling pixels are showing up!
Toggle the Mask
Quickly turn on or off a layer mask by holding down Shift (Mac: Shift) and click on the layer mask thumbnail in the layers panel. A nice big red X reminds you the mask is turned off.
See the rectangular photo? That's what my layer looks like without the circular mask.

Create a Selection with the Mask
Hold down the Ctrl (Mac: Cmd) and click on the layer mask thumbnail in the layers panel to turn your mask into a selection.
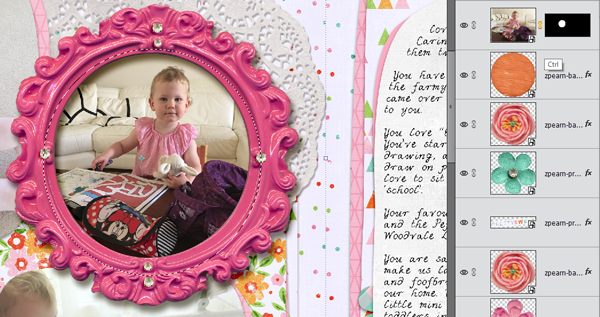
This is handy when you want to do some fun painting or photo edits. As with any selection you can:
- Ctrl+Shift+Click to add the mask to an existing selection
- Ctrl+Alt+Click to remove the mask from an existing selection
- Ctrl+Shift+Alt+Click to deselect any area outside the mask
Oh wait, you didn't know that last one? I just stumbled on it today as I was writing this!
Quick Reference
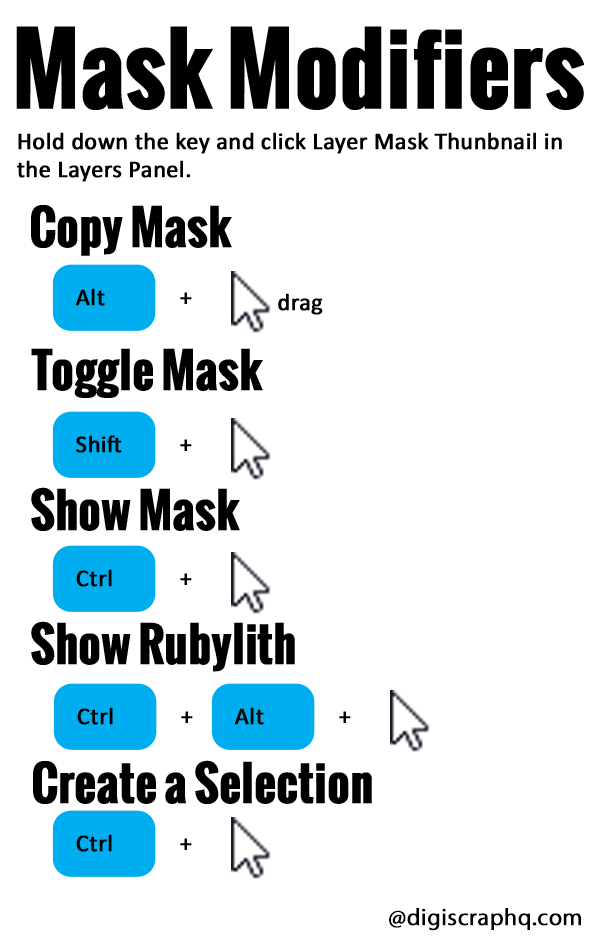
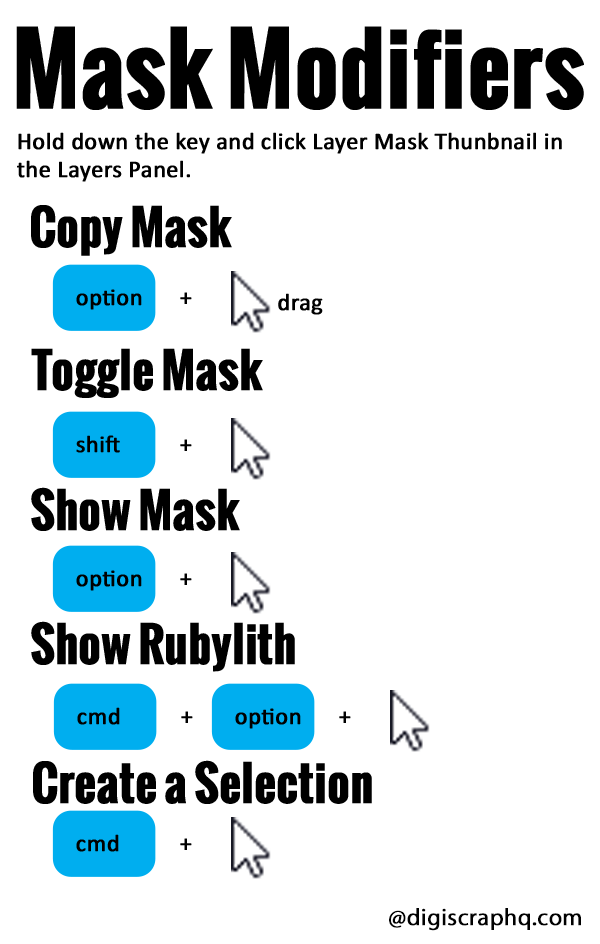
As promised, here's your quick reference guide! Print it now, or Pin it for later 🙂
Windows
Mac
I hope today you've learned something new!
I am an Amazon affiliate so may receive a commission if you make a purchase.
Leave a Reply