Learn how to mask your photo or digital paper to non-destructively edit them in Photoshop Elements. I will show you how to cut out parts of a patterned paper like a die cut, use masks in an artistic fashion, and to extract part of a photo.
If you've got PSE version 9 or above you will be able to follow along with these instructions. Those of you using an earlier version of PSE can use Grant's Tools to add the masking option.
How to Use Masks in Photoshop Elements
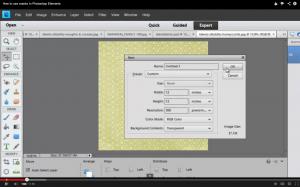
Create a new document by going to File-New-Blank File. Make your document 12" x 12" and 300 pixels/inch.
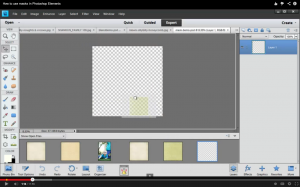
Drag your paper from the Photo Bin into your blank document.
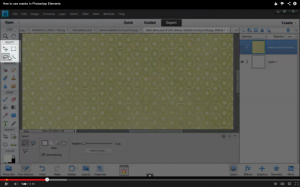
To cut out part of your patterned paper zoom in and then in the toolbar on the left select the Lasso Tool.
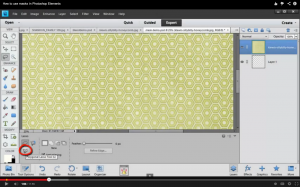
Then at the bottom choose the Polygonal Lasso Tool.
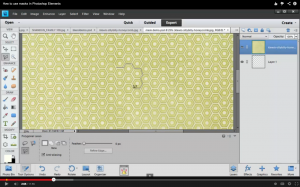
Click and drag to select the portion of the pattern you want. Click for every corner. The Polygonal Lasso Tool only creates straight lines. It's almost like you are hand cutting the paper.
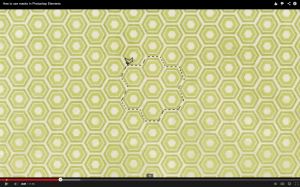
When you get back to the beginning of the selection you will see a dot appear. Click there to finalize the selection. You will then see marching ants around your selection.
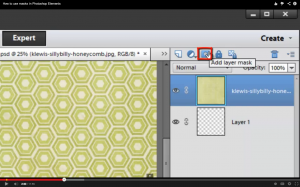
In the Layers Panel on the right click on the Add Layer Mask icon.
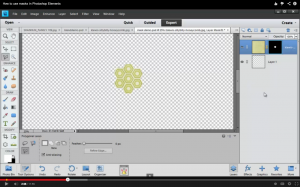
Now it looks like that shape has been cut out from the paper. But in reality, it's not cut out. It's just that there is now a mask applied to the paper.
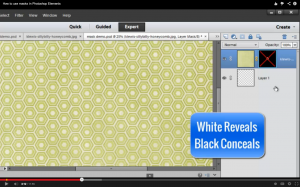
If you hide the mask you can see that the whole paper is still there in tact. It's just that the black area of the mask is hiding the rest of the pattern.
Remember, White Reveals and Black Conceals!
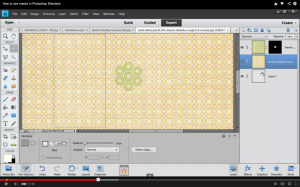
For our next example drag in another piece of paper. Select the Rectangular Marquee Tool in the tools panel on the left. Click and drag to draw a rectangle.
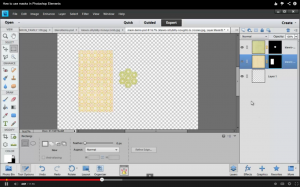
Then click the Add Layer Mask icon on the right.
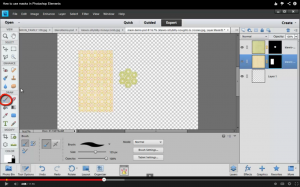
Choose the Brush Tool in the tool panel on the left.
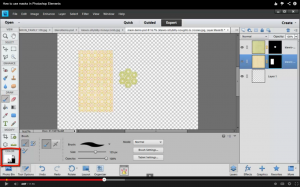
Then make sure that white is the color on top of the color area.
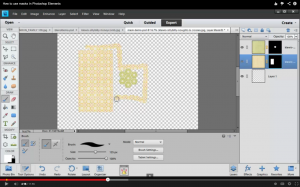
Using the brush you can now paint in more of the paper. If you change over to the black and paint it will hide the paper.
Remember, White Reveals and Black Conceals!
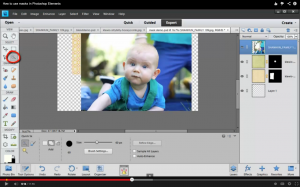
For our last technique drag a photograph into your document. Choose the Quick Selection Tool from the tools panel on the left.
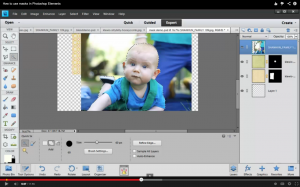
Draw over your subject and make sure he is the only thing selected. Hold down the Alt Key and click to remove parts of the selection.
Click on the Add Layer Mask icon on the right side and the rest of your photo will disappear.
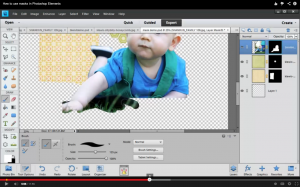
Go in with your white brush to paint in more of the photo. For example, in this case I want to add in more of his hands.
If you zoom in you can get very detailed about adding in or taking out more of the photo. Remember, White Reveals and Black Conceals!
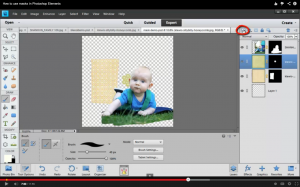
To check to be sure your selection is complete click on the New Layer icon on the right to add a layer below your photo. If your new layer does not insert below your photo simply drag it until it is directly beneath the photograph.
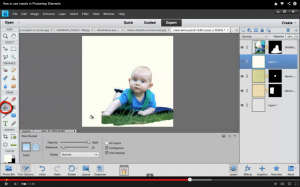
Use the Paint Bucket tool to fill the new layer with white.
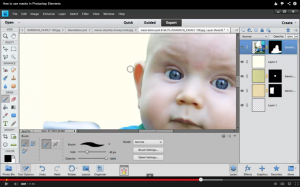
This will help you see any areas around the edge of your photo that might be cut off. If this is the case use the white paint brush to add back in those areas of the photo that you are missing.
You will also see any areas that have some of the background remaining around the subject. Using the black paint brush you can hide the background in those spots.
Before you start painting be sure that you have the mask area selected in the layers panel rather than the photo. You don't want to paint on the photo, you want to paint on the mask.
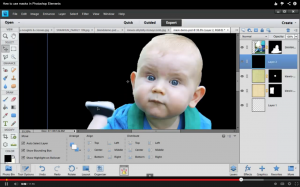
Once you've taken care of all the problems you found when looking at your photo on a white background select the layer below your photo and use the Paint Bucket to change fill the layer with black.
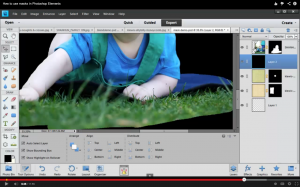
This will allow you to see any holes in your selection. The places that you see black dots will need to be fixed.
Click on your mask, select the white paintbrush and draw over any of the black specks that shouldn't be there.
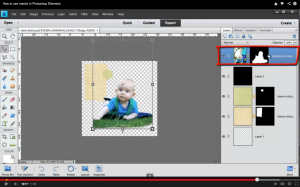
When working with masks you can actually hide the mask by clicking on the layer...
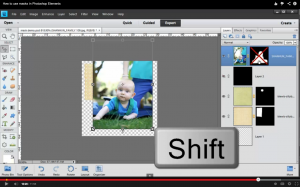
...and then Shift-Click on the mask thumbnail.
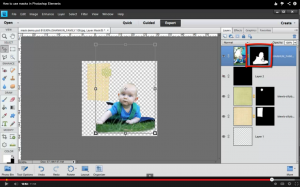
If you decide that you want to get rid of a mask on a layer simply click on the mask...
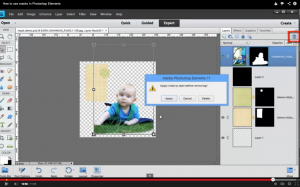
...and then click Delete.
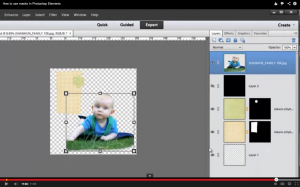
When you click delete you will be faced with 3 options. If you select Apply it will apply your mask and throw out the remaining pixels in your photo.
There is no real reason to delete the mask unless you are wanting to reduce the file size of your PSD file. Remember that if you delete the mask you can no longer go in and edit which part of the photo to reveal or conceal.
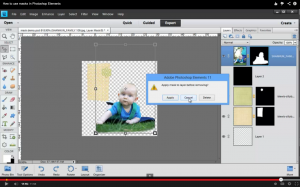
If you click Cancel it will cancel your delete request and nothing will happen.
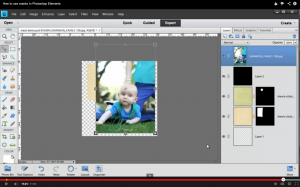
If you click Delete it will delete the mask and leave your picture as it was before you started editing.
Now you know how to use masks to create fun layouts!
Have you created a layout using a mask? I’d love to see it, link me up in the comments.
I am an Amazon affiliate so may receive a commission if you make a purchase.
These tips are so useful – thank you! I do have a questions too – do you know if you can create a layer mask using drawing tools (shapes for example)? or just with the selection tools? I am using PSE 12 if that helps.
Sure! It’s a little more of a process depending on the results you want:
You can Simply create the shape and then you can use it as a clipping mask
or
Ctrl+Click on the shape layer in the layers panel to create a selection
then select the mask thumbnail
Then you can invert the selection abd use the fill tool on the layer mask to make the shape area white or black whichever you need to get the result you want
I hope this makes sense
Thank you for the quick reply. I think this makes sense! I will try it out. I have used the clipping mask option, but I was wondering if I could get a more precise result – for example when clipping to a paper or background photo that is not uniformly patterned. I will “play” with this and see what happens.
Thanks again – I always look forward to your tutorials.