Let me show you an easy way to ink the edges of your digital scrapbook paper in Photoshop Elements.
Ink the Edges of Your Paper
To begin click on the paper you want to ink.
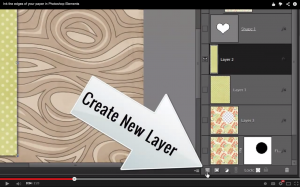
Then click on the Create New Layer button.
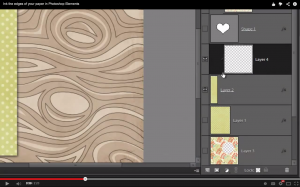
You should see your new layer directly above the paper you want to ink. Clip the new layer to the paper by pressing Ctrl + G.
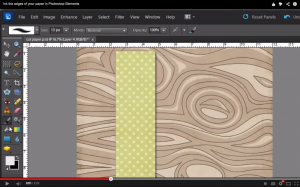
Now you are ready to ink the edges. First, click on the Brush tool in the tool bar.
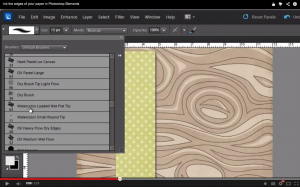
I like to use the Watercolor Loaded Wet Flat Tip brush.
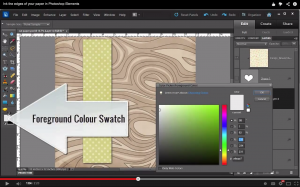
To adjust the color of your brush double click on the Foreground Colour Swatch.
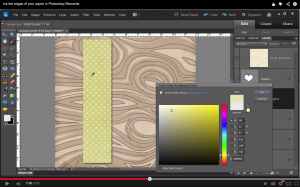
Then click on the color you want to use as your ink. In this case I chose the lighter green.
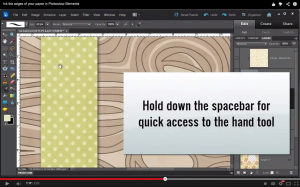
Use the Hand tool to move your screen so that you can see the top of the paper. To easily access the Hand tool simply hold down the spacebar.
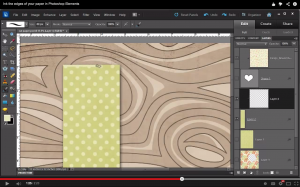
Then begin painting along the edge of your paper.
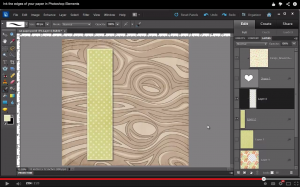
Now you have a beautifully inked piece of scrapbook paper!
Have you ever inked the edges of your paper in your digital scrapbooking? I’d love to see it, link me up in the comments.

I am an Amazon affiliate so may receive a commission if you make a purchase.
Cool! I’m going to try this as a border around photos and badges. I don’t use brushes very often.