 Experts say the average person takes 150 photos a year. Really? I think that's an understatement.
Each day we are adding to the collections on our phones, cameras and tablets. It can get a little overwhelming... BUT there's a way to keep all your photos safe and secure and easy to browse. Photoshop Elements! Photoshop Elements is a program from Adobe that is available for both Mac and PC and it will make your life easier. (I promise!)
You can use Photoshop Elements to easily import and edit photos from your camera or phone, or tablet, or even a handy dandy negative/slide scanner.
But, first things first, how do you even get the photos into Photoshop Elements?
In today's video tutorial I'll step you through the process of pulling all the photos off a camera or other device and storing them safely on your computer. Plus I sneak in a quick little edit too!
For those of you who prefer a written tutorial, here’s the step by step.
Import & Edit Photos From Your Camera or Phone
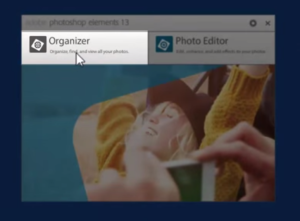
Begin by opening Photoshop Elements 13 and selecting Organizer.
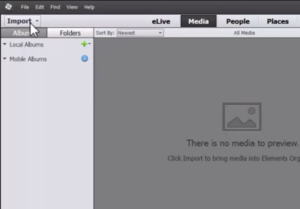
Click Import to begin the process of importing your photos.
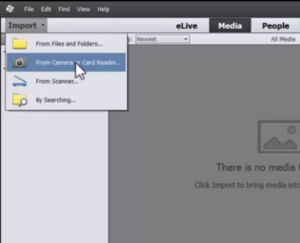
Select From Camera or Card Reader.
In the photo downloader navigate to the camera or phone you want to import photos from.
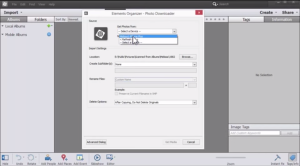
Next you need to check your Import Settings. First browse to the location you want your photos to be stored.
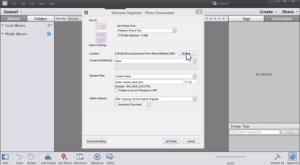
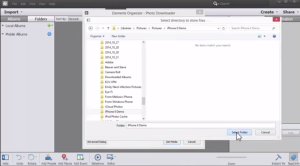
Select the folder you wish to save your photos in.
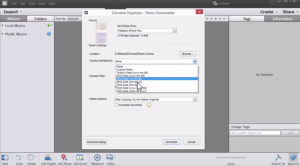
You can also create Subfolders. I like to choose the Short Date format because it's easier to sort photos by date.
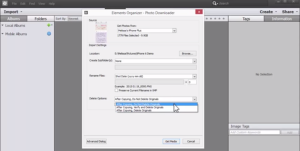
Under Delete Options you can choose if you want the original files to stay on your phone or camera, or if you'd prefer them to be deleted from their original source.
There are also Advanced options that allow you to do things such as select which photos you want to import, automatically edit red-eye, etc.
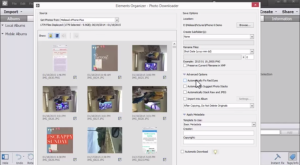
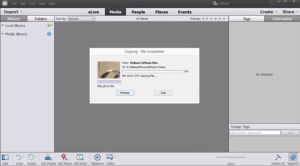
When you click Get Media Photoshop Elements will begin copying your photos into the Organizer.
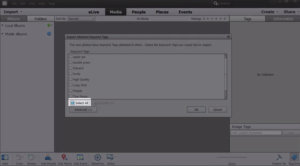
When the photos have imported the Keyword box will pop up. Click Select All to import all attached keywords.
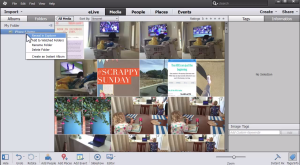
You can see where the photos are stored on your hard drive by clicking Folders.
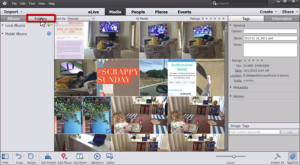
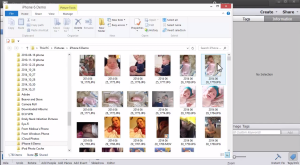
If you right click on the folder and select Reveal in Explorer...
You can see where all of your photos are stored. You can see that the files are actually still on your hard drive.
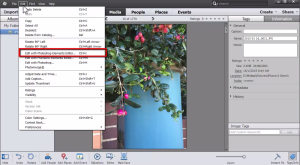
Choose a photo that you would like to edit and click Edit...Edit with Photoshop Elements Editor.
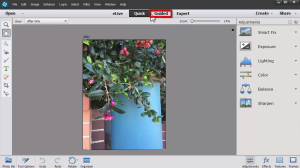
For some fun editing techniques select Guided Edit Mode.
Select Camera Effects and Depth of Field.
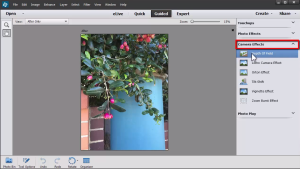
Choose Simple and then Add Blur.
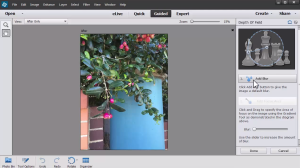
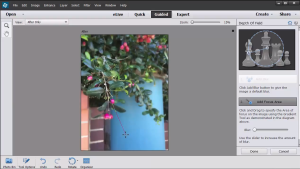
Click and drag to choose which area of the photo you would like to be in focus. Then use the slider to adjust the level of blur.
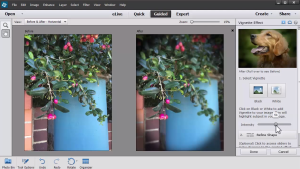
You can also add a vignette to your photo by selecting Vignette Effect.
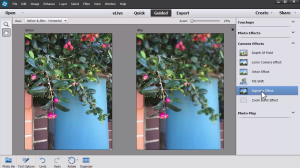
Click Black and then use the slider to adjust the Intensity.
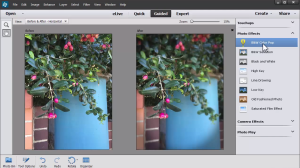
For a fun photo effect try adding B&W Pop Color Pop.
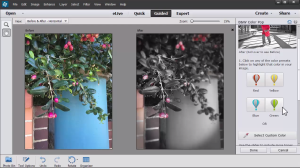
Click the color you would like to pop. In this example I chose red.
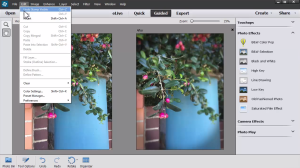
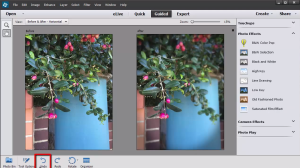
If you don't like the way the effect looks you can remove it by clicking Cancel. Or go to Edit...Undo.
Or by simply clicking the Undo button at the bottom of the screen.
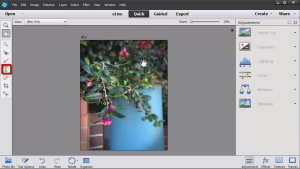
You can also add text to your photo. Click Quick Edit Mode, and then select the Text icon.
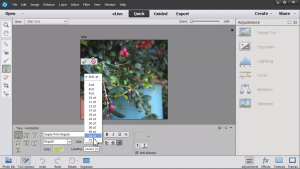
Click on the photo and begin typing. You can then adjust the Font Size in the Text Options toolbar.
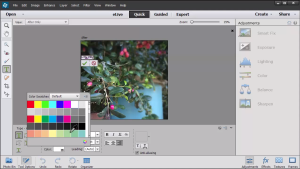
You can also adjust the Font Color.
Then you can move the text around to where you want it.
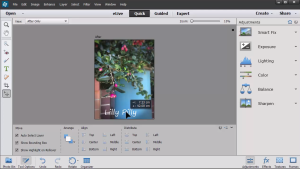
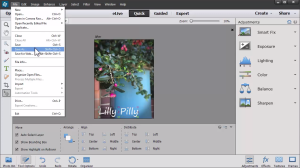
Now that you are finished it's time to save your image by going to File...Save As...and saving it as a PSD file. That will allow you to continue to edit the file in the future.
Have you tried using the Guided Photo Effects? I’d love to see it!
Link me up in the comments.

I am an Amazon affiliate so may receive a commission if you make a purchase.
Got to tame the supplies, then I’ll deal with the photos. One crisis at a time. LOL
Good plan!