If you've ever wanted to print your scrapbook pages, but it's seemed a bit daunting, I'm here to help!
I've recorded all new tutorials for you demonstrating the process for my four favorite printing services. This week we are talking all about FOREVER.
So you've got all your pages finished, proofread and saved as a high-quality image. What's next?
Now it's time to print!
How to Upload to Forever
First, you need to upload your photos or digital scrapbook pages. When you upload with FOREVER your files are kept exactly as they are on your computer, so don't have to worry about resolution or auto color correction. They also detect duplicates and let you see where the previously uploaded copy is located. This makes things so much simpler when it comes to printing digital scrapbook pages.
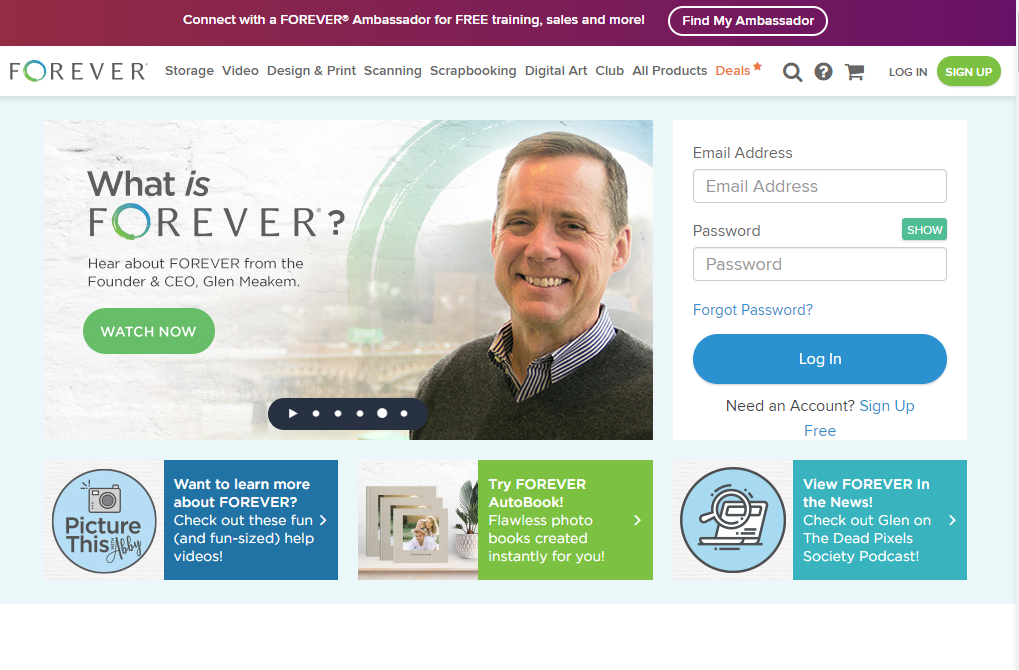
Log in to Forever (If you are new you can use my link for $15 off!)
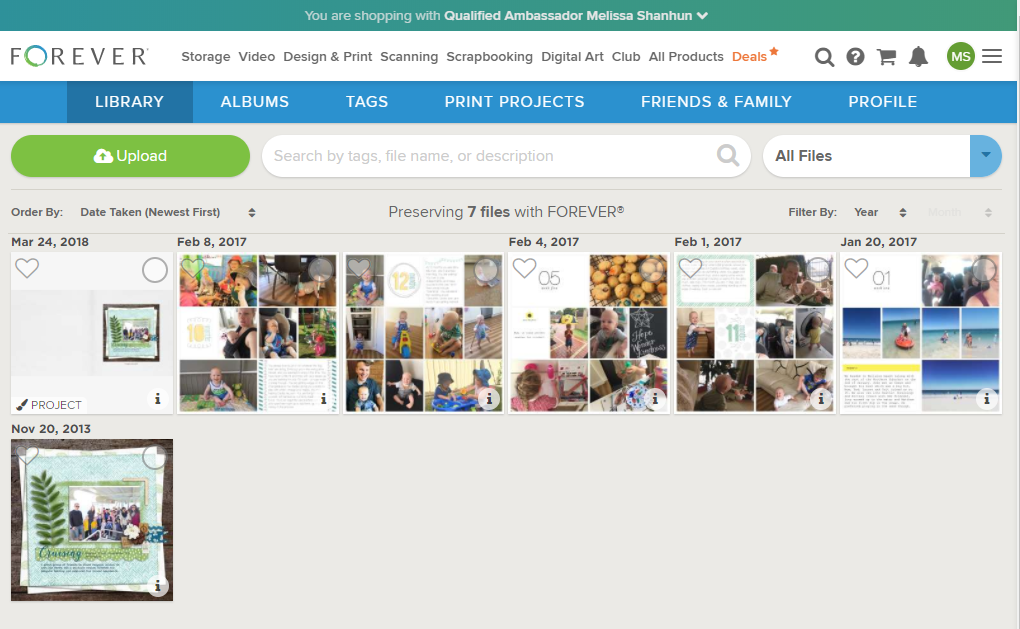
Then click Upload at the top of the screen.
You'll then be able to choose files to upload from your computer
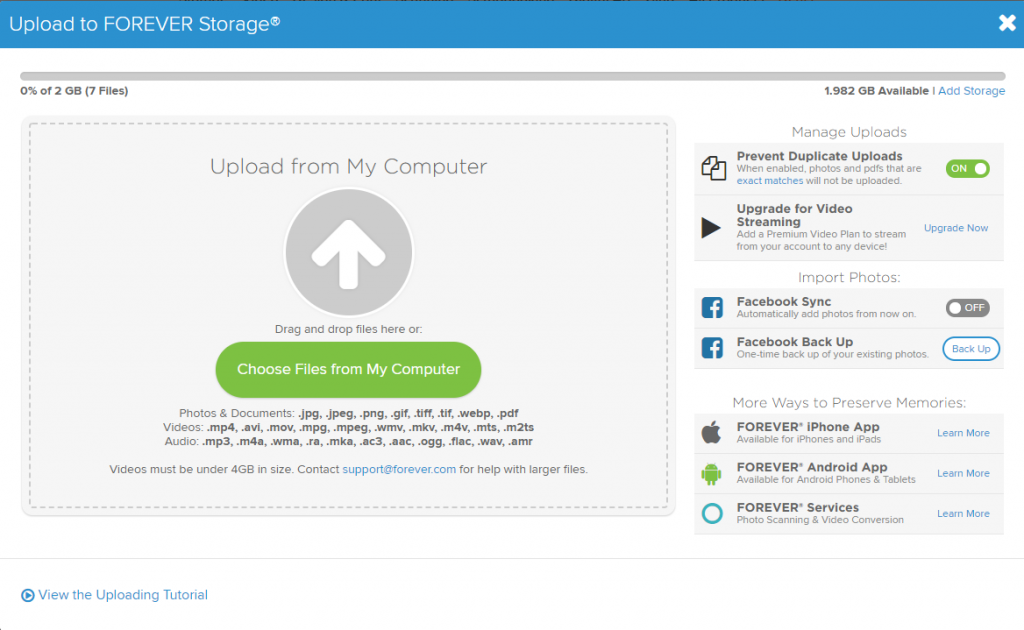
The photos and pages you select will immediately begin uploading at original resolution, and if you upload any duplicates, you'll be notified.
When you have finished uploading, simply click the I'm Done Uploading button
Creating Your Photo Book
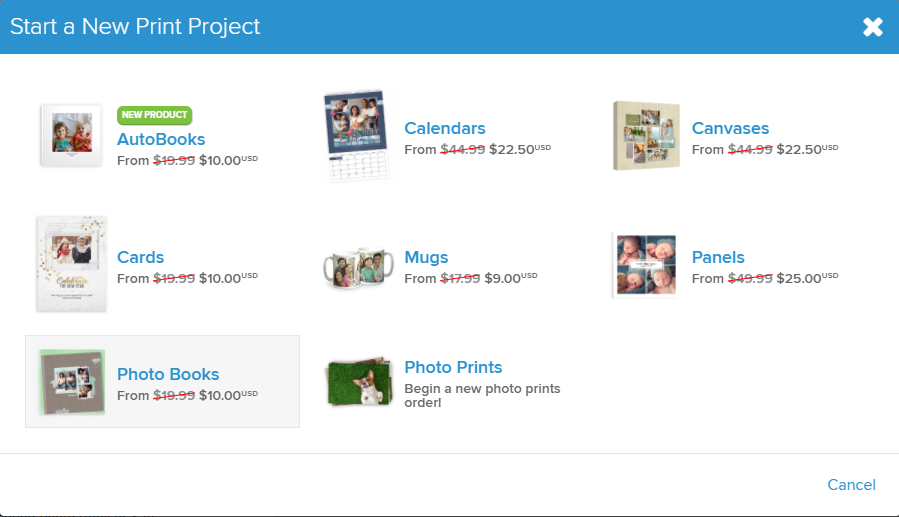
Then, you need to choose your format. At FOREVER, you can print a variety of photobooks. Simply click the Print Projects link at the top of the screen.
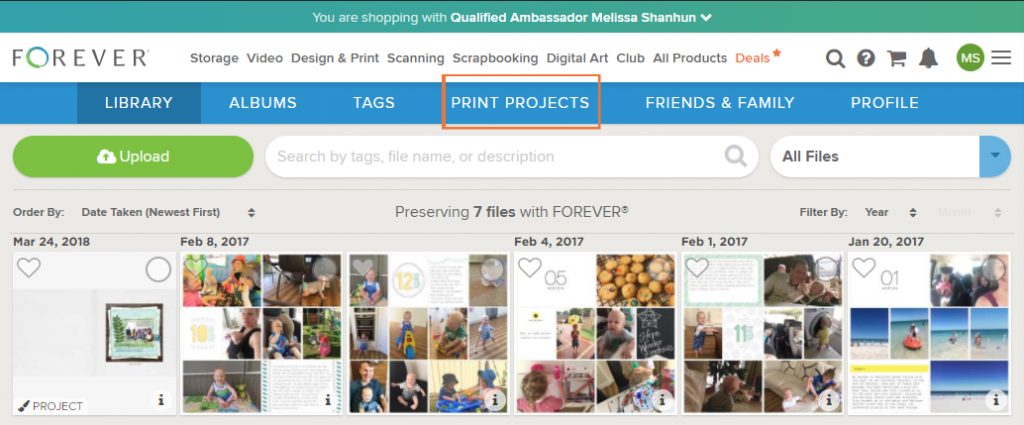
Then click the green + New Print Project button.

Then select Photo Books.
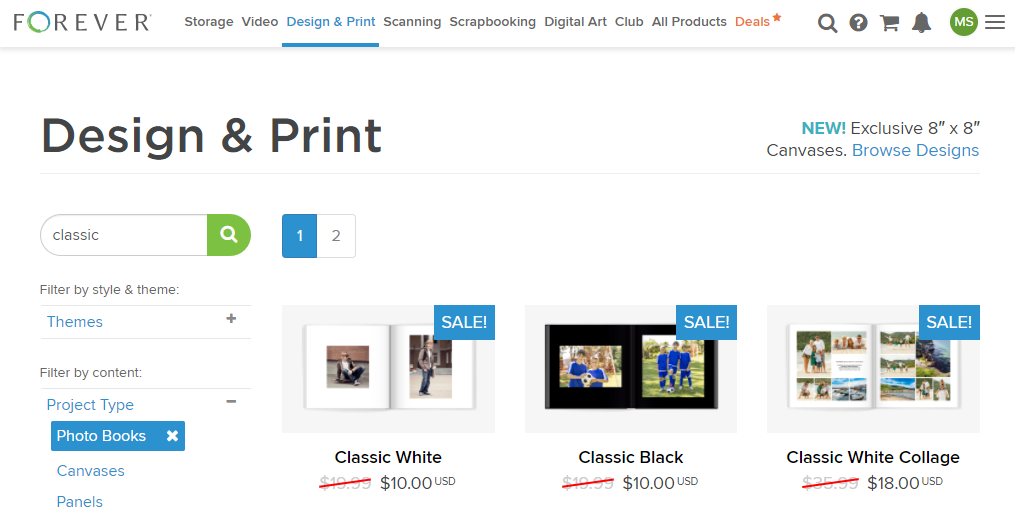
If you want to print your pages as a photo book you'll love the Classic White or Classic Black styles. This style has large photo spots for your pages to shine. To find it at FOREVER, type Classic into the search box on the left.
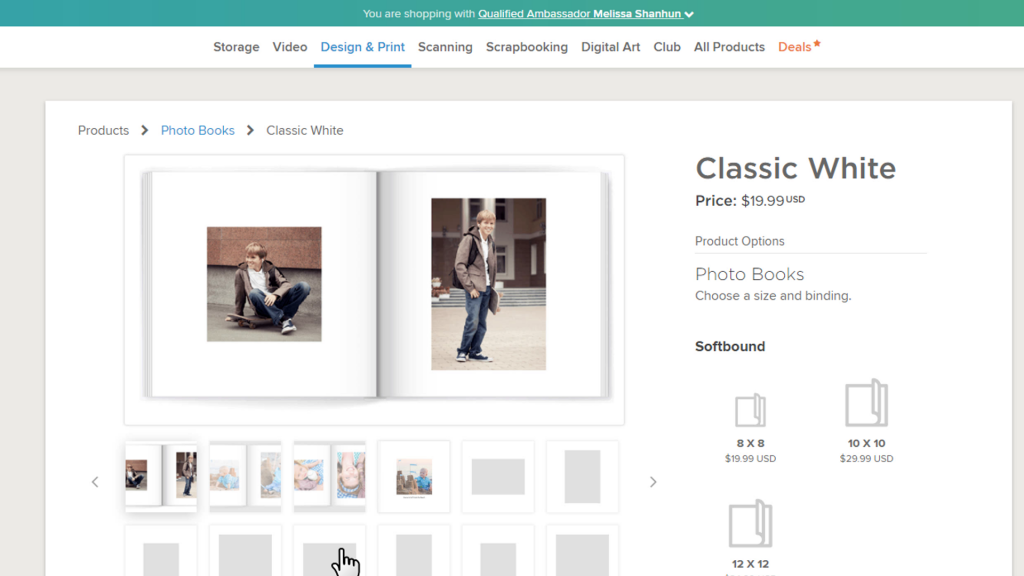
Then select the size (8x8, 10x10 or 12x12 inches) and format (hard bound, soft bound).
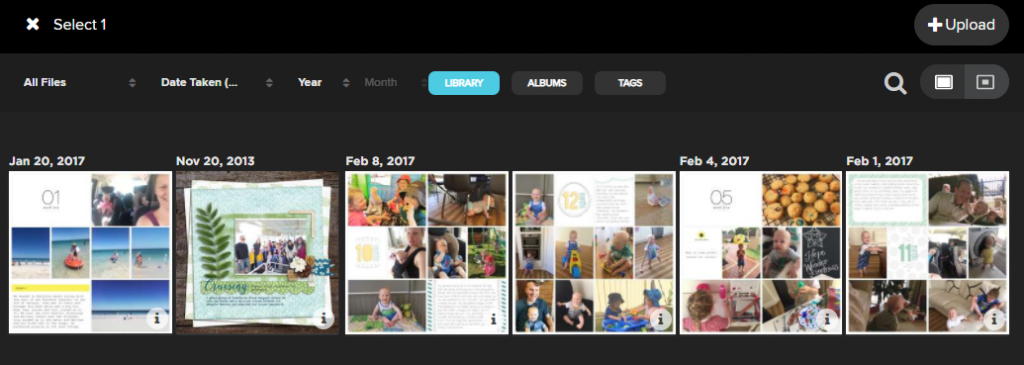
You'll be prompted to add photos, you can upload more, or select from your library at Shutterfly.
The photobook will generate. You can't have a full size photo on the front of the book, but you can change the design of the interior pages. Click on Change Design to make each page one large photo spot.
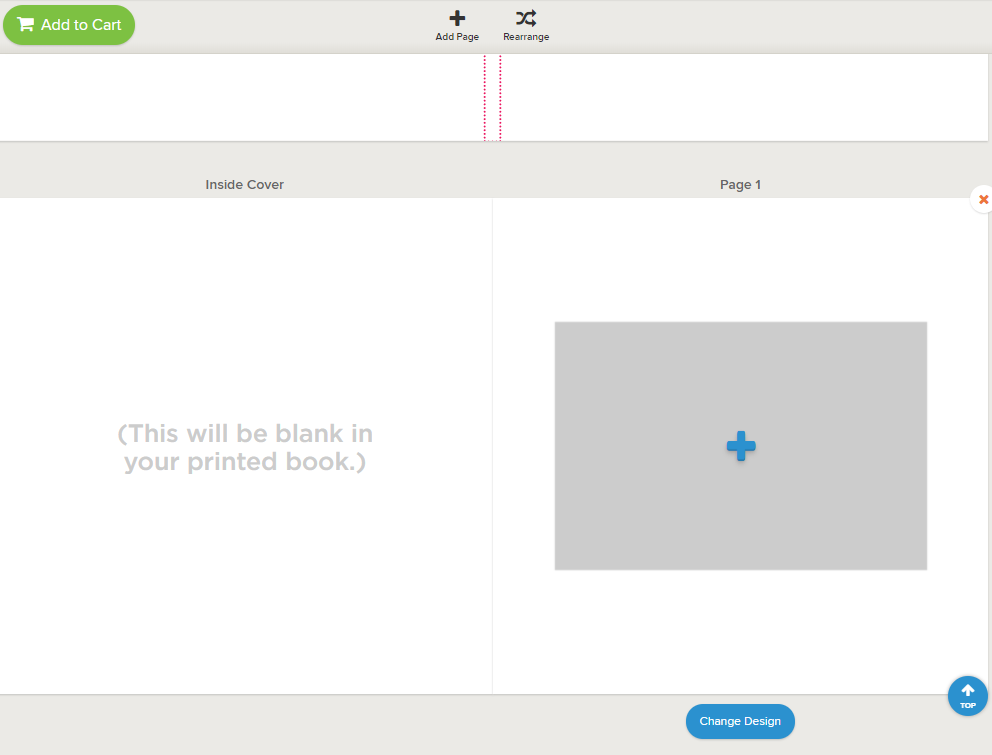
It's quick and easy to select the full page photo option.
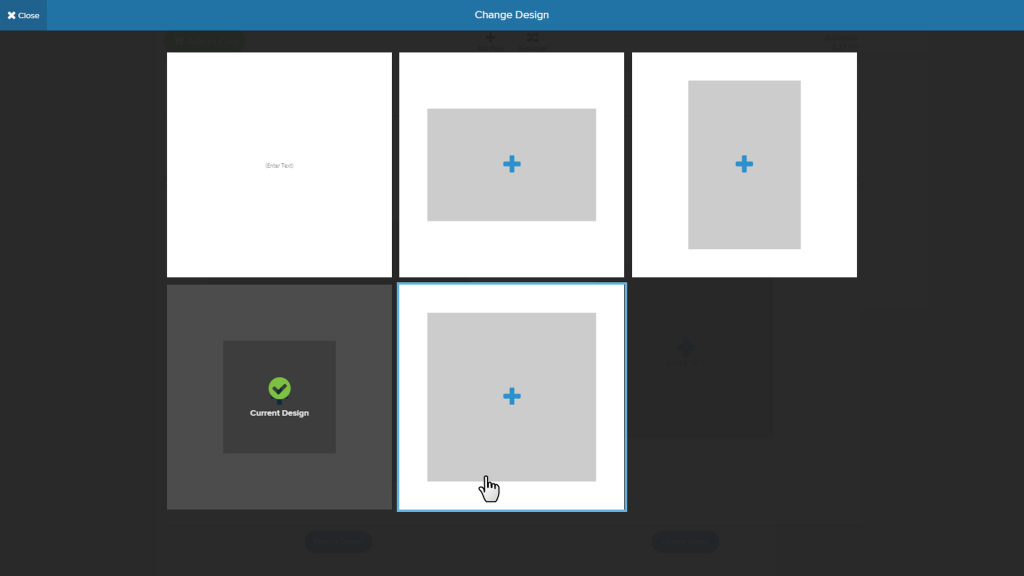
Then simply click the blue plus + to select your layouts from your library
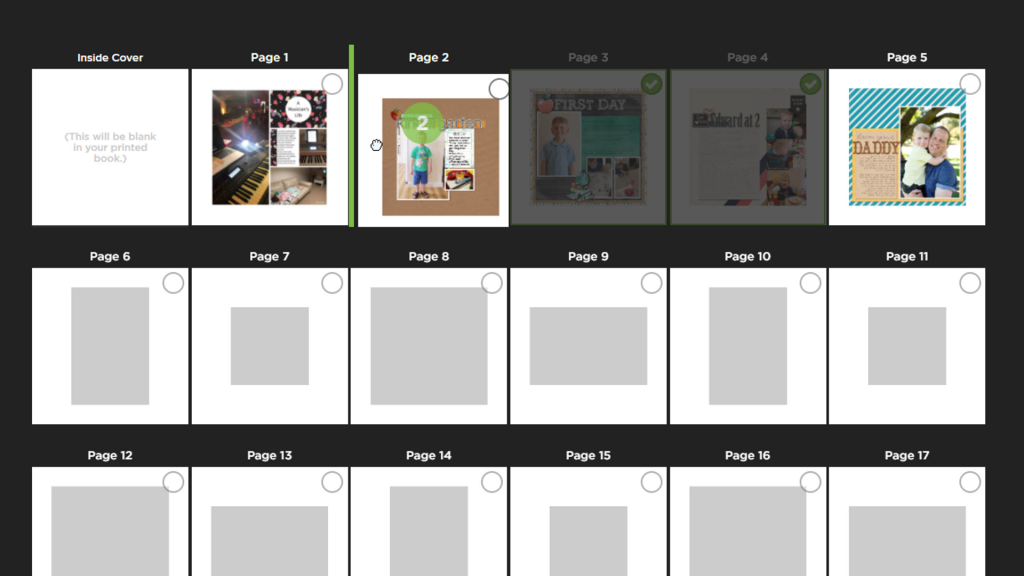
When you have added the pages you can rearrange them using the Rearrange button at the top of the screen.
When you are ready to print, simply click the Add to Cart button at the top of the screen and FOREVER will walk you through the ordering process.
Don't forget to enter any coupon codes at check out. If you are based in Australia or New Zealand, you can email me (help@digiscraphq.com) for a shipping discount!
You can see my results with Forever here (skip the first video in this playlist if you already watched my uploading tutorial above).
Happy printing!

PS Pin this for later
I am an Amazon affiliate so may receive a commission if you make a purchase.
This post contains affiliate links. This means that if you click through that link and purchase an item, I may receive a commission for referring the sale.
I only recommend classes and products that I know and trust. Thank you for using my link if you decide to purchase.
Melissa Shanhun is a participant in the Amazon Services LLC Associates Program, an affiliate advertising program designed to provide a means for me to earn fees by linking to Amazon.com and affiliated sites. As an Amazon Associate I earn from qualifying purchases.



Leave a Reply