The Quick Edit Mode is a great way to get started editing photos in Photoshop Elements. If you haven’t used Photoshop Elements before it will help you easily access the most common photo-editing options in a nice logical order. So, let’s edit an image with Quick Edit Mode.
Here are the steps you can use to improve the look of your photos. I've linked through to my tutorials to explain some steps in more detail.
- Start Photoshop Elements
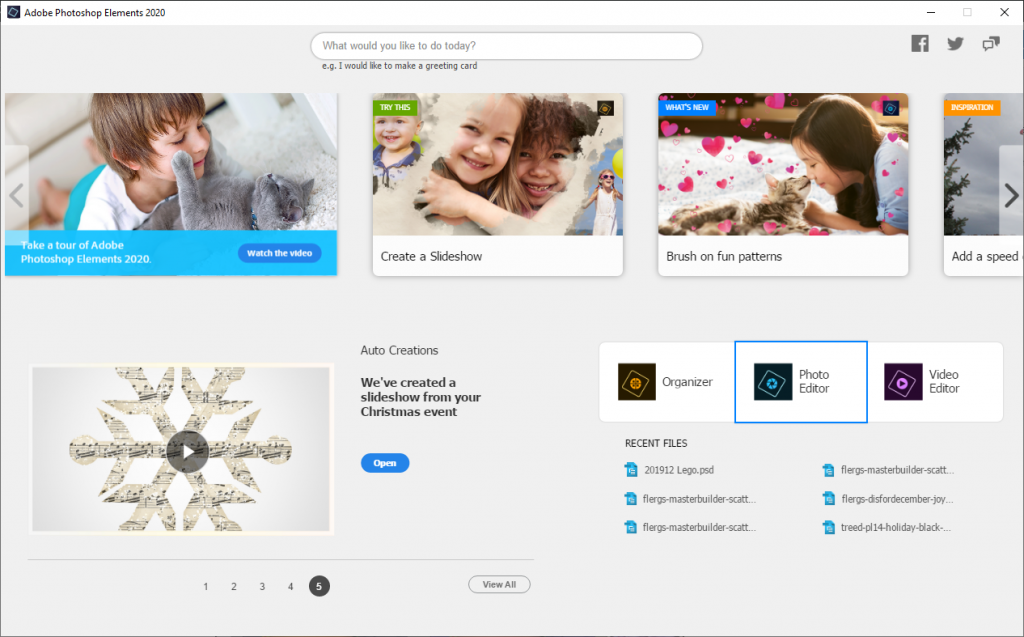
- On the welcome screen click to Photo Editor
- Click open and browse to your file
- Save your photo as a PSD file so you can com back and edit it later. You'll also be preserving the original photo this way.
- You may like to turn on the option to view Before and After, so you can see how the photo compares as you are editing.

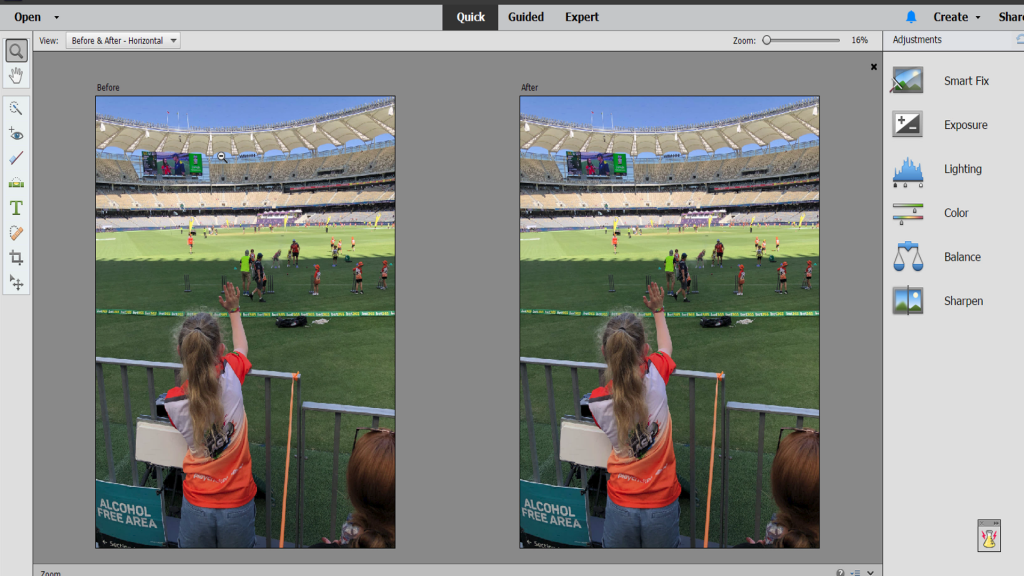
- Zoom in or out to get a better look at your photo.

- Use the Adjustment panel and adjust the color and lighting of your photo.


- Straighten your photo by drawing a line along the horizon.

- Add text to the photo with the type tool. Click once for a single line or text, or click and drag to create a text box.

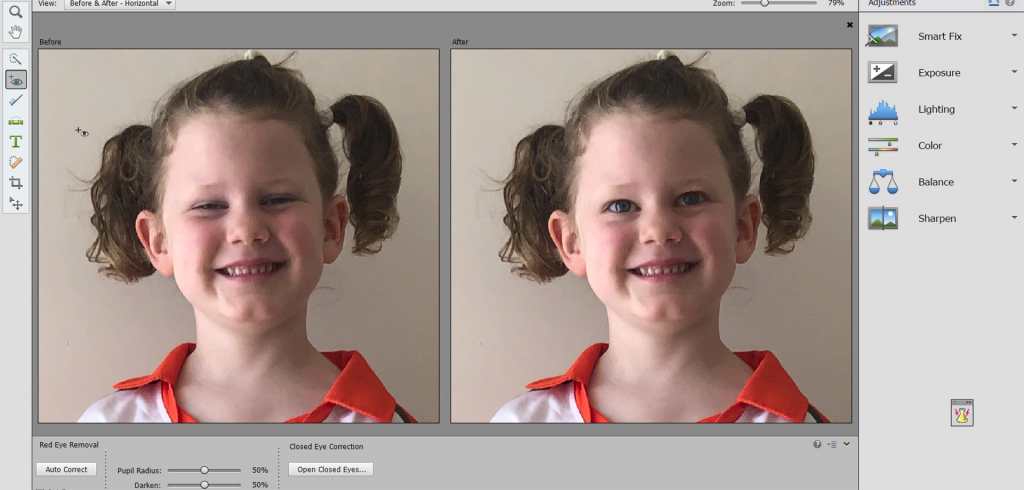
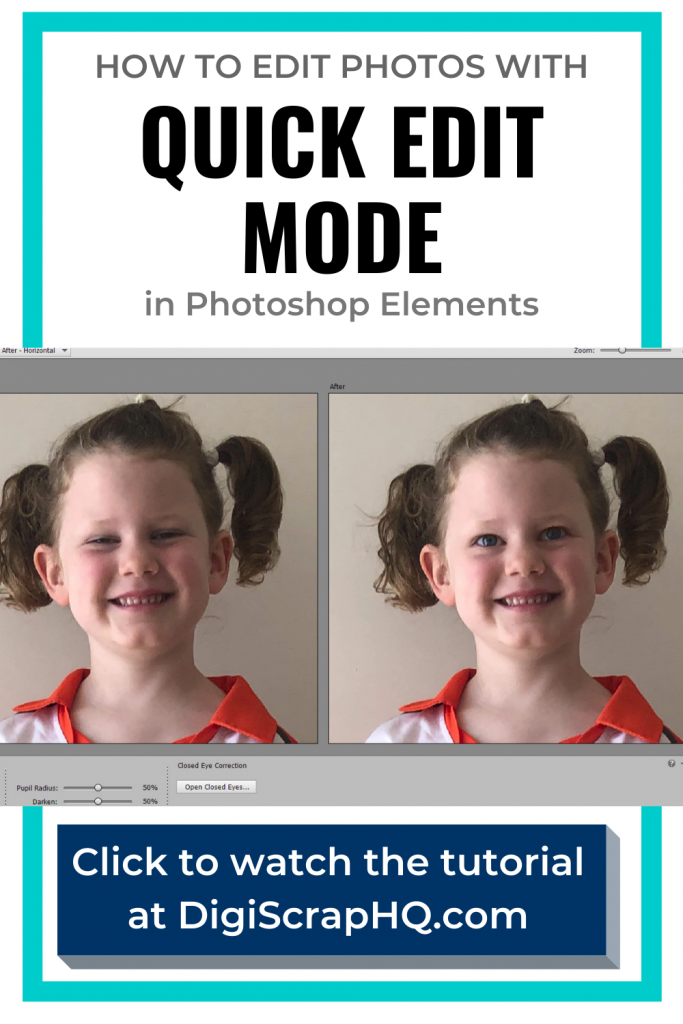
- Fix red eyes or closed eyes with the Eye tool

- Crop your photo to a specific size, or to improve the composition.
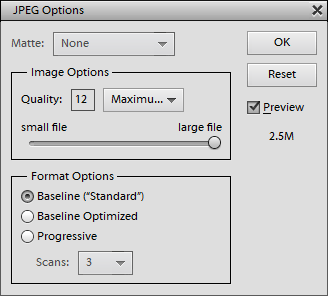
- To print the photo with a photo printing service, you will need to File > Save As... a high-quality JPG file.
In the video, I walk you through all the tools I used to edit this photo. I love the ability to open up Lucy's eyes too!
I hope this tutorial has been helpful!
You can learn more about Quick Edits in my Fast Photo Fixes class.
I'd love to help you tackle your photo problems, leave a comment below and I'll answer them in an upcoming post.
Happy editing!
PS Pin this for later!
I am an Amazon affiliate so may receive a commission if you make a purchase.

Good post. Thank you for telling us about how to edit a photo in a quick edit. It really a informative article