Have you got a cute photo that has a distracting background? With a couple of tweaks in Photoshop Elements, you can fix it up in just a couple of minutes!
When you are stepping through fixing your photos, here's the basic steps to follow:
Protect your original photo
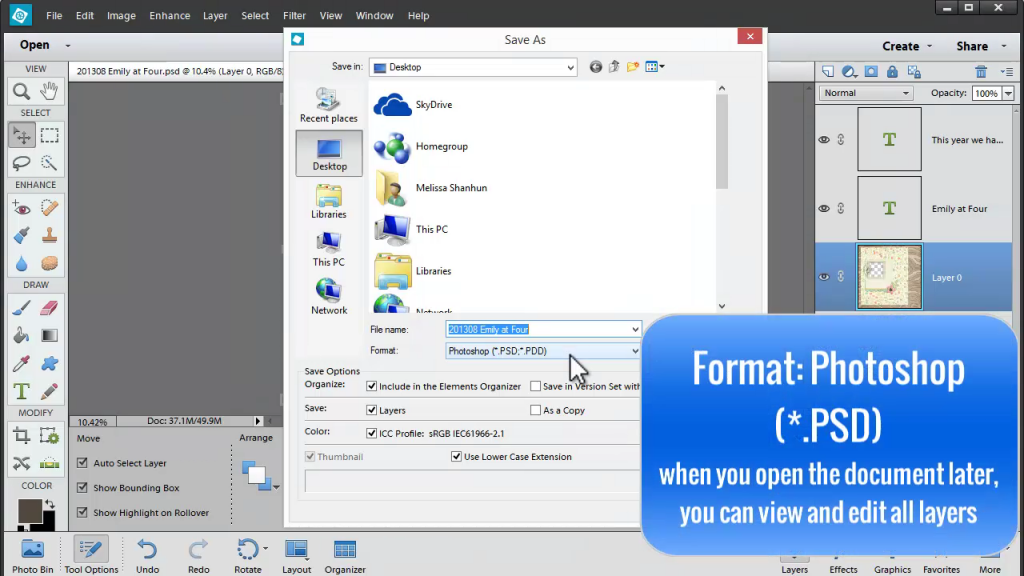
Whenever you edit a photo, you want to preserve your original photo, just in case! Here's how:
- Open your JPEG photo file
- Save your file as a PSD (Photoshop Document)
- Click Layer - New Layer or clicking the new Layer button in the Layers panel

Each time you do a new edit, adding a new layer means it's super easy to turn your edits on or off.
Remove Distracting Items from your Photo
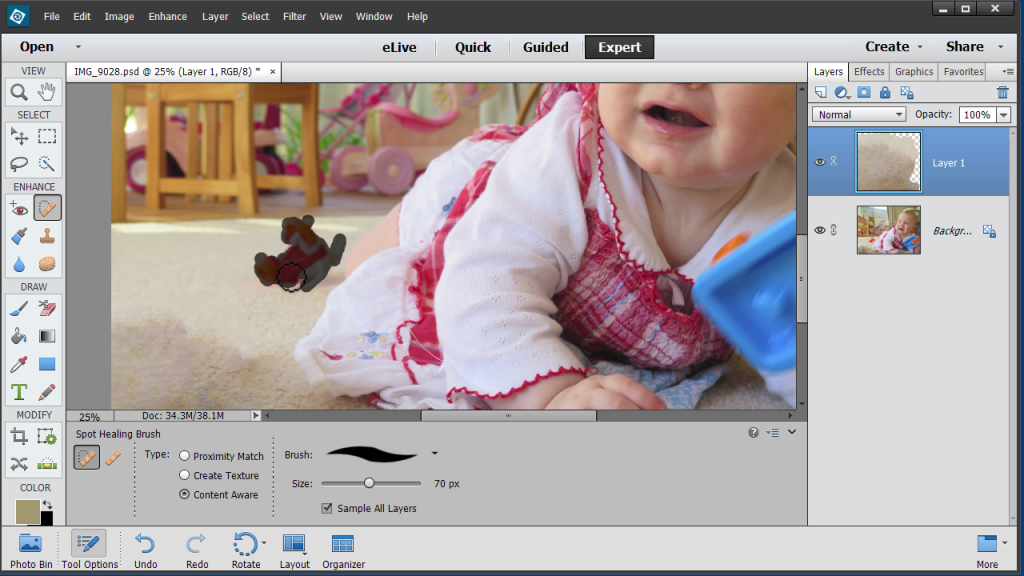
Clean up little bits and pieces with the Spot Healing Tool, in my case I used it to clean up the toys on the carpet!
- Select the Spot Healing Tool

- Change it to content aware mode

- Select sample all layers
- Draw over the items you want to remove
Add a Blank Wall
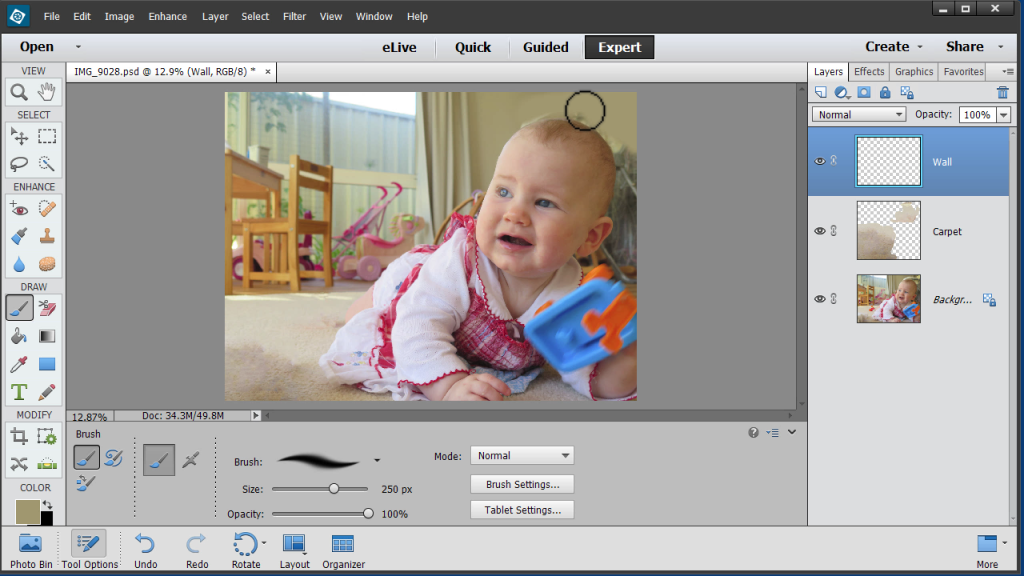
Instead of healing or cloning the rest of the photo, I will often just add a blank wall behind my subject when the background is distracting.
- Use the Color Picker tool to sample the wall
- Create a new layer to be your wall
- Paint over the area you want to be blank
Clean Up Your Edits
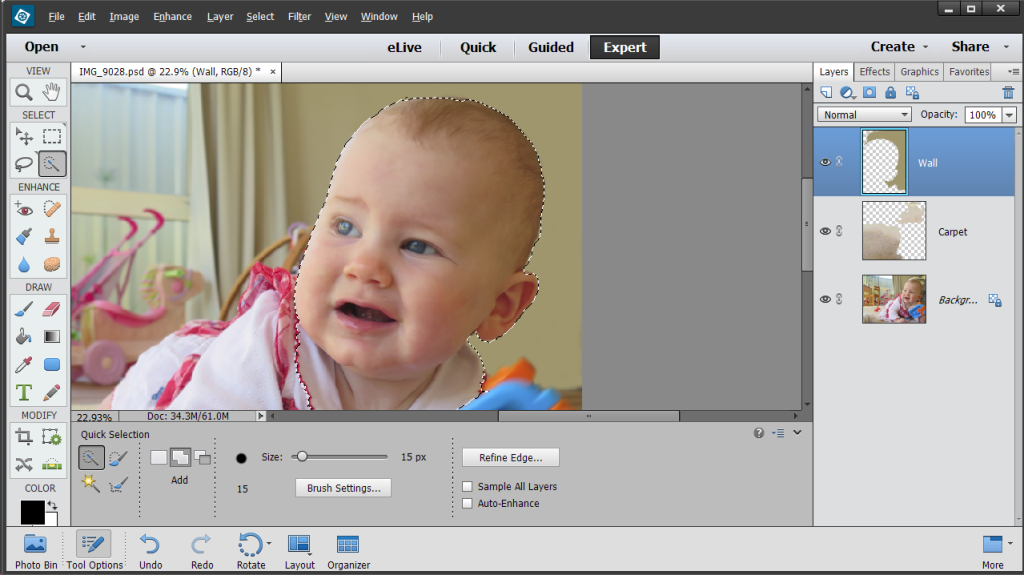
In the video, I show a way to clean up your edits easily:
- Select the original photo layer
- Use the quick select tool to select the main subject of your photo
- Click to select your 'wall' layer and press delete
- Voilà! Any stray marks on your photo subject are gone!
What About the Basics?
I've shown you some of the power of Photoshop Elements here today, but if you want to learn more about the very basics, Photo Editing for Absolute Beginners is where to start.
I am an Amazon affiliate so may receive a commission if you make a purchase.
Leave a Reply