Let me show you how to use the spot healing tool and the skin smoothing smart brush to retouch skin and remove wrinkles in Photoshop Elements.
Remove Fine Lines and Wrinkles
Before you start editing any photograph the first thing you want to do is click File-Save As and save as a PSD file. That way you always have the original photo to go back to if you don't like your edits.
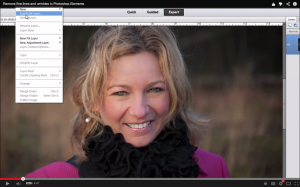
Then go to Layer-Duplicate Layer so that you have a backup photo within the Photoshop document in case you need it.
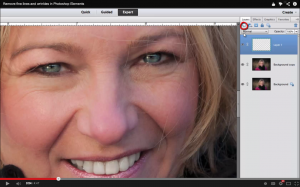
In the layers palette click on the New Layer icon.
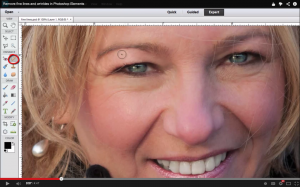
Then select your Spot Healing Brush in the tool panel on the left.
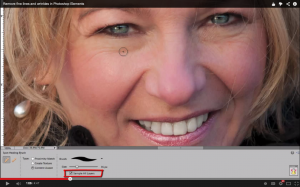
At the bottom make sure that Sample All Layers is checked.
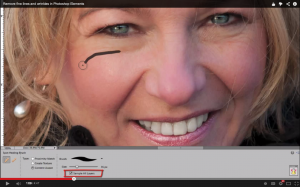
Then click and drag to paint over the fine lines and wrinkles.
There is no need to erase every wrinkle. That would make the photo look completely unnatural. But removing some of the main lines and wrinkles can help make your subject feel more comfortable about the photograph, especially if you are printing it as an enlargement.
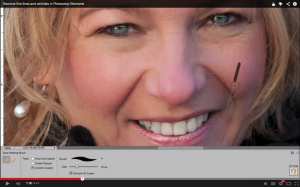
You can also use this tool to remove the hair off her face. If you need to adjust the brush size press [ to reduce the brush size and ] to increase it.
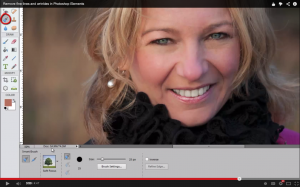
For more general skin softening select the Smart Brush in the tool panel on the left.
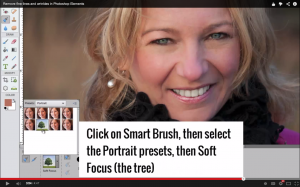
Within the Portrait presets choose Soft Focus (the tree icon).
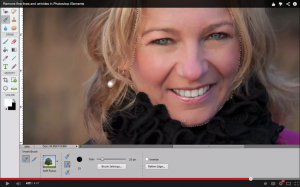
Paint all over the face to select it all.
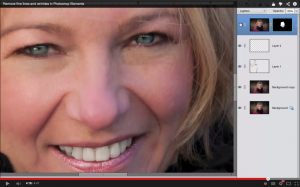
With your black brush selected you can paint on the mask to sharpen the eyes and the teeth.
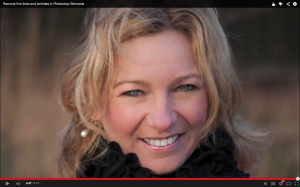
And now you have a lovely photo that anyone would be proud of!
Have you removed fine lines and wrinkles from a photo? I’d love to see it, link me up in the comments.
PS For this technique and 6 others check out Mother's Little Helper!
I am an Amazon affiliate so may receive a commission if you make a purchase.

If you use just a little of the cream, it does not work. It was very
disturbing to see how it provides no result. If you use a lot it peels
off.
http://stylezntips.blogspot.com/2017/08/instant-wrinkle-remover-radio-frequency_19.html