Hi, my name is Cara from thehootingpirate.com and I'm so happy to be here. I'm also so very excited for Melissa, I absolutely adore newborns. Enjoy that sweet bundle Melissa, it goes by all too fast!
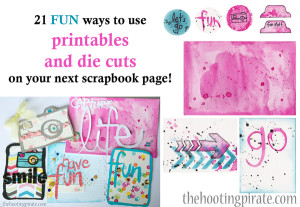
There are so many pretty die cuts and printables out there, it's hard to even know where to start! Honestly, it can be a little overwhelming at times. Not to mention, that once I started using cut files and printables, I felt like I was doing the same thing over and over and after a while everything started looking the same and I decided I needed to liven things up. So I got creative and made a list of different ways to use both cut files and printables and here is what I came up with.
CUTFILES
1. Make a shaker box with a 'hole' in the die cut. Glue a clear top to the back of the die cut (I used a bit of packaging), add foam adhesive all around the outside (with no space between so nothing can fall out) and with your die cut facing down put in sequins, beads or confetti. Then, add a piece of cardstock to the back to hold it all in. It's ready to go on your page!
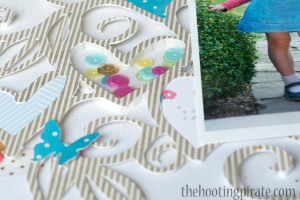
2. Cut an image twice, the second cut in a shade of paper slightly darker than the first. Layer the lighter colour on top, off set just a bit so the darker one shows only slightly on one side to act like a shadow.
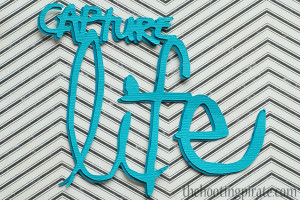
3. Use pop dots on just parts of the die cut, this will give the illusion of movement or flow. This works great on things like swirls, flowers and banners.
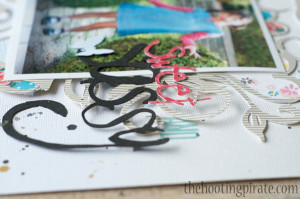
4. Who says die cuts have to be all one color? Cut it up, either in your die cutting programme or cut the actual paper once it's been cut, and mix up the colours.
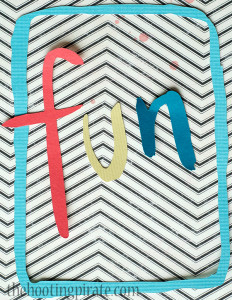
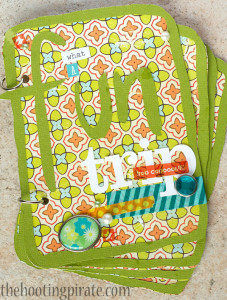
5. Use a frame or box shaped die cut to make a mini album. Cut as many as you need to make the covers and pages and back them on cardstock or patterned paper that has been cut just around the outside edge.
Do you love those huge background die cuts but find them hard to use?
6. Try cutting one out the same color as the background colour of the and glueing it directly for some added texture.
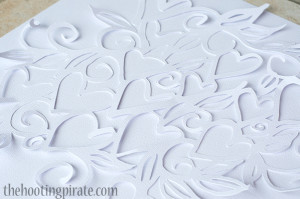
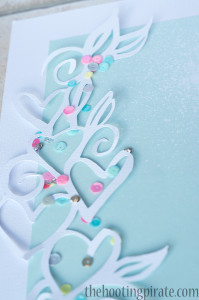
7. Another idea is to cut up those background die cuts and use them as accents and borders.
What about storing those extra die cuts or 'binge cuts' to quote Ana Cabrera? If you leave them in a pile or in a box they just end up in a tangled mess and are practically impossible to separate with out ripping something... or even everything!
8. Add removable spray adheasive to a piece of paper and lay the cut files on the page. They are, not only ready for use when you want them, but also on display so you can find what you want easily. Plus, it's easy to put them away, just lay it on the paper. No trying to sort or sliding the fiddly things into pockets. The same page can be used over and over.
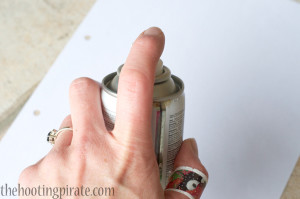
(Like my Muppet band-aid? I cut myself on my silhouette mat of all things! Be careful with yours! LOL)
9. Of course, these pages will stick to each other and everything else they come into contact with, so I suggest putting them in a binder and either covering each page with a bit of plastic packaging or easier still alternating sticky pages with page protectors from the office supply store. Again, very easy, no mess! It works like those old magnetic photo albums.
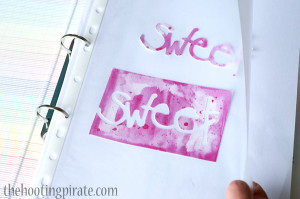
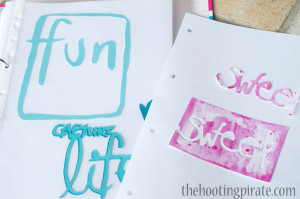
10. You can then easily store your cuts by colour, theme, etc within the binder, just by moving pages around.
PRINTABLES
11. To add variety and make your prints unique, print them onto patterned paper. Something simple like text or music paper would work really well.
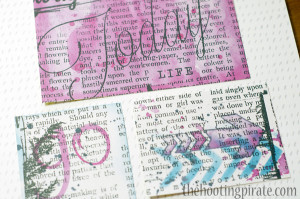
12. Print them out really small, who says they have to be the size the designer made them. Dinky little printables make for cute and versatile embellishments!
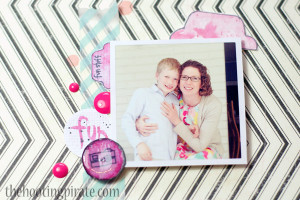
13. Add a little Diamond Glaze or Glossy Accents to add a little shine to your printables.
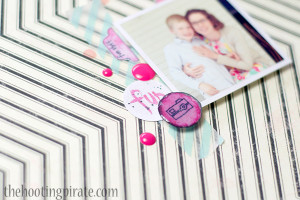
14. Layer your printables along with a mix of embellishments for a pretty and trendy accent.
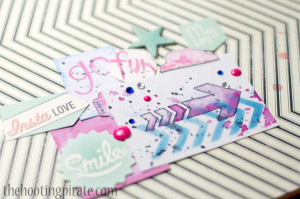
15. Use your punches to punch shapes from larger prints.
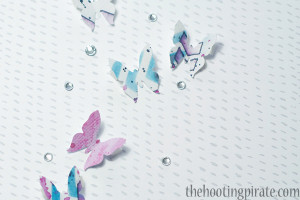
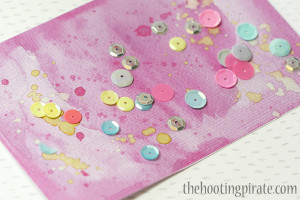
16. Add some paint splatters for some extra texture and shine (I used gold metallic paint here then added sequins).
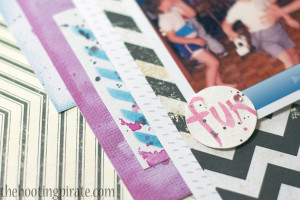
17. Use them along with some patterned papers for a fresh, layered look under a photo.
18. Print a bunch onto regular computer paper and decoupage them onto a sheet of card stock with mod podge for a unique background.
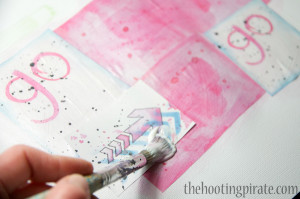
19. Print them out onto thick cardstock or even watercolor paper to use them they same as a chipboard element.
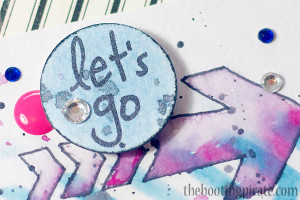
20. White wash over a busy image with watered down paint or gesso to use the printable as a journaling card.
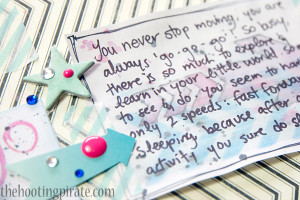
Then it's always possible to use printables and die cuts together!
21. After printing your image run it through your die cutting machine with a favorite cut.
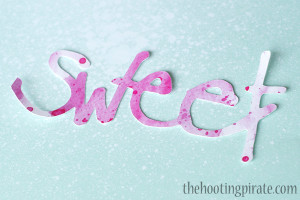
 I really hope that you enjoyed this list and that you found something that inspired you to go out and scrapbook today! If you like the printables and die cuts that I used you can find them all for free (along with a free class) on my website www.thehootingpirate.com, with the exception of the heart and leaves background cut (that's from Wilna Furstenburg and you can find that at iheartstudio.ca) and the 'sweet' cut file (which you can email me at cara@thehootingpirate.com and I'll send it to you). If you'd like more information on using the silhouette Cameo, Melissa has a class for that here.
If you are inspired to make something by any of these ideas, please email me at cara@thehootingpirate.com I'd love to see what you've made! What other ways have you used printables and die cuts? Let me know in the comments I'd love to hear 😀
I am an Amazon affiliate so may receive a commission if you make a purchase.
Great ideas!
Thanks for the great ideas! Loved your examples!
That was fun! Sometimes we just don’t think of there being so many ways until we see them all together! Great ideas!
Thanks everyone for your sweet comments!
Great tips, Cara! The Silhouette is still on my wish list 🙂
Oooo I hope you get one Connie, so so much fun!
Loved these ideas. TFS.