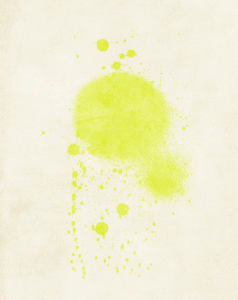
Mists and ink splatters are all the rage in scrapbooking these days, and you may be wondering - How can can I do it with Photoshop Elements.
In today's video I'll show you how to create your own spray mist using some free brushes.
Let's go!
Create a Spray Mist using a Brush

This is a two step process, but it will save you hours of drying time!
Install your brush
- Download one of the brush sets from my Spray Mist resources page.
- Unzip the file, it will be an ABR file.
- Click on Edit - Preset Manager.
- Click on the Preset type drop down menu and select brushes
- Click on the load button
- Browse to the .ABR file (that you just unzipped)
- Click open
- Select your new brush from the Brush options bar
Stamp your spray mist on your page!
- Create a new layer (Ctrl+Shift+N or Cmd+Shift+N on a Mac)
- Select your brush
- Resize using the [ or ] keys to make them smaller or larger
- Click once to stamp the brush
- Adjust the opacity or blend mode of your layer until you are happy with the result.
Interested in learning more techniques like this?
 Check out Digital Scrapbooking Secrets for my video workshop covering stamping, misting and other fabulous techniques.

I am an Amazon affiliate so may receive a commission if you make a purchase.
Thanks Melissa – I will have to try this out next time I scrap!
🙂 Do! It’s a fun technique Luly