Today I want to show you how you can add brushwork or a frame to your photograph.
Have you seen thousands of gorgeous Photoshop brushes online? Did you know you can use them in Photoshop Elements?
Use brushes to add personality, distressing and even a title spot to your photo.
Add Brushwork to a Photo
Begin by opening your photo in Photoshop Elements
Then click File-Save As and save your photo as a PSD file.
Go online and search for a brush that you want to use. (Here's a starting place)
Download the brushes you want. Double click to open it and find the brush ABR file.
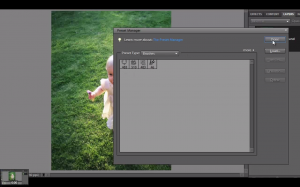
Photoshop Elements go to Edit-Preset Manager.
Choose Brushes and click Load then select the brushes you downloaded.
Click Layer-New Layer to add a layer on top of the photo.
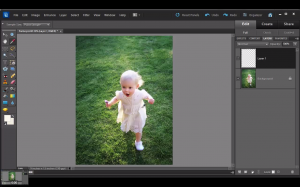
Use the eyedropper tool to select a color for your brush. Click on the photo to sample the color you want.
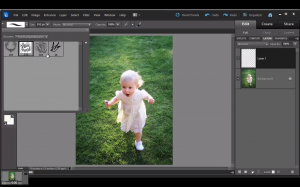
Go back to the brush tool and select the brush you want to use.
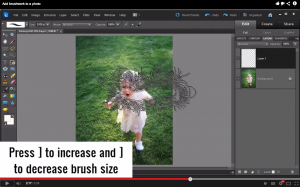
To increase the brush size press the right square bracket ] to make the brush larger. Click the left square bracket [ to make the brush smaller.
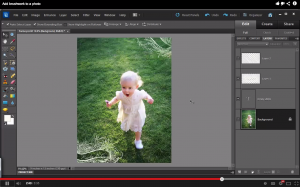
Click on the photo to add your brush. Use the move tool to move the brush where you want it.
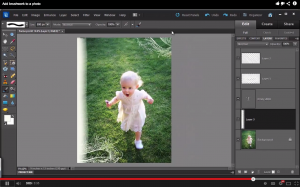
To add a bit more brushwork around the edge click on the brush tool and choose the Watercolor Loaded Wet Flat Tip Brush.
Click and drag to add brushwork to the sides of the photo.
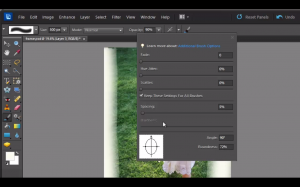
Click on the brush icon in the top tool bar to change the angle of the brush to 90 degrees. That allows you to brush across the top and bottom as well.
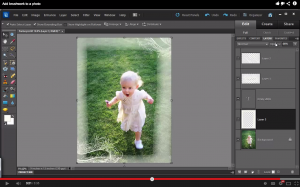
In the layers panel reduce the opacity of the brush layer to suit your taste.
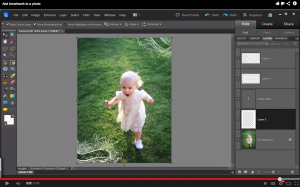
Now you have a finished image with beautiful brushwork!
Have you created a layout with brushes? I'd love to see it, link me up in the comments.

I am an Amazon affiliate so may receive a commission if you make a purchase.
Leave a Reply