When you have a smartphone, it's super easy to whip up cute phone photos using all the apps available to us. Did you ever think to bring those images in to Photoshop Elements for a little bit of fine-tuning? Here's a few ideas of how you can add a little something-something in Photoshop and upgrade those app pages!
Masking
Masks are so handy to do more involved editing of your app scrapping pages. In this layout, I combined two layouts I created in Rhonna Designs App.
The original layout looked like this:
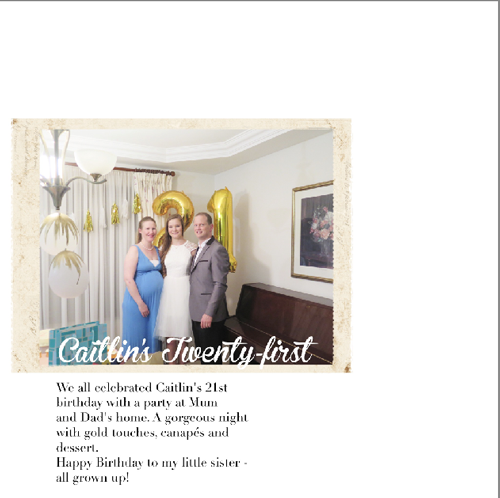
I decided to add a different background after I created the page so I added a background (also from the Rhonna App) in Photoshop Elements.

Here's how:
- Drag in the background image
- Duplicate the journalling from the original page
- Mask away all but the photo from the original page
- Change the blend mode of the layer with the journalling to Darker Color. That way the gold dots showed through behind the text.
Journaling
A simple way to level up your app photo collages, or any photo is to add journalling in the blank space on a photo. It's a lot harder to tap away at your phone than to type out some journaling on your computer. Plus, you can save part way through and come back to edit a typo easily!
Clipped Images
I love Timehop and I have used the Then and Now collages in my scrapbook pages. See the bottom right pocket? I simply saved the photo of Emily and Lucy wearing the same shirt and created the image in Timehop, then clipped it to photo spot and added journaling using the type tool.

Actions
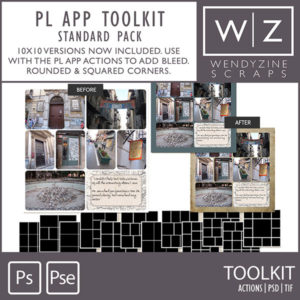
For many of us, the Project Life App is one of our most-used memory keeping tools. But, you can't add text to a photo, or adjust the drop shadows and there is not enough bleed built in if you want to print your pages in photobooks. To solve all that, Wendyzine has created actions to allow you supercharge the Project Life App. These actions take your JPG pages exported from the app, adds a heavier drop shadow (which you can control by editing the provided template overlays in advance). Then it adds bleed to your pages. Choose from any color background or import a digi paper.
I love using these actions so my app pages match the pages I create in Photoshop Elements. I love that I can save the PSD part-way through the process to add embellishments, extra journaling or papers.
Of course, you can run any actions on your app scrapping when you bring it into Photoshop Elements. I've been known to run RadLab on a Project Life App pages, then just mask the changes to affect only a single photo on the spread instead of the whole document. Masks to the rescue again!
Online Images
Need a Hand Getting the Images off Your Phone?
In this article I've assumed you already know how to get these images off your phone and into Photoshop Elements. But if that's new to you, here's a couple of tips.
Most apps have a save to Camera Roll or equivalent option when it comes time to share your images.
If you are given an option, you'll want to choose the highest resolution. Select the option with the largest image size, or pixels.
Then the image will be located in your photo library alongside any photos you have taken on your phone. You can then move the photos to your computer via cloud services (Google Photos, iCloud, SkyDrive, Dropbox) or by dragging the photos over from your phone when you next plug it in.
If you need help controlling the chaos of phone photos, take a look at my class Get Organized: Photos. It will help you make your photo library less of a chore and more fun!

I am an Amazon affiliate so may receive a commission if you make a purchase.

Leave a Reply