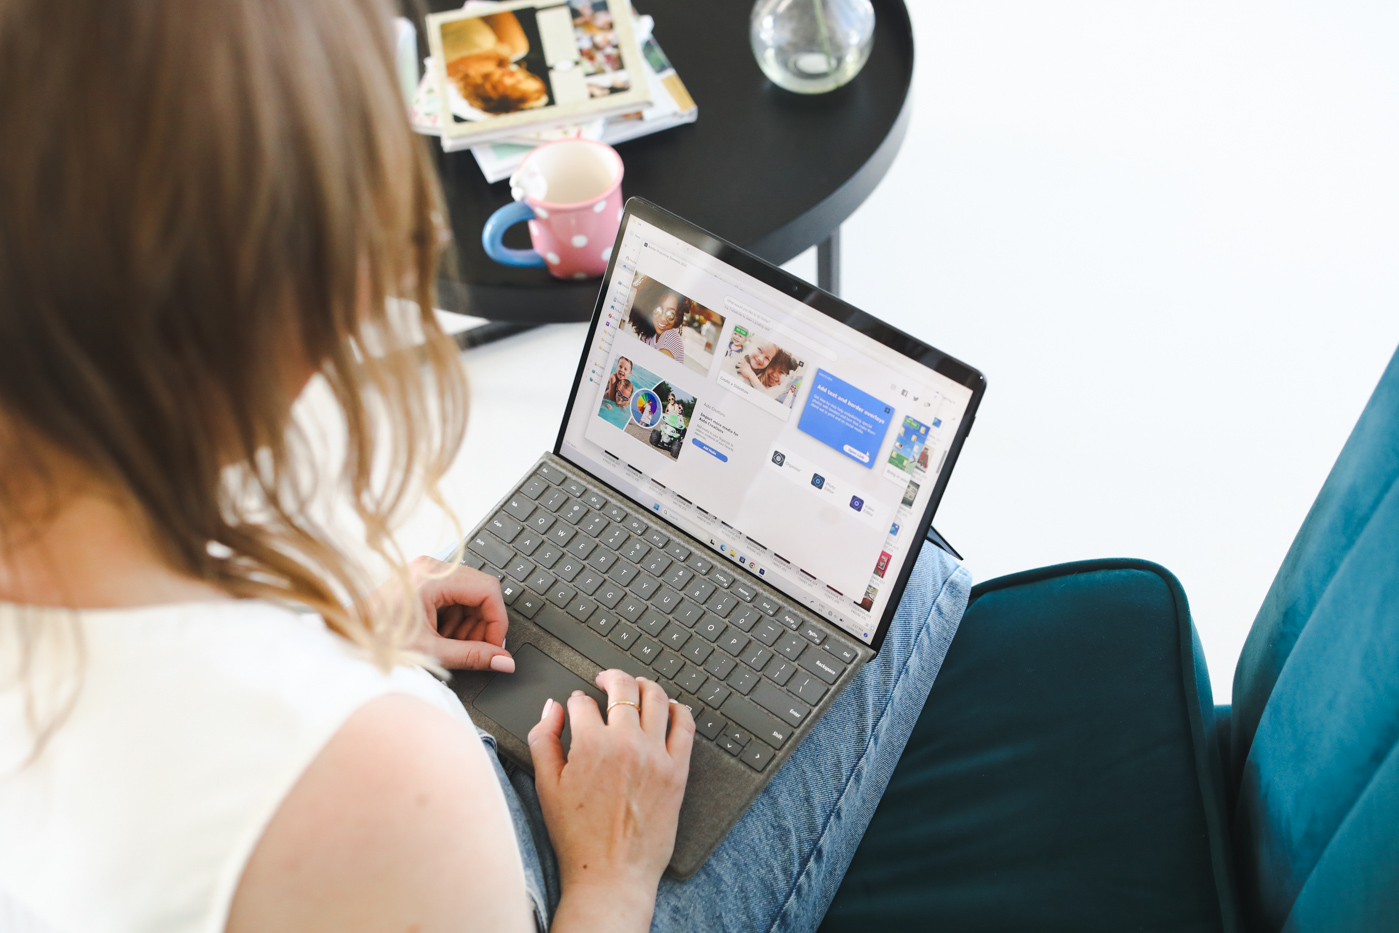
Have you ever been frustrated with printing your photos at home? It seems like it always wastes so much paper, right? Well, I’ve got a solution for you. In my latest video, I show you how to print multiple photos on one piece of A4 photo paper using Adobe Photoshop Elements 2024.
Want to see the full step-by-step process? Check out the video below:
Here's a quick rundown:
- Open Photoshop Elements and go to the photo editor.
- Switch to advanced mode, and create a new blank file.
- Select your paper size and rotate it for better alignment.
- Drag and drop your photos onto the page.
- Use guides to precisely place and resize your photos.
“The beauty of this method is you can resize your photos without losing quality. They remain smart objects, so resizing them smaller or larger doesn’t affect their clarity.”
Once your photos are perfectly arranged, just hit print, and voila! You’ve got beautifully printed photos without the waste.
If you would like to download my pre-made templates for printing on Letter, A4, and 6x4 paper, you can get them as part of my brand new Photo Editing for Absolute Beginners class.
If you are keen to know which printer and paper I recommend, you can check out my Amazon list here.
If you are looking for the instructions for letter-sized paper, check out my post here.
Happy printing!

I am an Amazon affiliate so may receive a commission if you make a purchase.
This post contains affiliate links. This means that if you click through that link and purchase an item, I may receive a commission for referring the sale.
I only recommend classes and products that I know and trust. Thank you for using my link if you decide to purchase.
Melissa Shanhun is a participant in the Amazon Services LLC Associates Program, an affiliate advertising program designed to provide a means for me to earn fees by linking to Amazon.com and affiliated sites. As an Amazon Associate I earn from qualifying purchases.

Leave a Reply