Do you love your iPhone? I do! Today Monica shares about one of our best loved photo editing apps. I love Pic Tap Go because not only is it easy to use, it preserves the photo quality and metadata of my images. That means when it's time for printing, the end result looks fab!
I've done my fair share of photo editing with Photoshop Elements, and I love all of Melissa's tutorials, but sometimes I want a quick and easy way to edit on my phone. That's when I turn to PicTapGo. It truly is as simple as choose a PIC...TAP to apply your filters...and GO share the photo!
I start by launching the app on my iPhone. At this point in time PicTapGo is an iPhone only app, there isn't an Android version available.
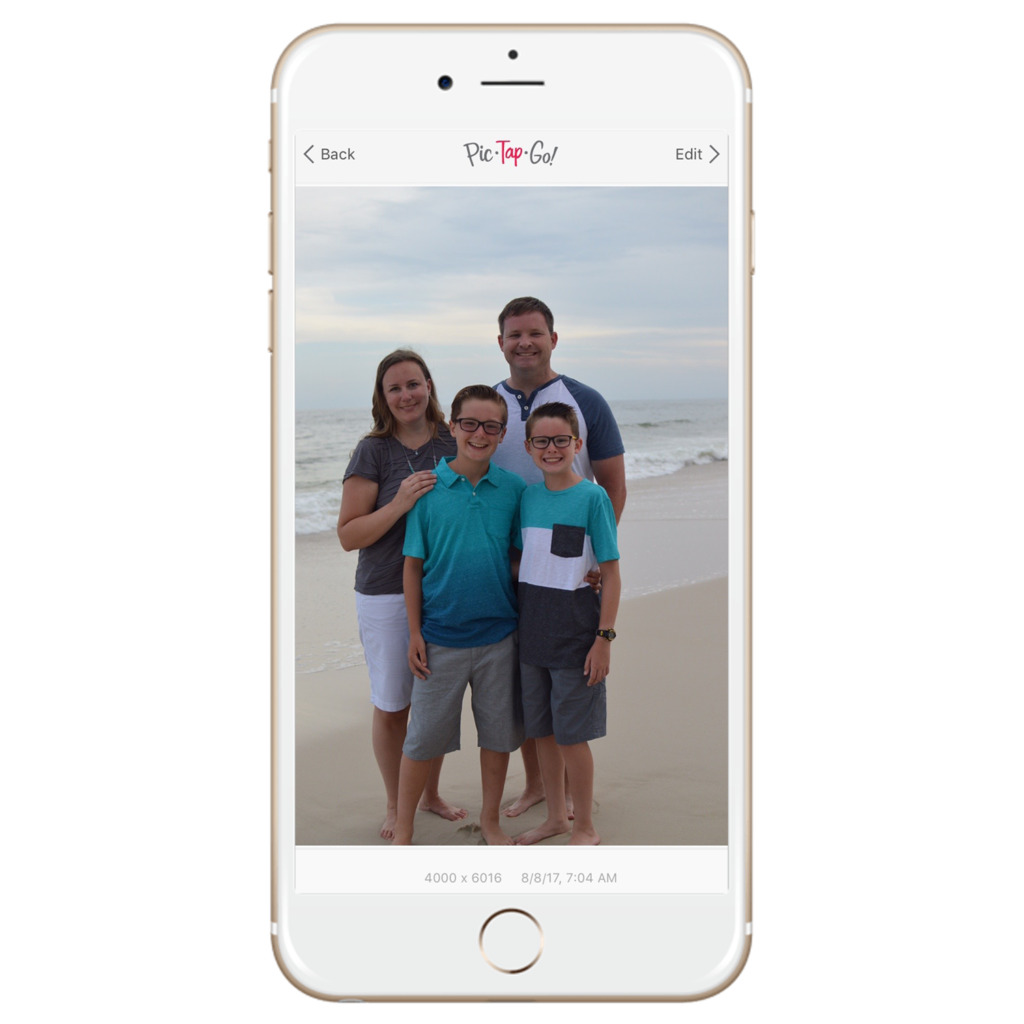
When the app first launches it takes you to your phone's Photos album. Choose the picture you want to edit. When you select a photo it takes the image to full size, rather than just a thumbnail. From there you can swipe to see other photos and choose the exact one you want. Once you have your photo selected double tap the image to begin editing.
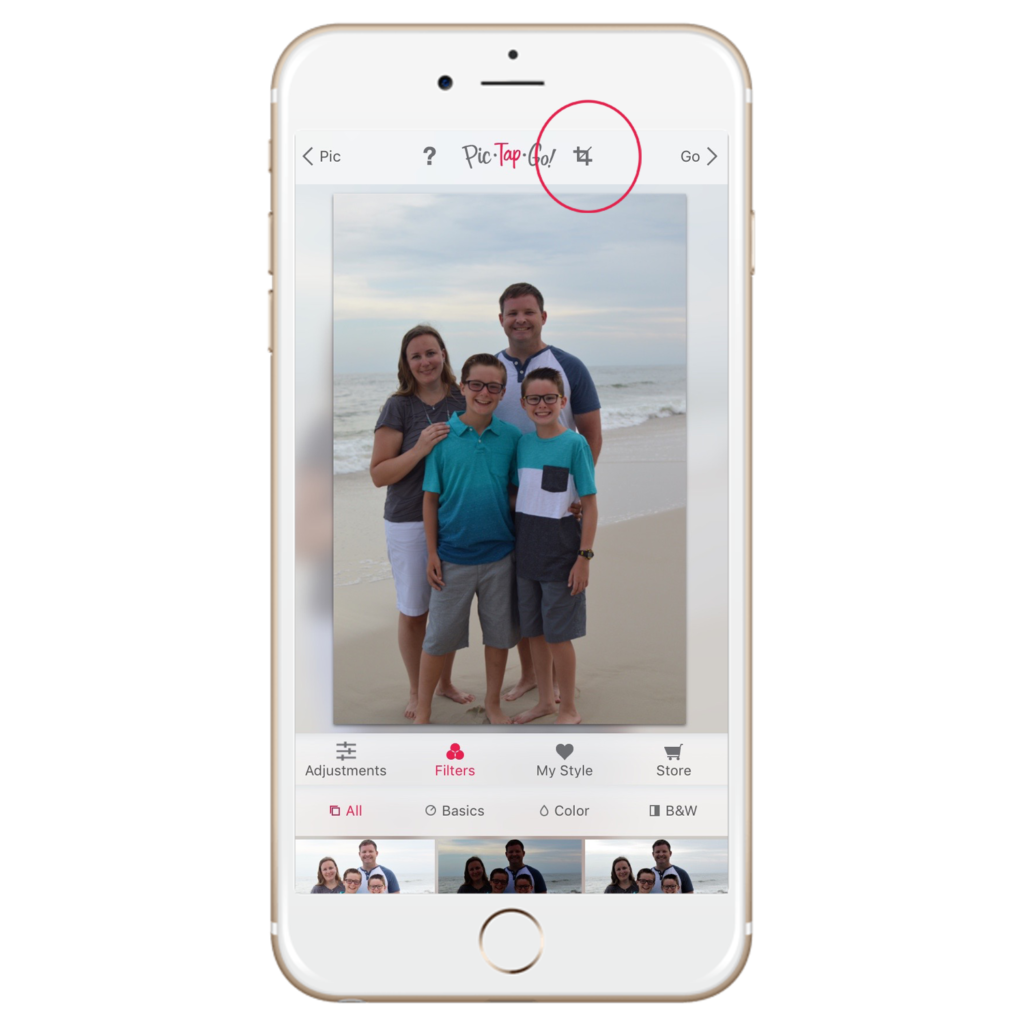
I always start my edits by cropping the photo. Choose the crop tool at the top of the screen.
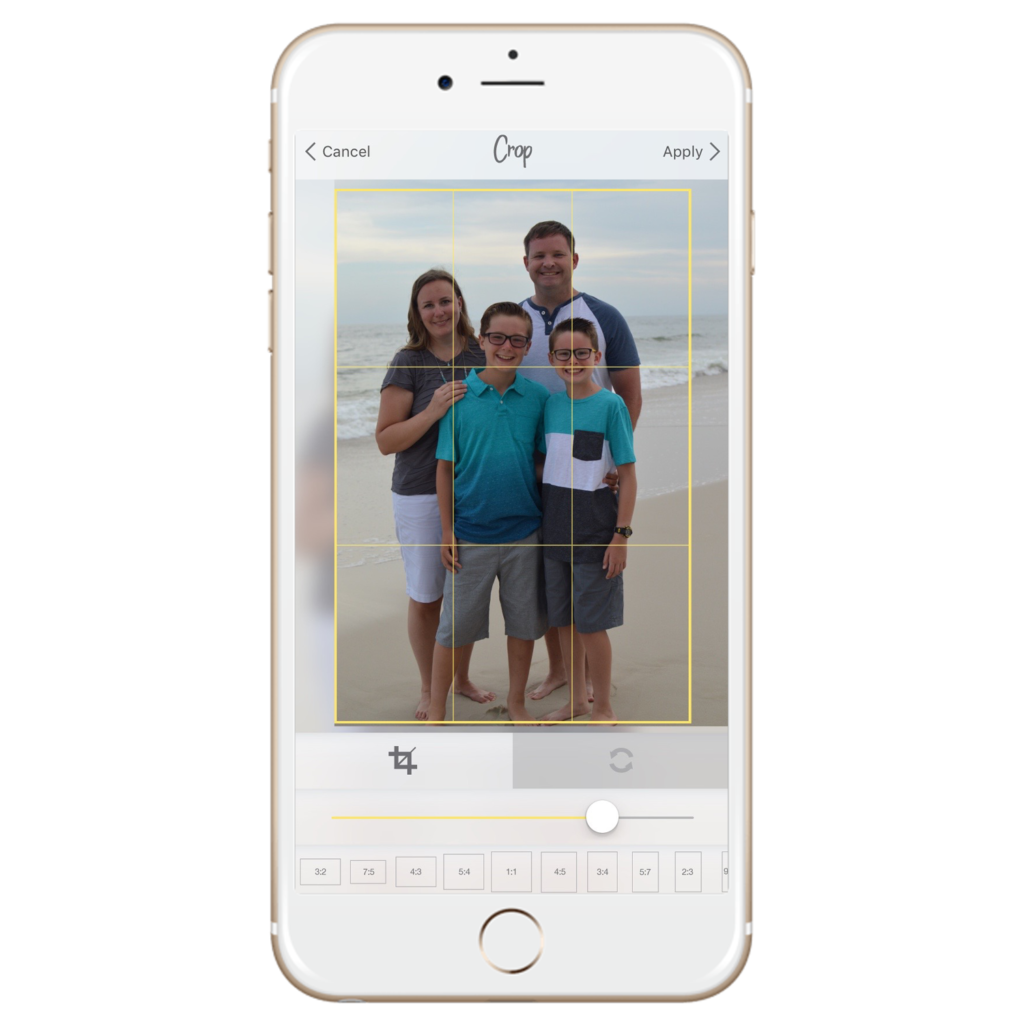
There are a variety of size dimensions at the bottom. If you are going to post your photo to Instagram it's nice to use the 1:1 ratio to create a square. In this case I used the 2:3 ratio which is the same ratio as a 4x6 photo. You can zoom the photo by sliding two fingers away from each other on the screen. You can also drag the photo around to adjust the placement of the crop. I try to get the 1/3 marks to line up on faces for a more visually appealing image. Then hit apply to add the crop.
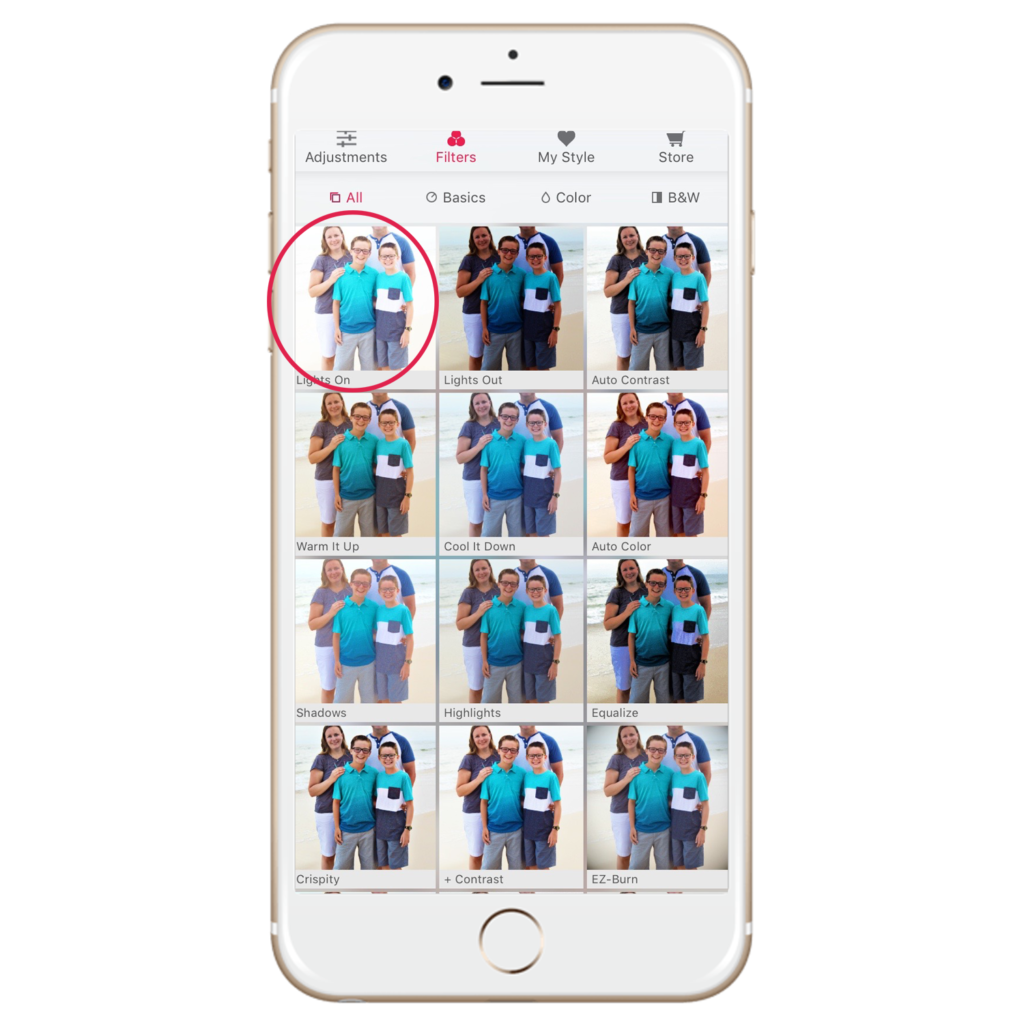
Now it's time to add some filters. Scroll down the screen to see a list of options. Each thumbnail gives you a glimpse at what that filter will look like on your photo. If you add one you don't like, don't worry! It's easy to adjust or undo any filter you add to the photo.
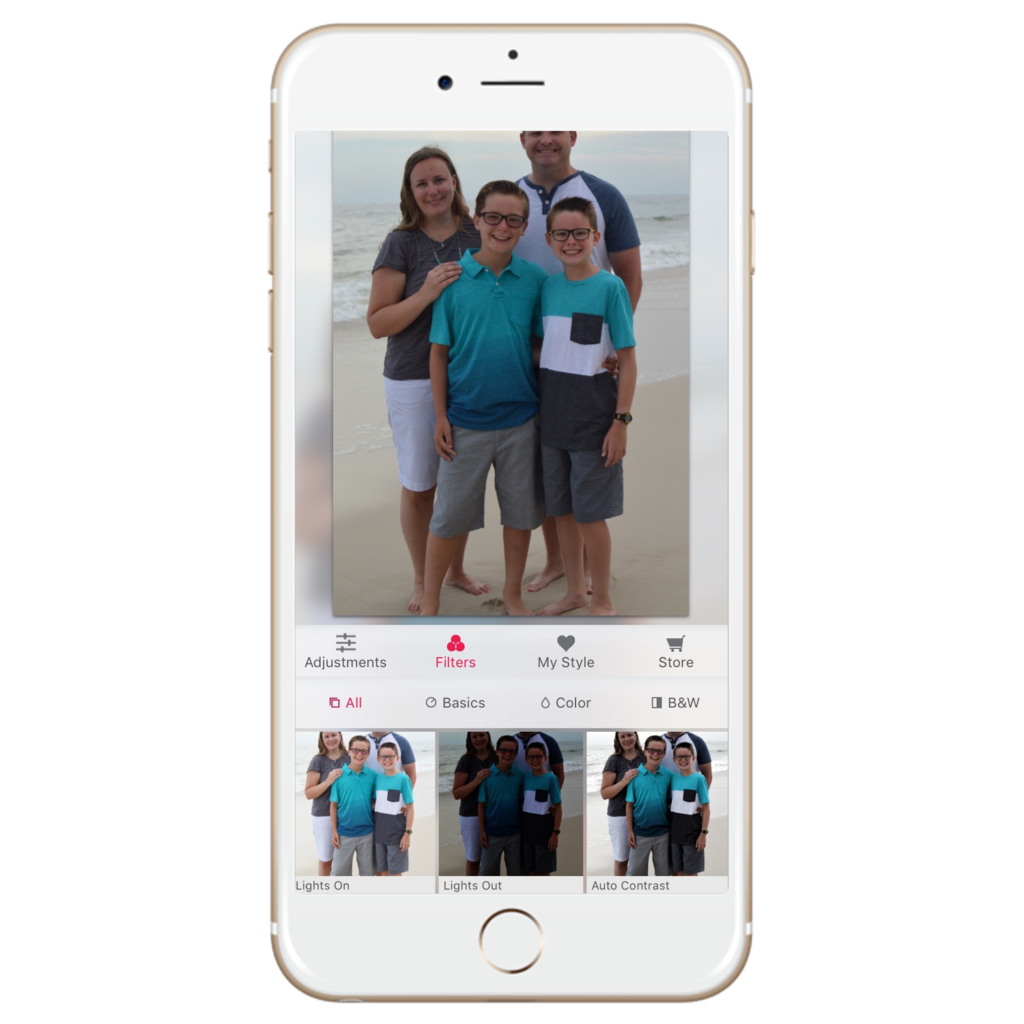
Most of the time I start with the "Lights On" filter. Sometimes I even add it twice. I like a nice bright image.
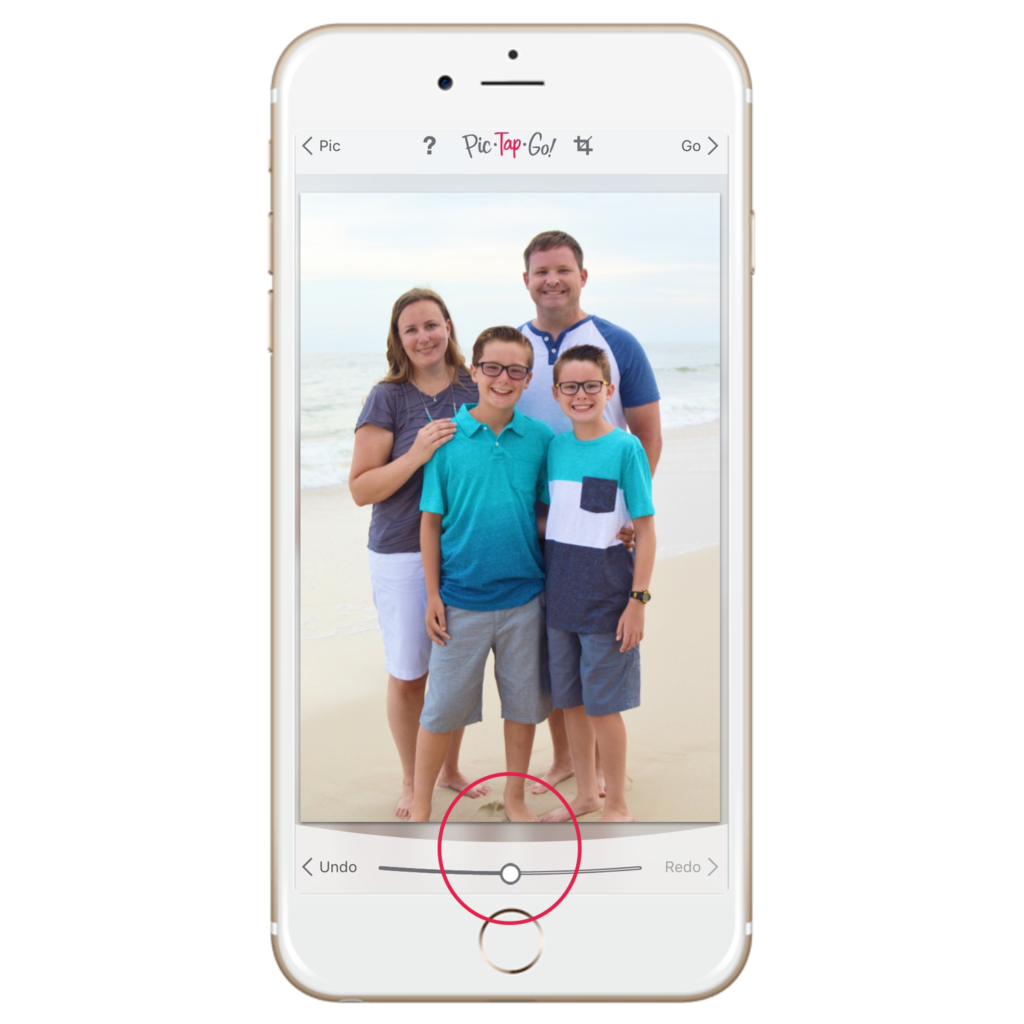
In this case I only used the "Lights On" filter once. It brightened the photo just like I wanted it to. If you want to see what the image looked like before your most recent edit tap and hold on the right side of the screen. To see the original image tap and hold on the left side of the screen.

There are a variety of filters I tend to use most often. For an outdoor photo I really like to use the "Sweet Tooth" filter. It adjusts the saturation of colors and tends to add a nice green back into grass and trees.
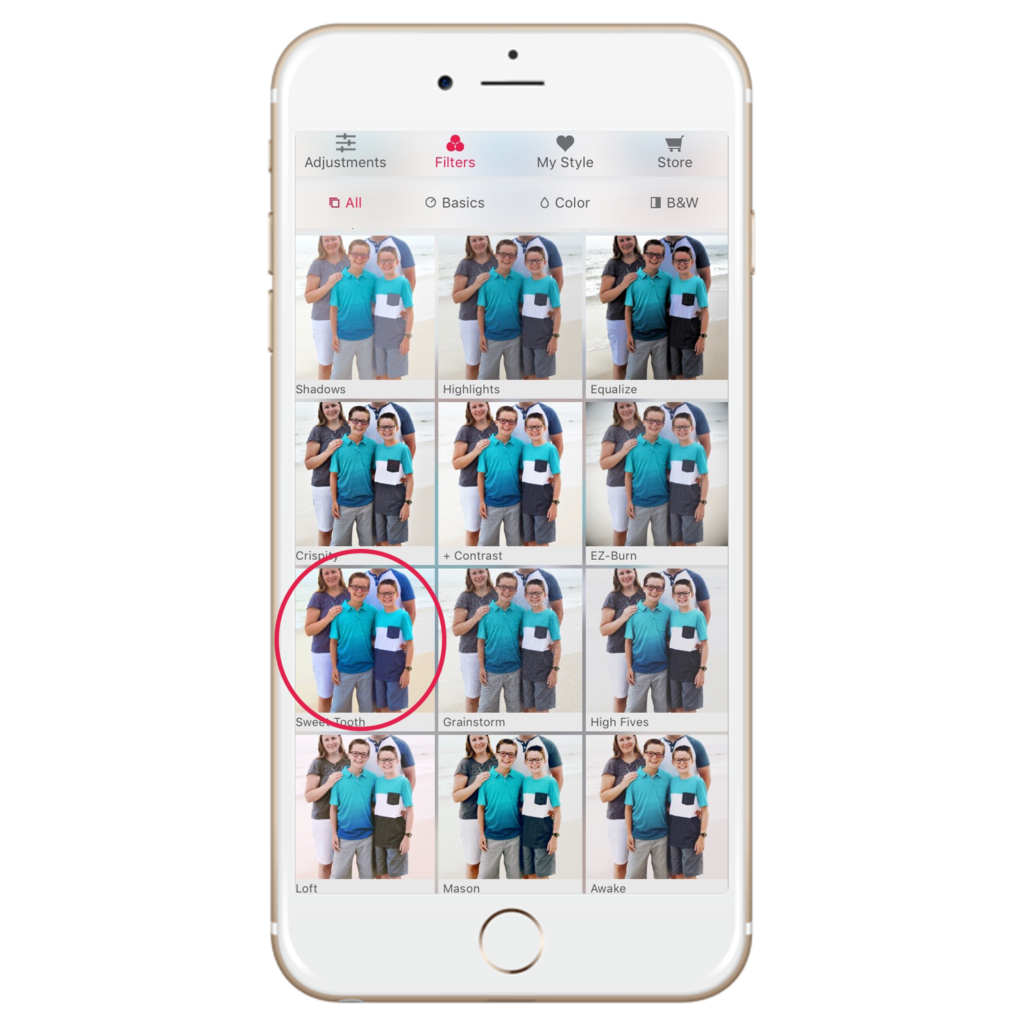
Most of the time the full "Sweet Tooth" filter is just too much. So I adjust the slider to take the intensity down a bit. For this image I moved the slider to about 50%.
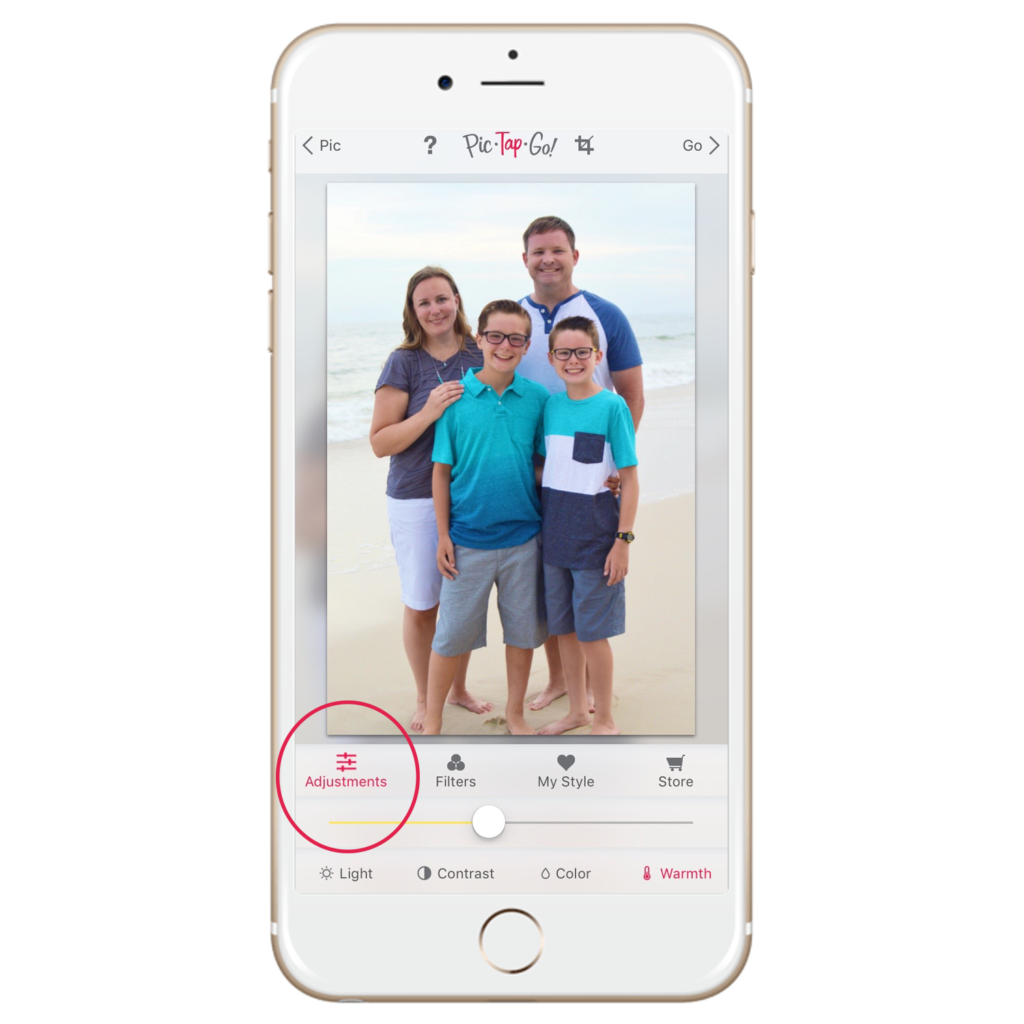
To finish up my image I choose the Adjustment tab. This allows me to fine tune the light, contrast, color, and warmth of the photo. Honestly, this step could be done at the beginning or the end. I just prefer to tweak the image at the end. When you are happy with the edits, hit GO.
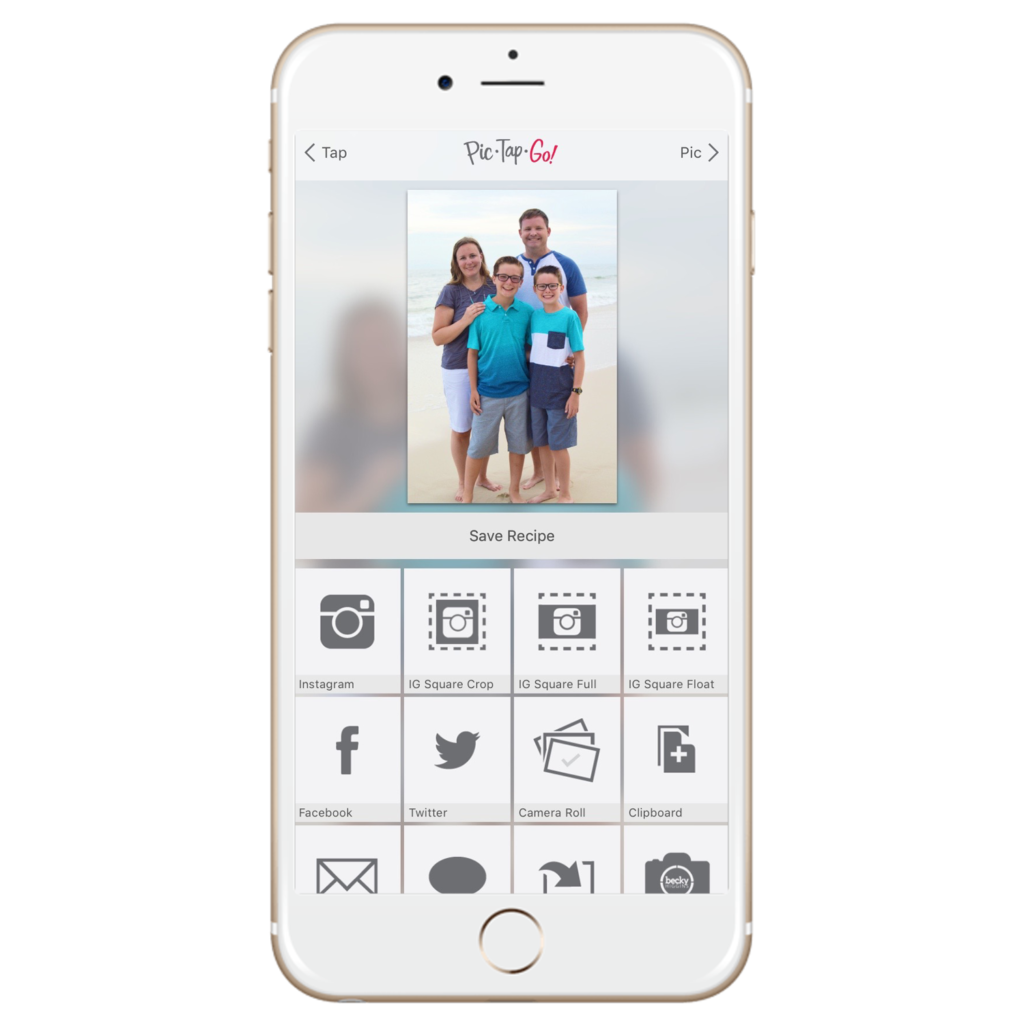
Now your image is ready to share with the world! It's simple to share on social media from this screen. You can choose from Instagram, Facebook, or Twitter. If you're not ready to share the image yet you can just save the photo to your camera roll. To all my digi scrapping friends, there is also an option to take the photo directly into the Project Life App! Who's ready to scrap?!!
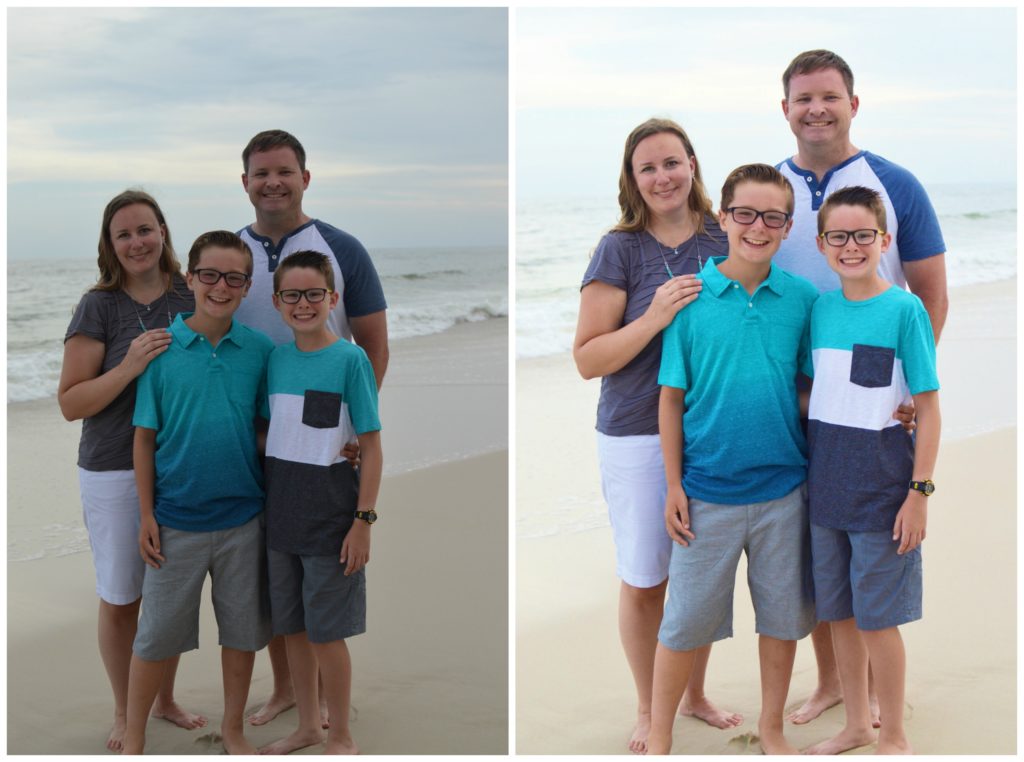
I'm really happy with how the photo turned out after just a couple of simple edits in PicTapGo!
If I'm completely honest, PicTapGo has become my most used tool for editing photos. Even pictures that I've taken on my big camera. Once they are loaded into my computer's Photos stream it's easy to pick up my phone and start editing. I love this app and I think you will too!

I am an Amazon affiliate so may receive a commission if you make a purchase.
Leave a Reply