
It's that time of year again! Adobe has released the new version of Photoshop Elements. As usual, I'm here to walk you through the new features. But first, here's what Adobe has to say about this year's version:
Powered by Adobe Sensei AI as your creative sidekick, Elements 2021 enables you to easily edit, create, organize, and share your photos and videos – bringing your imagination to life.
Today the Elements team is excited to announce the release of Photoshop Elements 2021 & Premiere Elements 2021. This latest release makes it even easier for you to follow your creative inspiration where it leads.
This year, we’re continuing to build on powerful automation and guided editing features you’ve come to expect from Photoshop Elements and Premiere Elements. Leveraging Adobe Sensei AI technology, we’re streamlining organization and editing capabilities for both veteran and novice Elements users.
- The Adobe Elements Team.
Watch my video of the new features in the photo editor here, or scroll on for my written review.
Moving Photos
In this version, there's some Adobe magic in the form of the new Moving Photos feature.

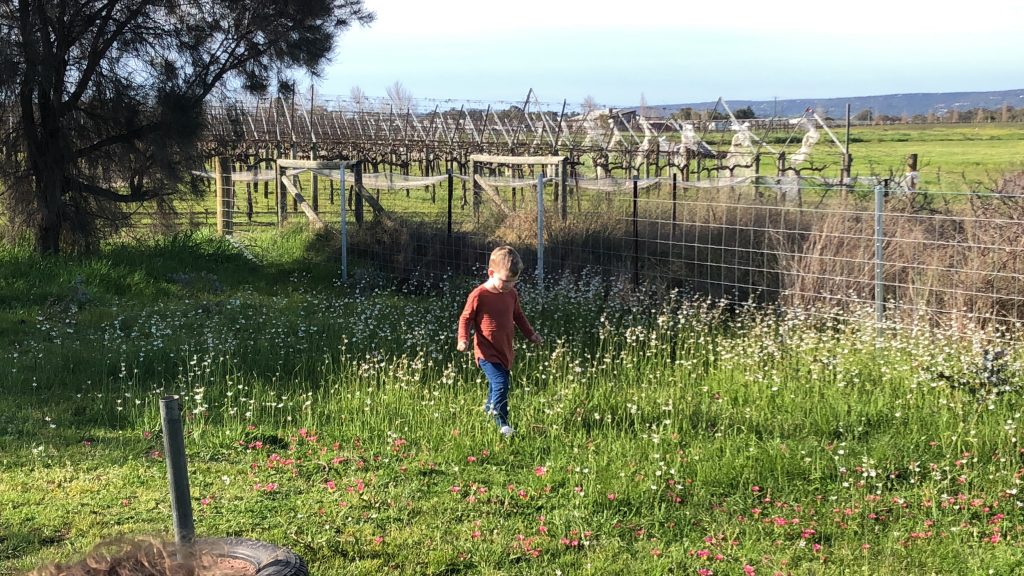
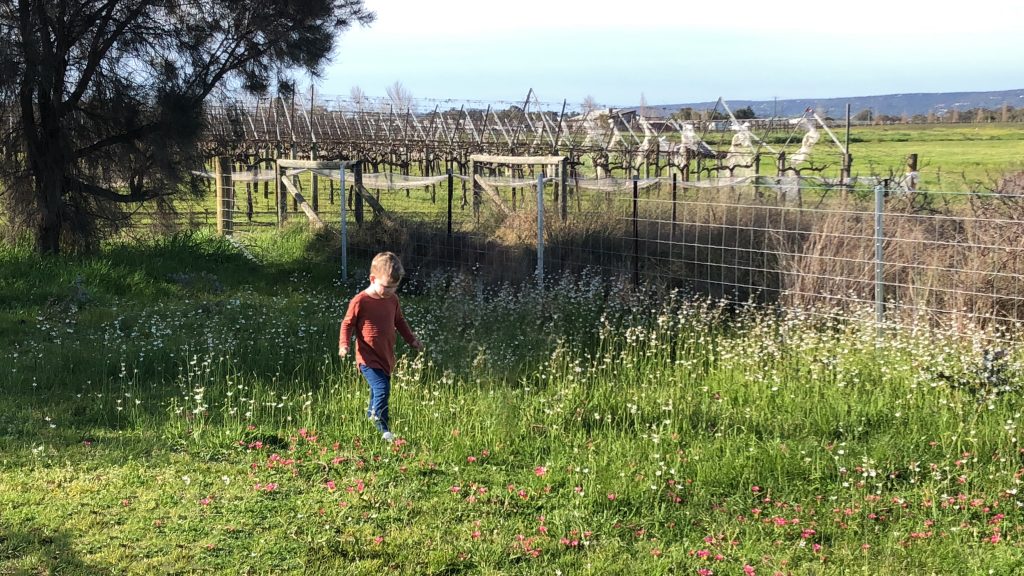
This feature finds depth in the photo and creates 3D and 2D movement in your photos. This feature works best with the photos having some separation between subject and background. You can export the output as an animated GIF.
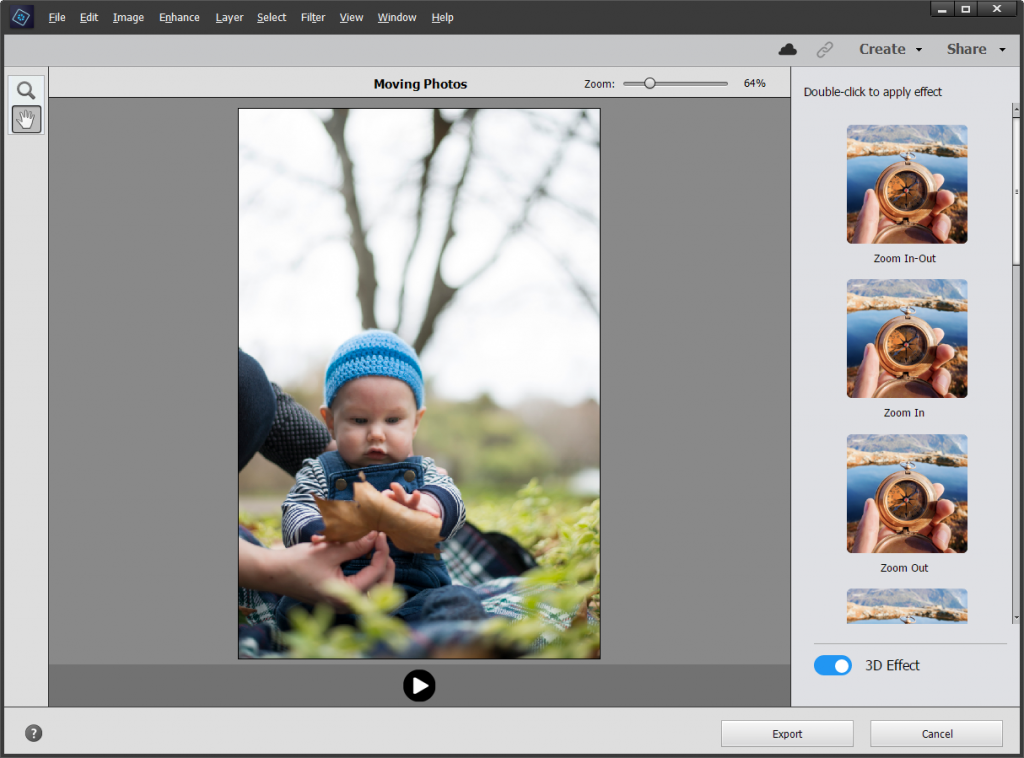
To use this feature:
- Open your photo with the Open button or drag the image onto the Editor
- Click on the Enhance menu, then select Moving Photos...
- Choose your preferred animation from the panel on the right. (It will take a moment to load each one)
- Preview the effect by clicking the Play Button under the photo.
- Then click the Export button at the bottom of the right-hand panel.
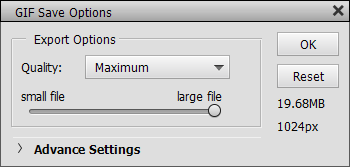
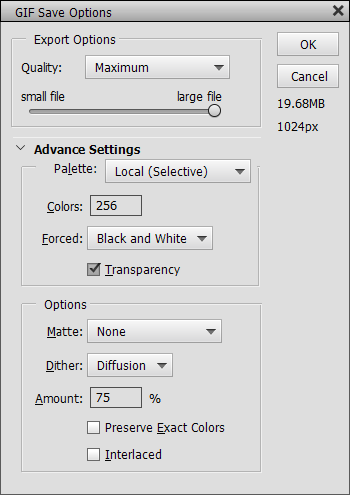
- Drag the slider in the GIF Save Options dialog to select the pixel width or quality of the image you'd like to export.


The Verdict
This is a fun new feature which could serve some novelty use on social media, but some of the effects could lead to motion sickness!
Adjust Face Tilt
If you have a photo where people are not quite looking at the camera, you'll love this new feature.
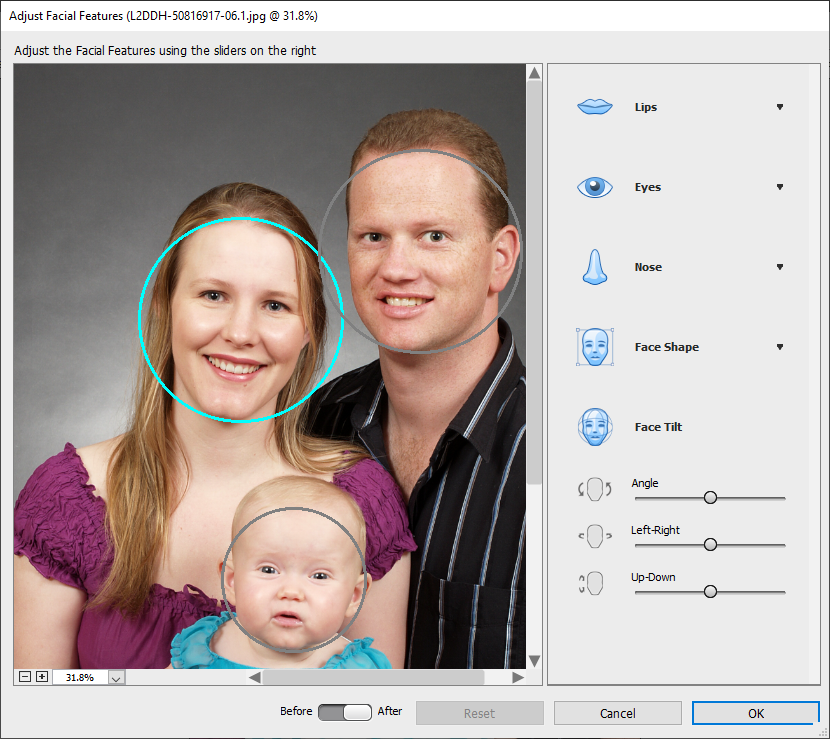
You can adjust the angle and rotation of faces inside the Adjust Facial Features dialog box.
You'll find this one under the Enhance - Adjust Facial Features... menu item.
- Open your files
- Click the Enhance menu and select Adjust Facial Features...
- Click on the face you want to adjust (it will be highlighted in blue)
- Click Face Tilt
- Drag the sliders to adjust the face to your liking
- Click OK to return to the editing mode.


The Verdict
Adjust Face tilt is a solid and useful addition to the Adjust Facial Features, as a person who often tilts her head in photos, I'm sure I'll be using this one!
Perfect Landscape Guided Edit
This Guided Edit will help you enhance your landscape photo with a few simple steps.
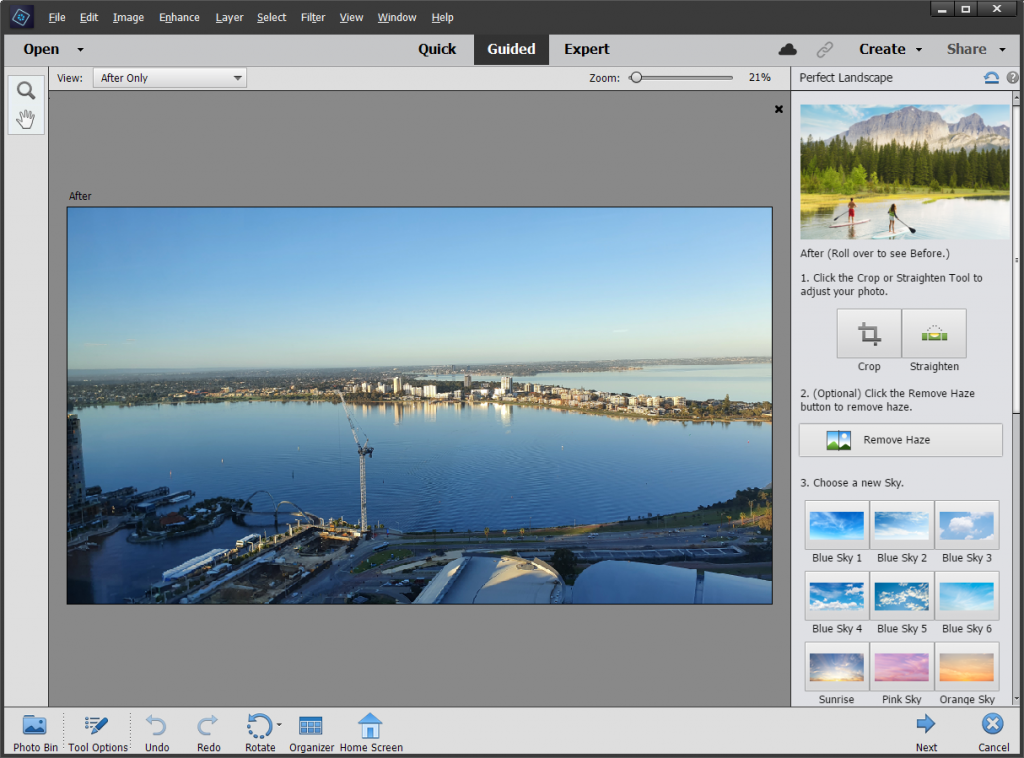
In the right-hand panel you are provided with tools to crop, level out the horizon, remove haze and remove small distractions. It also allows you to replace the sky in your landscapes in a single click with sky presets.
To create a Perfect Landscape:
- Open any photo and switch to the Guided mode.
- Navigate to the Perfect Landscape Guided Edit under the Special Edits category.
The Verdict
Perfect Landscapes will be a help to new photo editors who need some help working out which tools to use to make the most of their landscape photos.
The sky presets are quite nice, and I really like how the Auto Match Color Tone allows the rest of the picture to blend in with the new sky you choose.
The strength of this new guided is the haze removal and straighten features. Just a couple of clicks will improve most landscape photos.
This feature is a practical addition and I highly recommend it.
Duotone Effect Guided Edit
The Duotone effect (as seen on Spotify) has become a trendy image effect lately. You can create it with just a few clicks in Photoshop Elements.
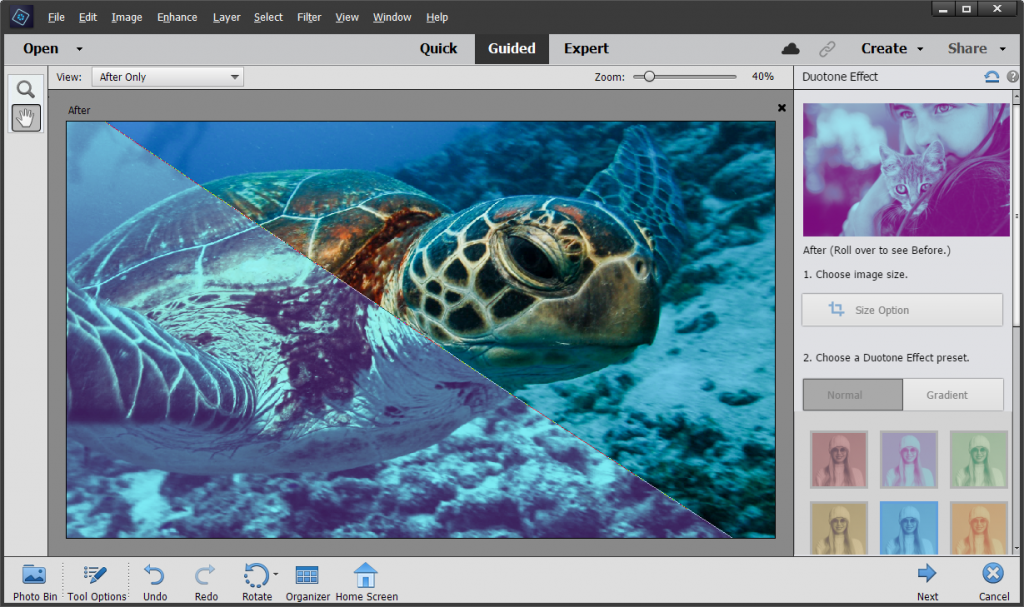
You can start with quickly adjusting the size of your image for the social platform you want to post to.
Adobe had a variety of Duotone effect presets to choose from, but you can choose custom colors to create a completely new look for your photos.
Duotone effect comes in two variants: Normal Duotone and Gradient Duotone.
You can also add a shape overlay to the design. I love this effect!
To use this feature in Photoshop Elements:
- Open Photoshop Elements Editor.
- Go to File> Open to open your image in the application.
- Switch to the Guided tab
- Under Fun Edits tab, find Duotone Effect and click on it.
The Verdict
Another on-trend addition to the Guided Edits. I like the shape overlay options that allow you to make a background suitable for text overlay.
Move and Scale Object Guided Edit

Photoshop Elements 2021 introduces to you a new guided edit Move & Scale Object. This Guided Edit gives you the ability to move objects in your photos from one place to the other, duplicate and resize (scale) objects.
Here's how to use this feature:
- Open Photoshop Elements Editor.
- Go to File> Open to open your image in the application.
- Switch to Guided tab
- Under Basics Edits tab, find Move & Scale Object and click on it.
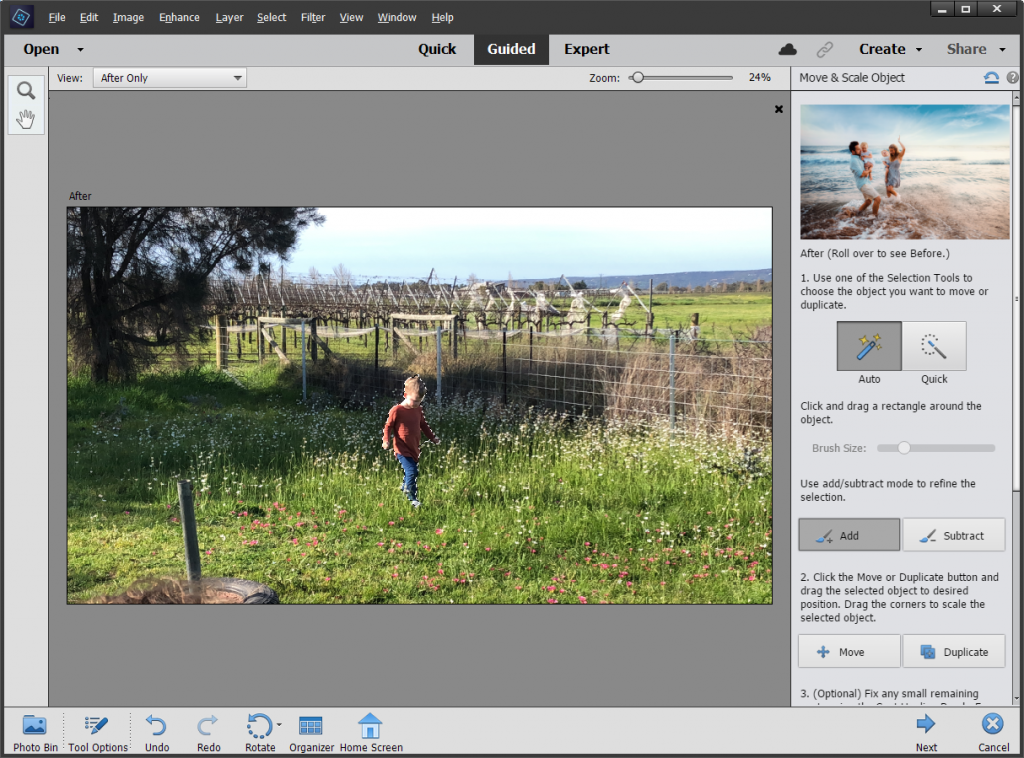
You are given a choice of selection tools - The Auto Selection does a great job. You just click and drag a box over the object and it will do the selecting for you!
Then you can move or duplicate the object and resize it.
Wen Photoshop Elements has finished processing the movements you can clean up any artefacts (or odd leftovers) on the background with the spot healing brush or the clone tool.
The Verdict
This feature makes selecting and then moving an object simpler and guides you through the process. It's perfect for a newcomer or a quick fix. If you are experienced with advanced photo editing, you may still prefer to use the expert mode for better selections on busy backgrounds.
So, it is a great new feature for those new to photo editing.
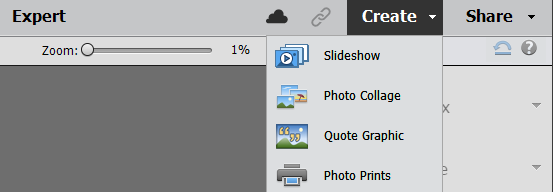
Quote Graphic
There's a new addition to the Create button. It's a new type of creation that helps you add text, shape, graphics and animation to an image. Adobe has created some templates to help you get a great result.
You can create a Quote Graphic from Organizer or the Editor.

Select the size you want your image to be, then click OK
You then work within four sets of panels that you can switch between on the lower right.
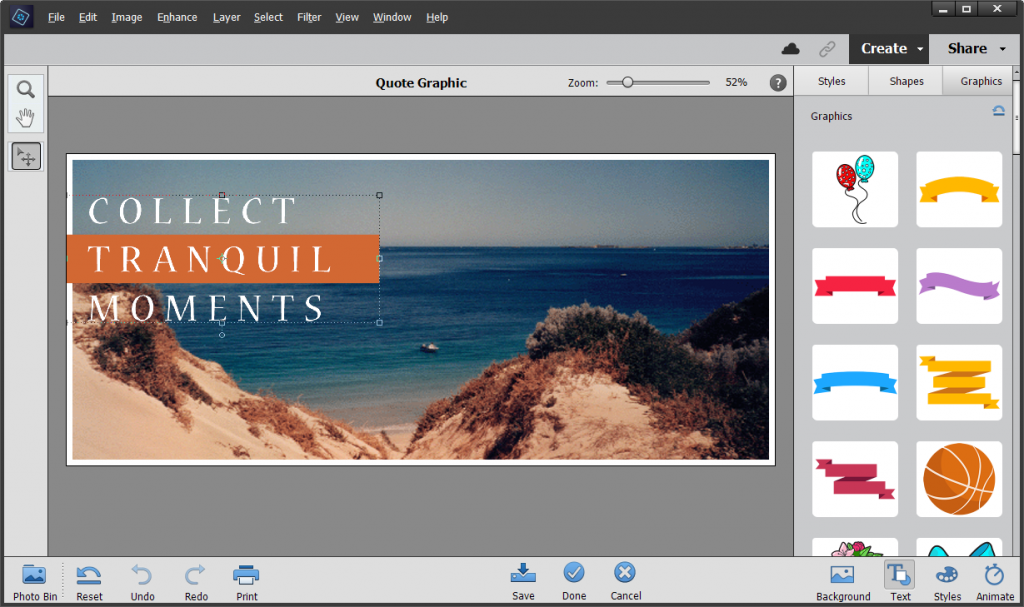
- Background: Choose from sample backgrounds or you can select your own photo. Apply an effect to the photo using Effects sub-panel.
- Objects - Add text, shapes and graphics.
- Design - You can choose from available presets for a premade design.
- Animate - You can apply some basic animations on the photo/text and can save the photo as GIF. Make sure you use the Save button at the bottom of the panel to save as an animated GIF.
When you click done, you are returned to the editing mode you were working in. You can then use the layers panel and tools to do further adjustments to the graphic if needed.
The Verdict: Quote Graphic
This is a useful tool for those wanting to create social media graphics, without needing to know how to use all the tools in Photoshop Elements. The addition of the animation feature makes it easy to create scroll-stopping graphics.
Save to Cloud
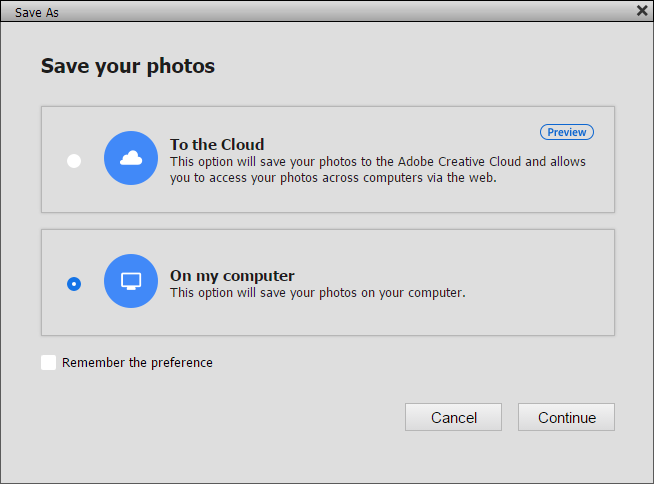
If you have an Adobe Creative cloud account, you can save an edited photo on the cloud. You can easily access this from PSE editor on a different computer using the Open feature, then clicking the Open Cloud Photos button. You can also share a link to this photo with your family & friends.
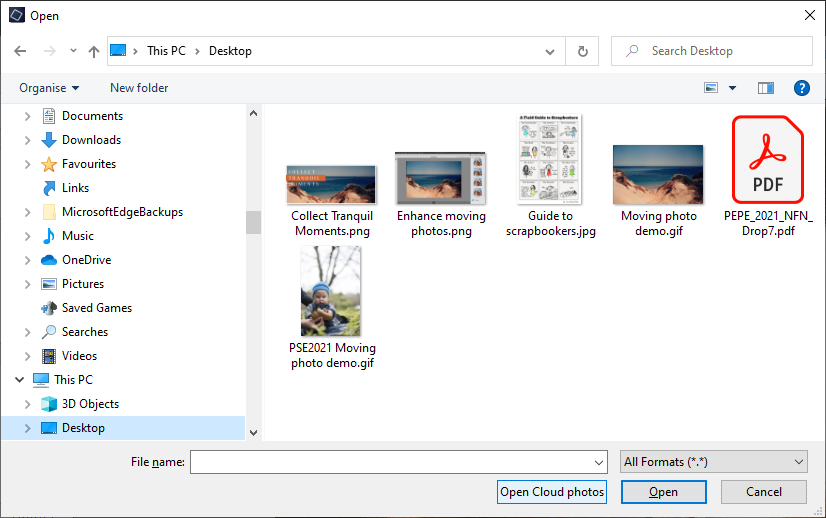
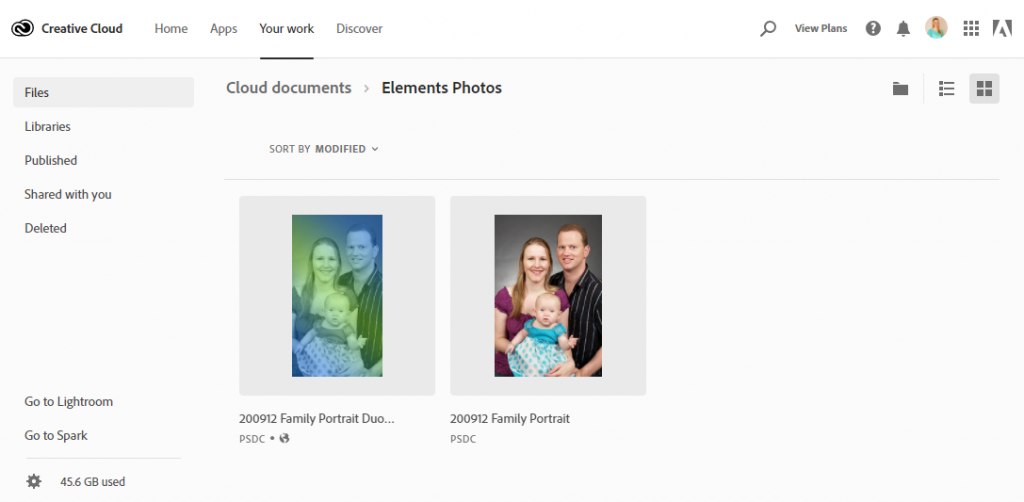
Using Photoshop Elements Editor, you can now:
- Save a photo to cloud
- Reopen, re-edit and save the same photo using the same or different devices
- View the synced photos on assets.adobe.com inside the Elements Photos' folder
- Get a sharable link of the saved photo that can be shared.

The Verdict: Save to Cloud
If you work between different computers or want to share files, this could be useful for those who already have a Creative Cloud account. You can turn off this option if you don't want to use it.
Performance Improvements
Each year Adobe works to improve the speed of functions within the software. In the Editor this year Liquify, Adjust Facial Features and Lens Blur have been given a boost.
I'll cover all the improvements to Photoshop Element Organizer on Saturday, so stay tuned!
Are you Ready to Buy?
You can purchase Photoshop Elements from Amazon here. If you aren't quite ready, look out for my post on Monday with a break down of whether you should upgrade.
Happy Scrapping!

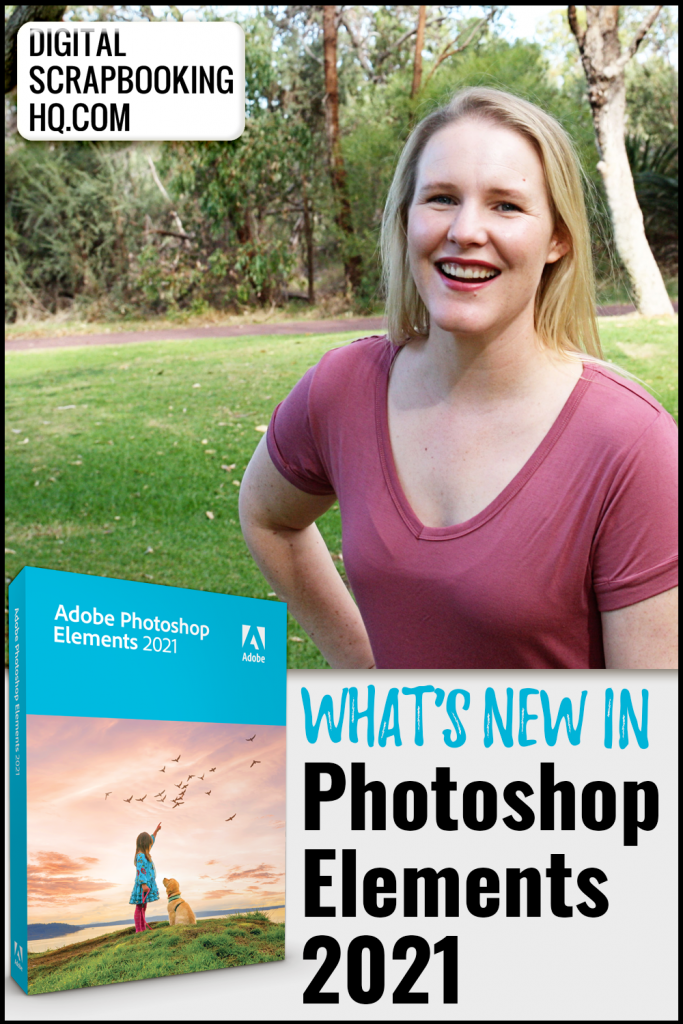
PS Pin this for later!
I am an Amazon affiliate so may receive a commission if you make a purchase.
This post contains affiliate links. This means that if you click through that link and purchase an item, I may receive a commission for referring the sale.
I only recommend classes and products that I know and trust. Thank you for using my link if you decide to purchase.
Melissa Shanhun is a participant in the Amazon Services LLC Associates Program, an affiliate advertising program designed to provide a means for me to earn fees by linking to Amazon.com and affiliated sites. As an Amazon Associate I earn from qualifying purchases.

Is this still a yearly subscription? I haven’t gotten the new one ever since they changed it to that…would love to update but don’t want to every year…too costly for what I use it for…
HI Janet, Photoshop Elements is not a subscription. It’s a one off purchase. You can keep using it for years to come Photoshop is the one you have to pay for monthly
  I hope this helps!
Thanks so much! My computer is saying I need to update and my PSE is too old so glad I can update and not have to do it every year!
Melissa! Aussie sister of wise whisper! Thanks for helpful information about PSE 2021.
Back in 2012, Adobe did a BS slight-of-hand, deleting Lighting Effects from Elements! Incredible, sly move. I kept my old 32 bit PSE version that still has Lighting Effects, but I’m getting a new iMac that uses 64 bit, and am forced to get a new Photoshop version — PSE or whole version.
So my question is: has PSE 2021 had Lighting Effects restored to it?
Cheers from the States!
