Click or Drag Templates are a revolutionary new development that will simplify designing digital scrapbook pages and photobooks. Laurie Callison's Click or Drag Templates are designed using the new "Frame Creator" feature in Photoshop Elements. Instead of clipping photos and papers to shapes you simply either "Click" on the opening and select your JPEG or you may "Drag" your JPEG into the opening. The templates may be used in Photoshop Elements 11 or newer.
How to Use Click and Drag Templates
Begin by downloading the templates and unzipping the files. If you are on a MAC this will happen automatically. On a PC you can select the files and choose "unzip them all".
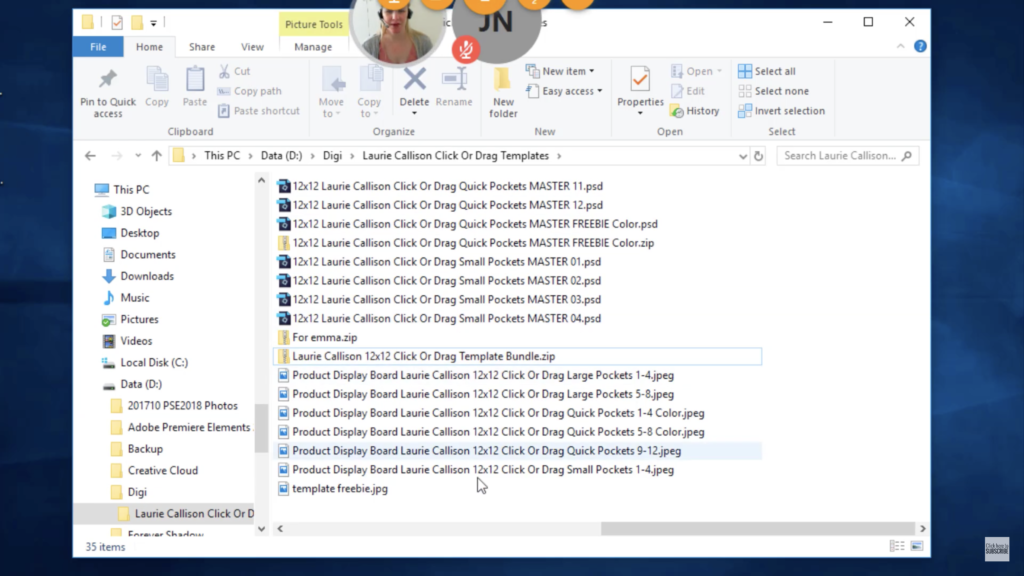
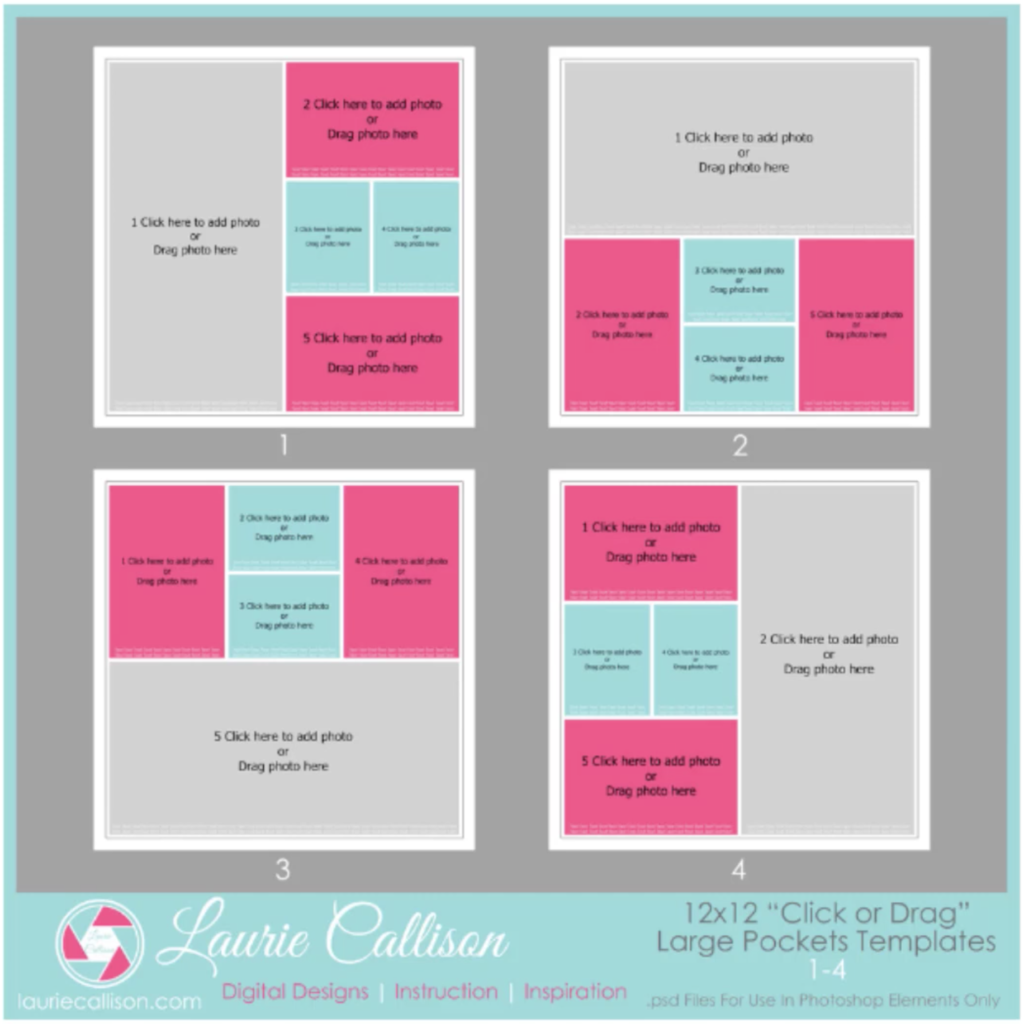
There are a variety of template designs to work with. Today we are going to use one of the large photo templates.
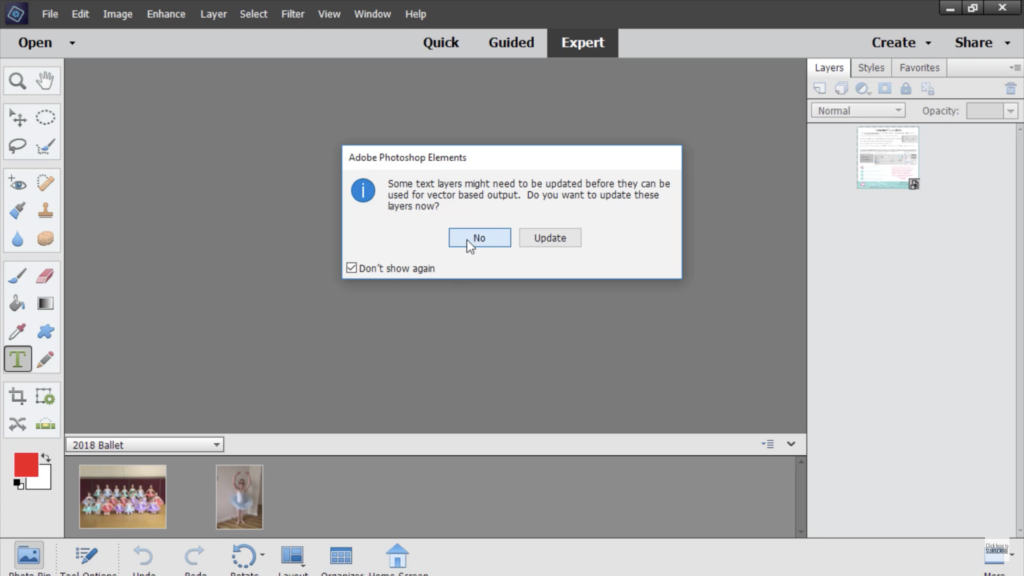
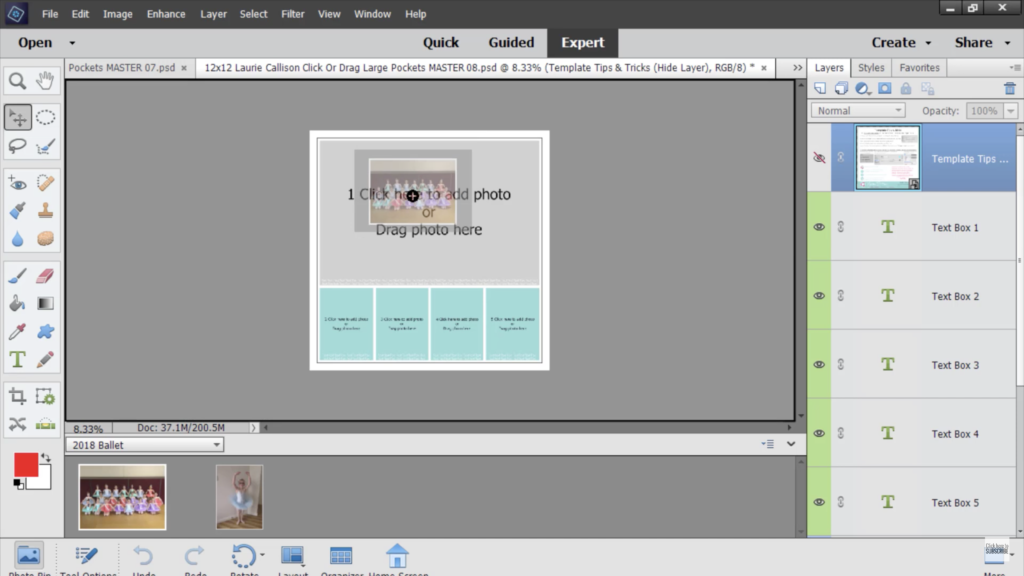
Begin by opening the photos you want to use in your layout. Then select the template you would like to work with. When you open the template you may see a warning box about updating text layers. You can click No. There is no need to worry about that. It is also fine to check the Don't show again box.
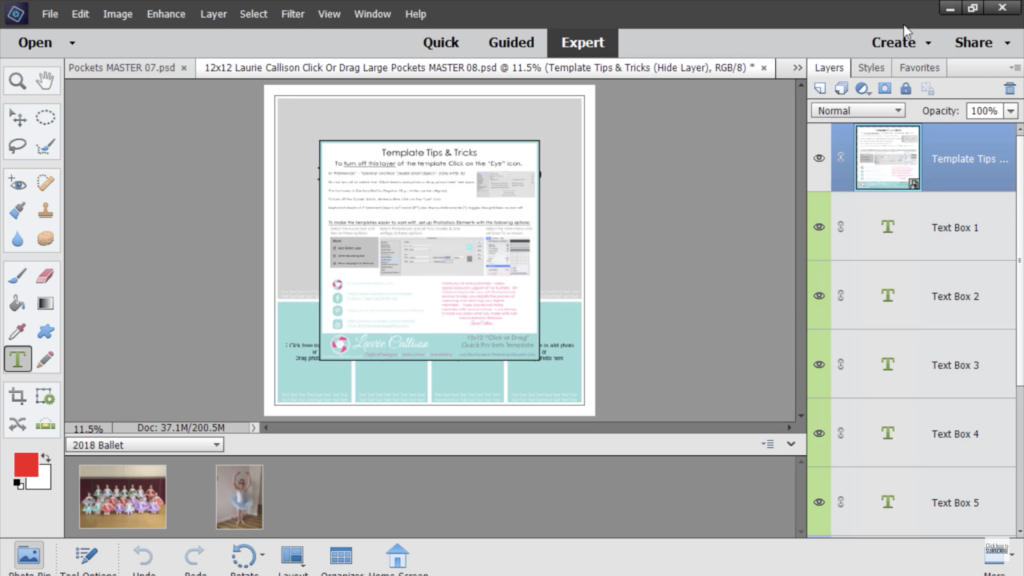
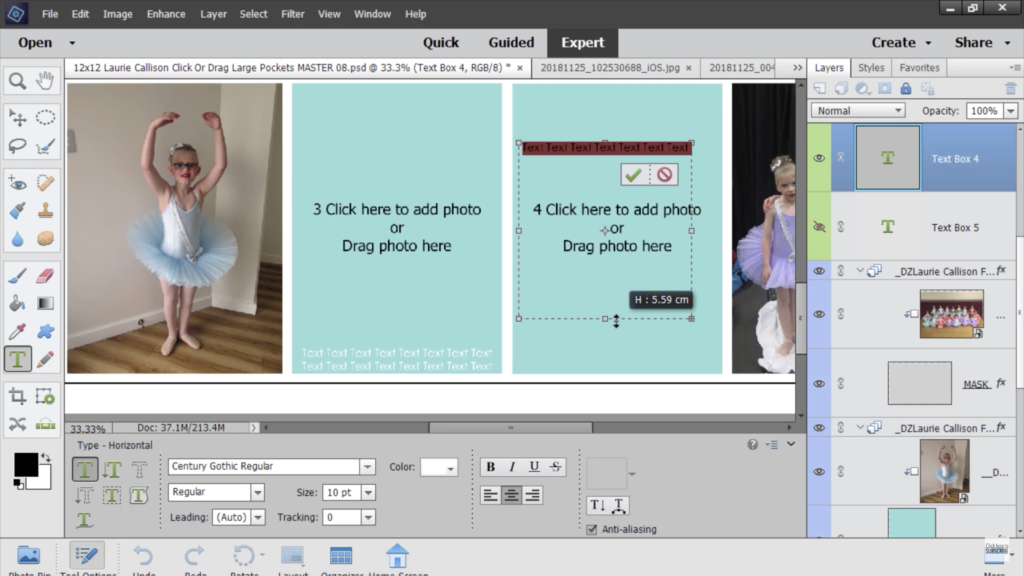
On each template there is a hidden Tips and Tricks layer. This will guide you on how best to use the template. Simply click the eyeball next to the layer to see it, and then click the eyeball again to turn it off.
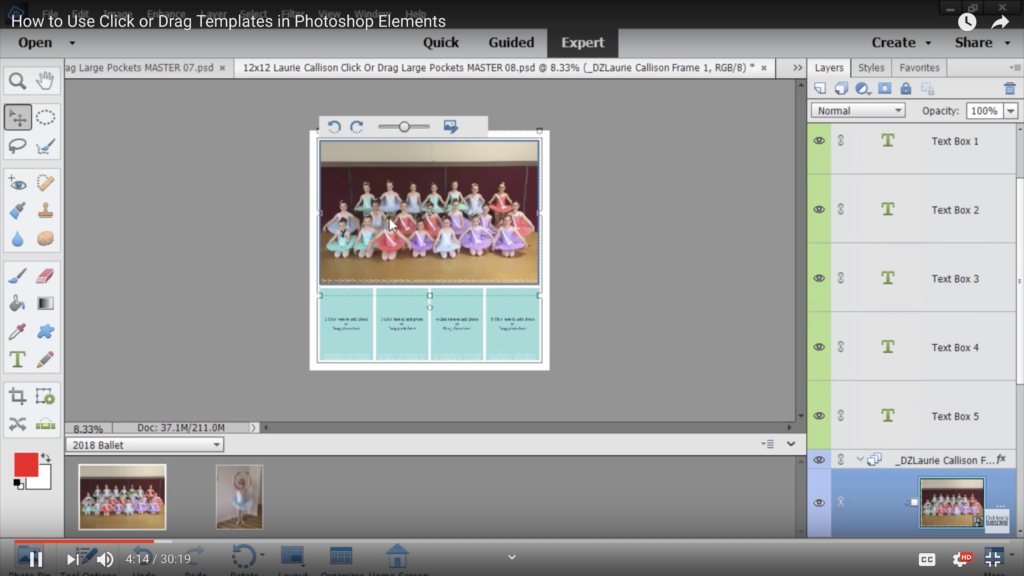
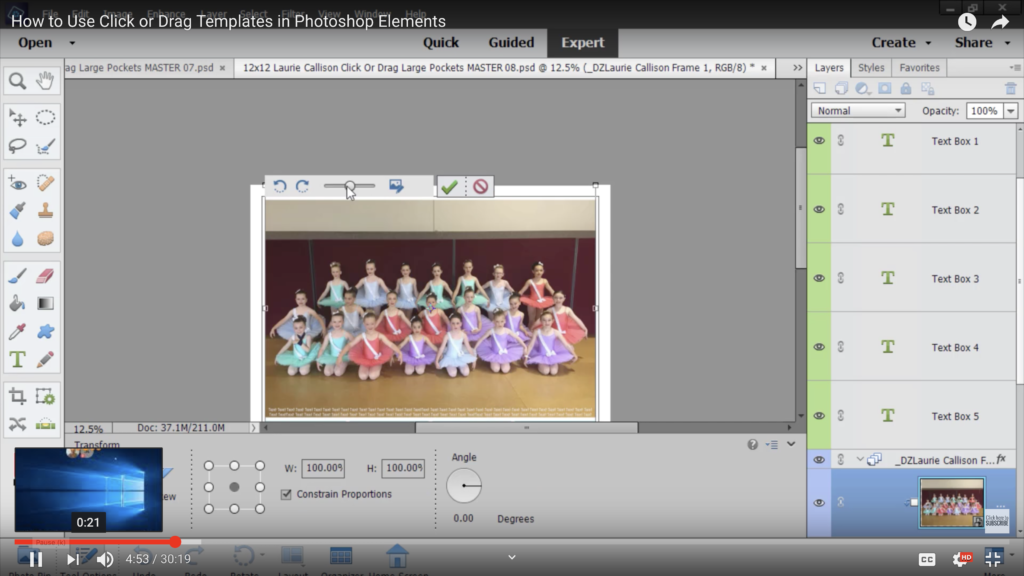
To begin, simply drag a photo from the photo bin into the template. When you see the black + you can drop the photo. It will fill the photo spot.
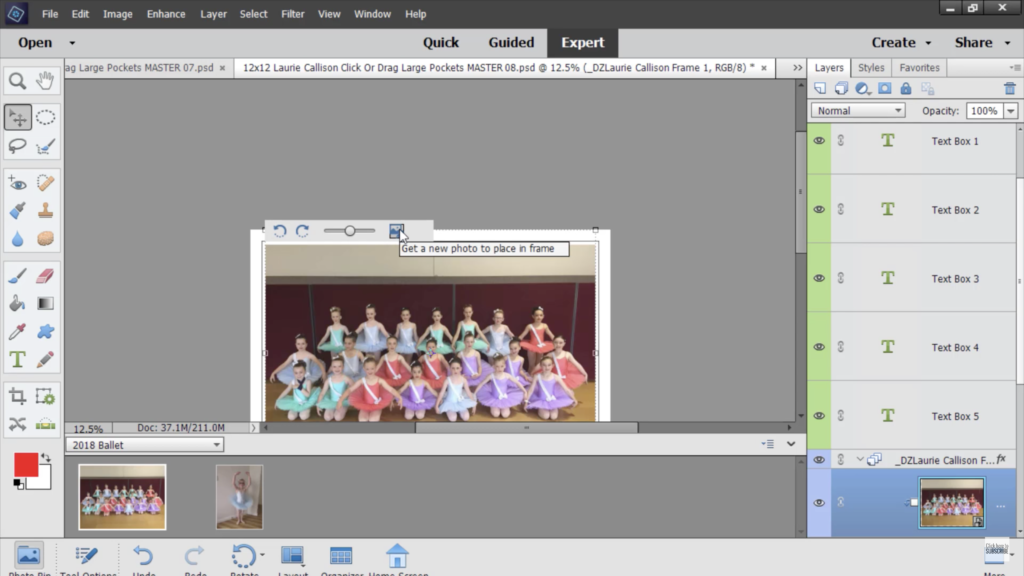
Above the photo spot you will see a small tool bar. There are several ways you can adjust the photo using this tool bar. The photo icon allows you to choose a new photo for that photo spot.
The slider allows you to zoom the photo out or in.
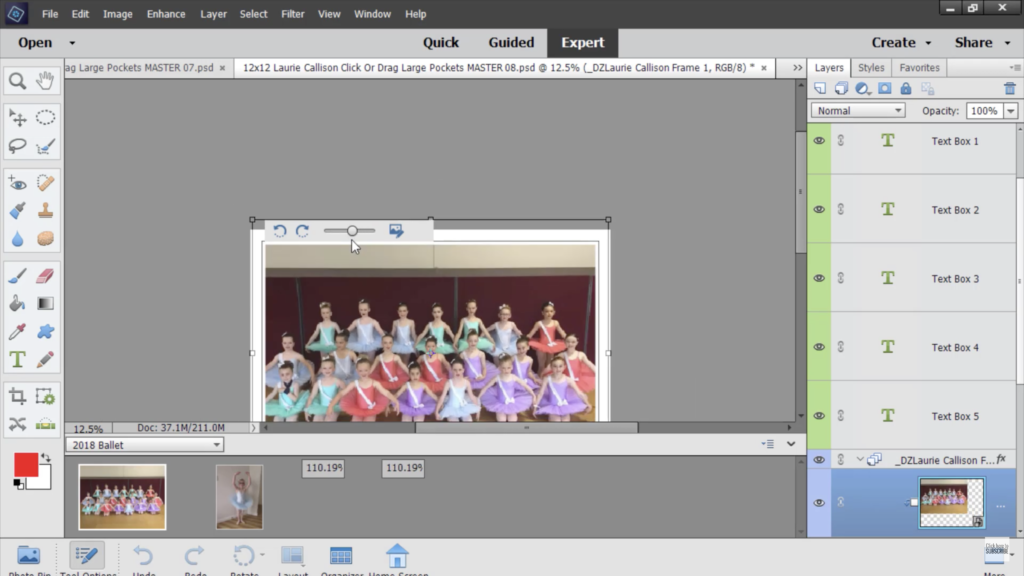
The two arrows allow you to rotate the photo as needed.
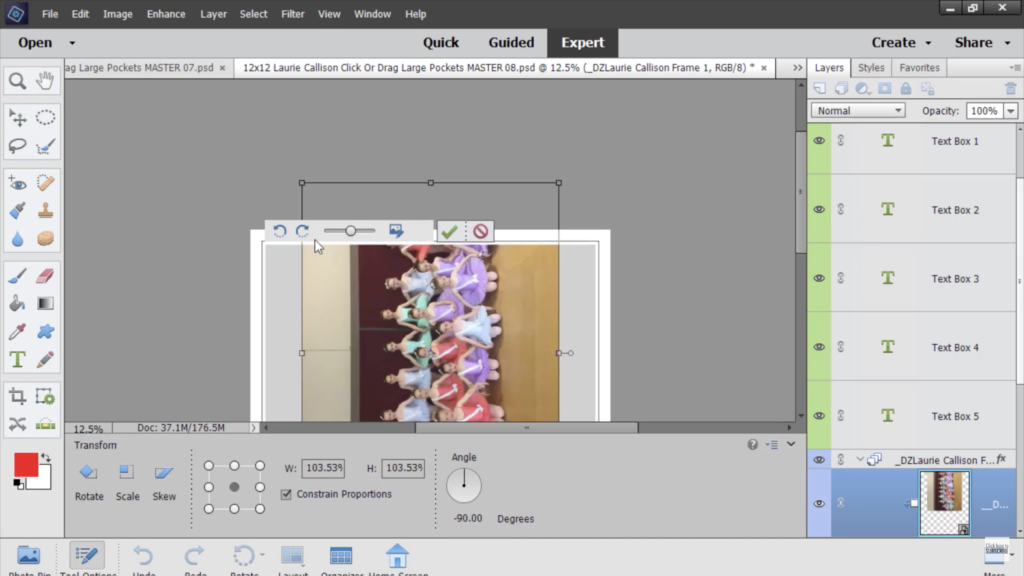
Once you have made your adjustments you can click the green arrow to confirm or the red circle to cancel.
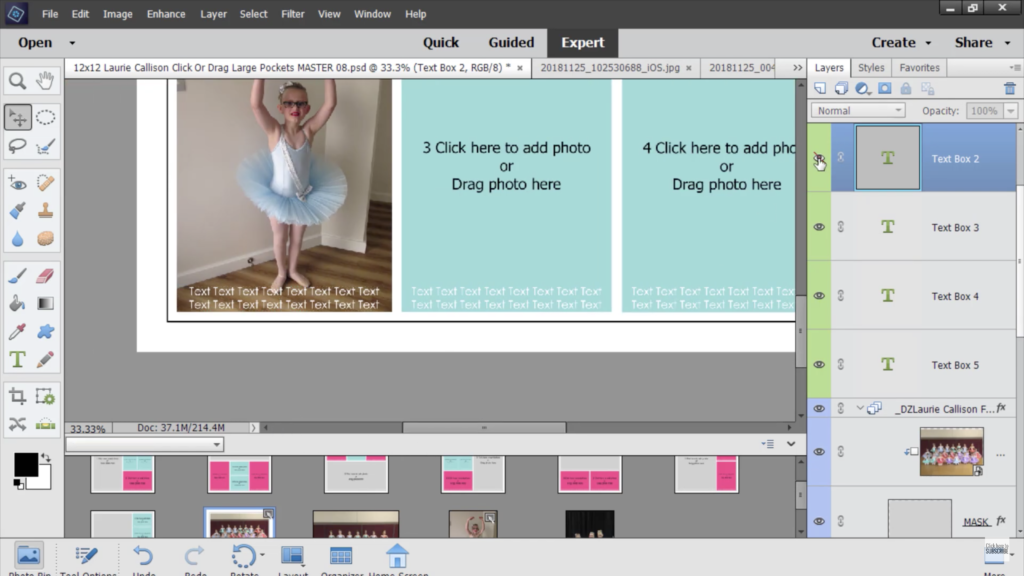
In each photo spot there is a handy text box. You can double click on the box to begin typing your journaling.
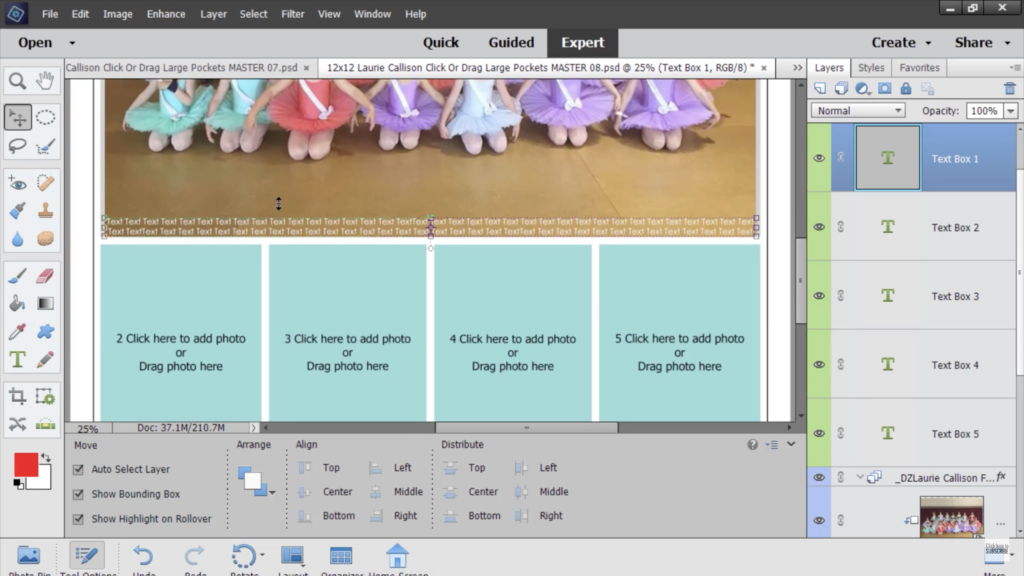
If you'd rather not have text in a particular spot, simply click on the text box and then click the eye next to that layer in the layer panel. When the eye has a red line through it, that layer is hidden. You can unhide the layer at any time.
If you'd like to use one of the photo spots for journaling you can simply double click on the text box and adjust it to the size you need. Don't worry about the look of the photo spot. We can use digital scrapbooking supplies to make it pretty!
Search your supplies for a digital scrapbooking paper that would work well behind your text.

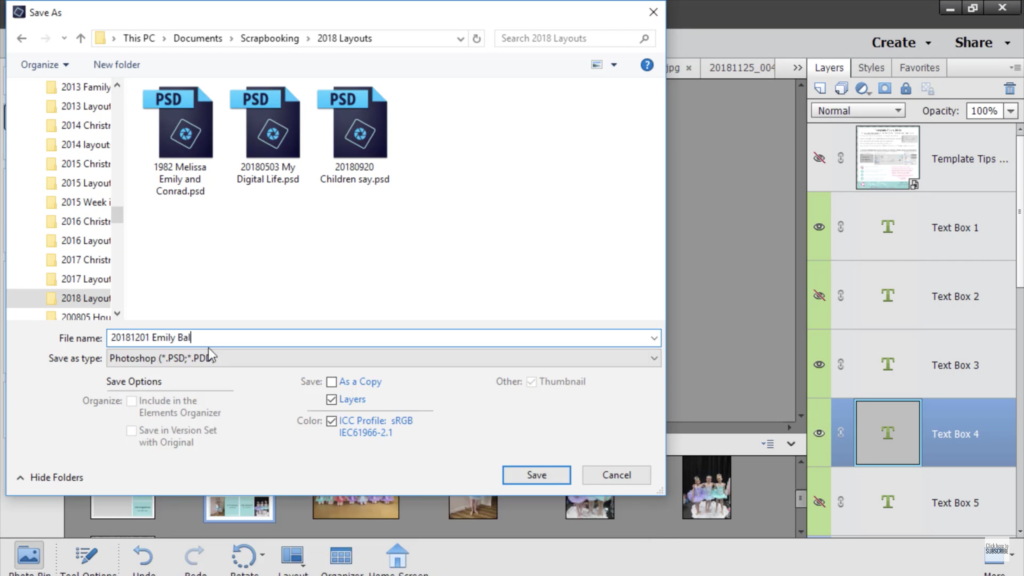
Before we go any further, it's time to save our work. Chose Save As and decide on a name for your layout. Remember to keep the file type PSD to preserve all of your layers.
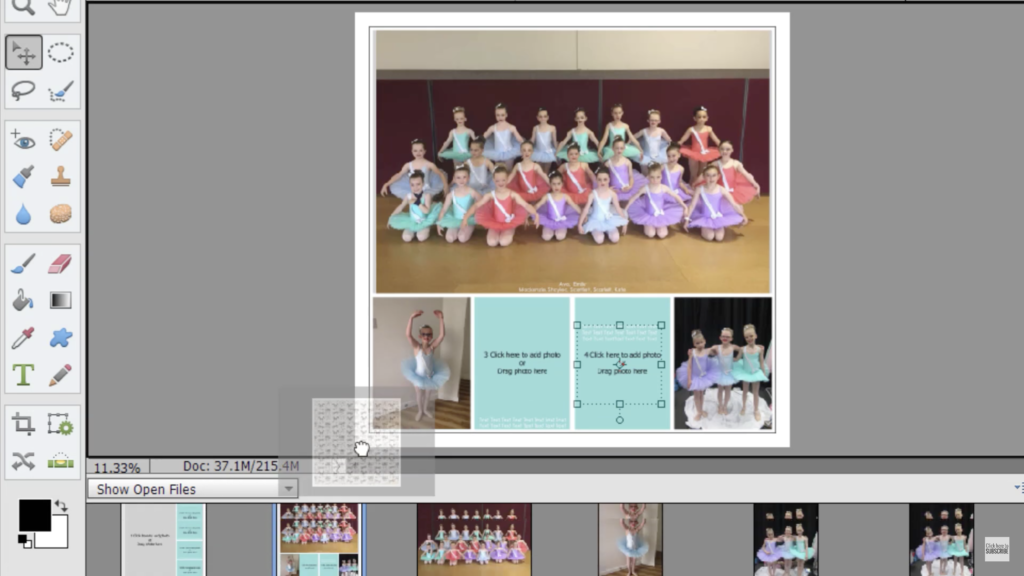
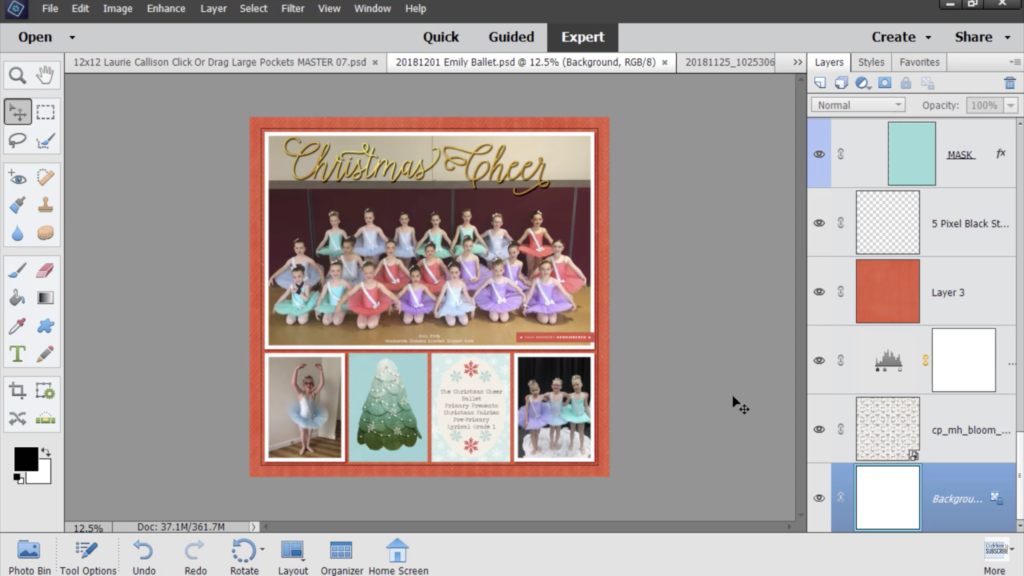
Now it's time to have some fun! I decided to add this cute bow paper to the background of my layout. I added the paper to the corner of the layout so that the paper would go onto the background.

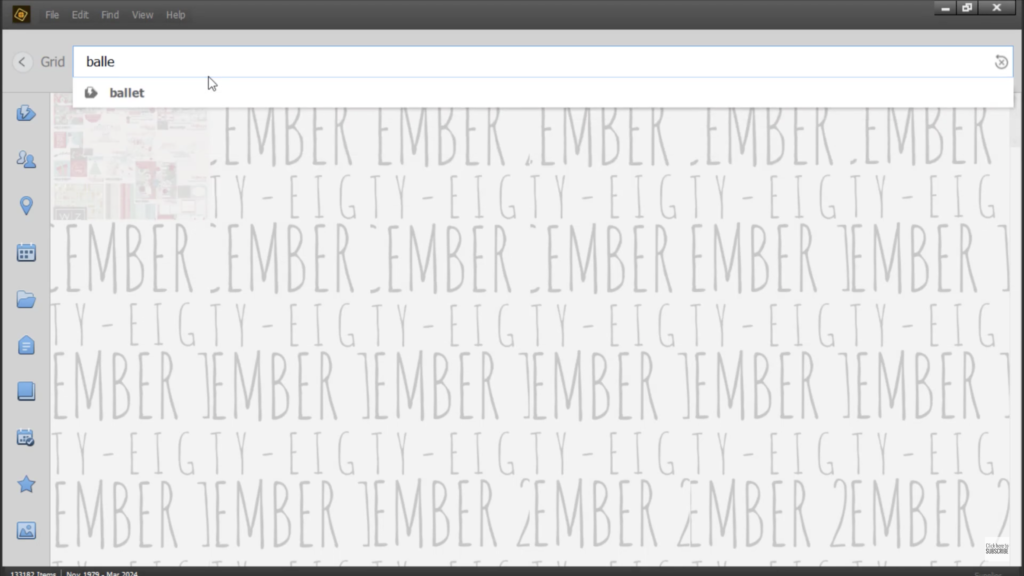
When looking through your digital scrapbooking supplies in the Photoshop Elements Organizer you can search in two ways. You can go to Find - By Filename to search for keywords that would be in the filenames.
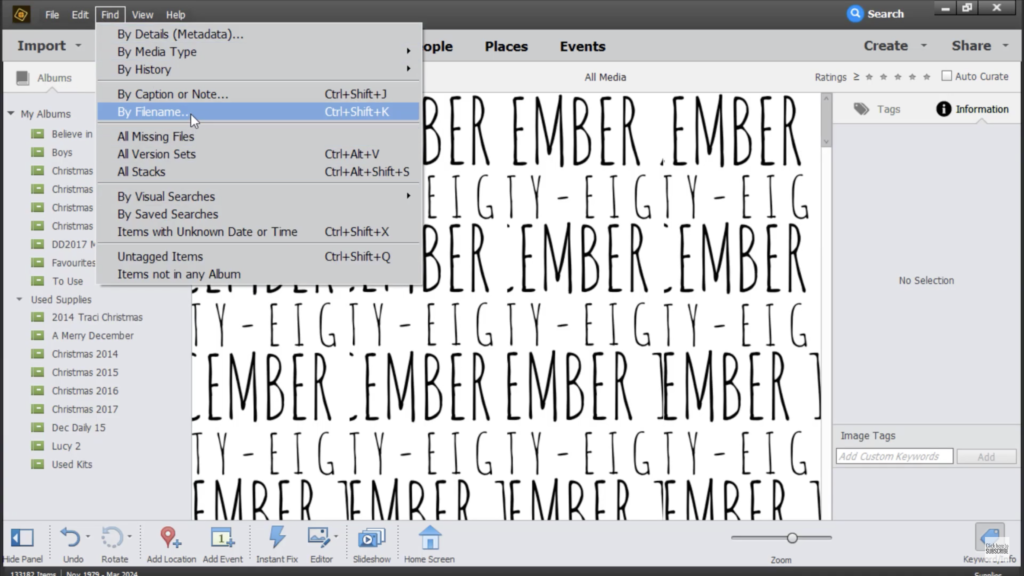
You can also use the search icon in the top right corner to do a smart search. Photoshop Elements may just find something that you missed.
Once you are done finding the elements, papers, and design features you want you will have a fabulous layout!
I hope you give Click or Drag Templates a try - they really will change your scrapping life!
Happy Scrapping!

I am an Amazon affiliate so may receive a commission if you make a purchase.
Leave a Reply