Today I'm going to show you how easy it is to remove red eye with Photoshop Elements - it will take just seconds!
Remove Red Eye in Your Photos
Before you begin editing your photo you should save it as a PSD file.
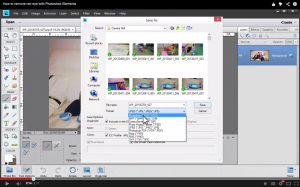
Go to File - Save As and select PSD. This allows you to add layers without destroying your original photo.
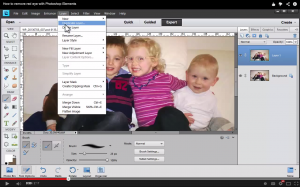
Add a new layer by going to Layer - Duplicate Layer. This will be the layer you will work with as you edit.
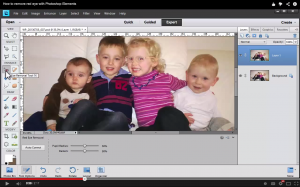
Click on the Red Eye Removal tool or click the Y key for the shortcut.
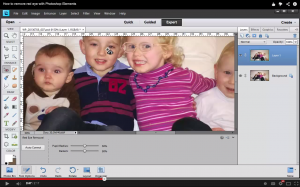
Click on each red eye to remove it. The program does a pretty good job of correcting the red eyes all on it's own.
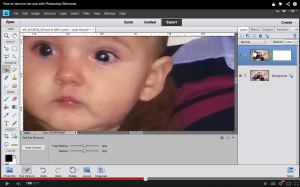
But sometimes it goes a little past the eye. To correct this click the Add Layer Mask button in the right side tool bar.
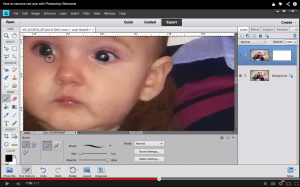
Choose a black brush and paint away the excess underneath the eye.
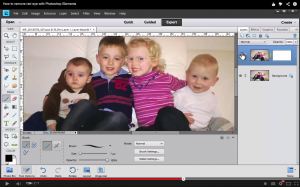
Now you have a perfectly corrected photo!
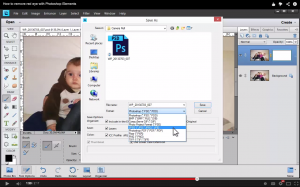
Now it's time to save the photo for printing. Go to File - Save As and choose JPEG.
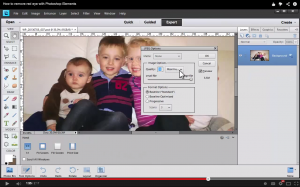
Save the photo at the highest quality and then print.
Have you removed red eye from a photo? I’d love to see it, link me up in the comments.
I am an Amazon affiliate so may receive a commission if you make a purchase.
Leave a Reply